

A house is not a home until you’ve infused it with personal touches that weave your identity into its walls. Turning a house into a home demands patience since it takes time for your personality to make a mark on its structure and permeate its living spaces.

Consider using the ten strategies below to give your dwelling that sense of comfort, security, and belonging that we associate with the concept of “home.”
- Make it functional
- Use ambient lighting
- Decorate walls and floors
- Add natural indoor and outdoor plants
- Add warmth
- Fill your home with things you like
- Have a place for everything
- Keep it clean
- Use scents creatively
- Embraced the lived-in look
The ten steps above can turn your residence into a personal haven regardless of your ownership status, or whether you live in a condo, detached house, or even a tiny home. House types and legalities have no bearing on the psychology of the home, which is a relationship between you and your dwelling. This relationship takes root in your sense of identity, security, ability to socialize, space for contemplation, and the control you exert over your surroundings. Your neighborhood and the community additionally contribute to your sense of belonging in your home that’s not defined solely by the structure in which you live.
Below we discuss in-depth the processes involved in turning a house into a home, the psychosocial significance of creating a warm home environment, and the effect this environment has on your physical, mental, and spiritual well-being.
Make it functional
Making your home functional creates a living space that effortlessly supports your day-to-day routines and keeps you safe and secure. A functional home design is paramount since it tailors your house to your way of life – an important first step to making your house a home. If you have the luxury of building or remodeling your house, consider the floor plan layouts, spaces dedicated to specific activities, and architectural features that affect the home’s functionality.
The home’s room layout affects your ability to perform daily tasks. For example, open floor plans create flexible areas ideal for hosting guests, connecting with family, or supervising children. Meanwhile, traditional designs with clearly defined rooms offer greater sound separation and dedicated spaces for quiet focus.
View in gallery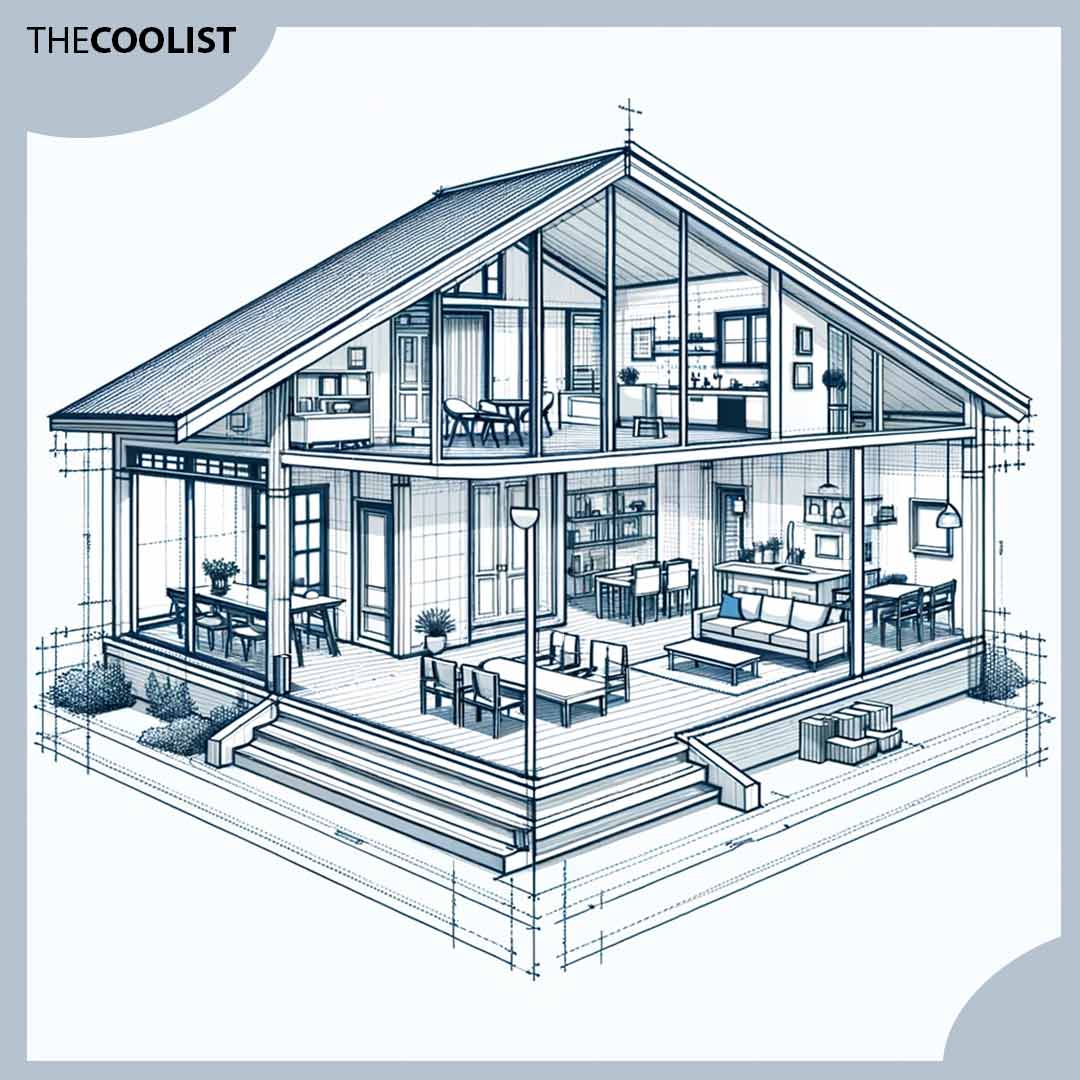
Spaces designed for specific purposes create a more functional and enjoyable home environment. For example, mudrooms serve as drop zones for coats, bags, and the chaos of daily life, and help keep common areas clutter-free. At the same time, dedicated laundry rooms away from main living spaces let you run appliances without subjecting the household to their noise.
Consider how architectural design elements can work for you. For instance, high ceilings create an airy sense of space, while large windows maximize natural light. Both of the above design strategies boost your mood and create a brighter living environment. Meanwhile, a wide entryway sets a relaxed tone and accommodates coming and going.
The list below explains seven additional aspects of a home’s design that contribute significantly to its functionality.
- Insulation: Insulation is your home’s protective blanket. It prevents heat from escaping in the winter and blocks excessive heat from entering during the summer, which reduces the strain on your heating and cooling systems and saves you money on energy bills. Common insulation types include fiberglass batts, blown-in cellulose, foam, and mineral wool. Each has pros and cons related to cost, ease of installation, and insulating power. Adding insulation to an existing home involves disruptive and expensive retrofits, but many local governments offer rebates or tax credits to promote energy efficiency. These programs significantly offset the costs of insulation upgrades.
- Home conditioning: Proper conditioning helps your home maintain your ideal temperature regardless of the weather outside. Conditioning systems manage your indoor climate and include heating and cooling systems. Furnaces, boilers, and heat pumps circulate warm air when the weather turns cold, while air conditioners and evaporative coolers provide relief during hot spells. Meanwhile, good ventilation through fans and vents promotes healthier air quality by replacing stale air with fresh air. Your choice of system depends on factors like your location, the size of your home, and your desired level of energy efficiency.
- Home security: Safety and security are fundamental to feeling truly at home, so take proactive steps to protect yourself and your space. For detached homes, strategic landscaping easily doubles as a security feature, as prickly hedges act as natural deterrents. Meanwhile, motion-activated lights make your home a less appealing target, and cameras and alarm system signs alert potential intruders that your home is protected. If you’re an apartment dweller, you don’t have the advantage of using the outdoors as a protective barrier. Instead, you should invest in a reputable alarm system – often, just seeing the sticker is enough to make burglars move on. An additional chain lock on your door provides another layer of security for peace of mind.
- Appliances: Modern appliances take away the stress of many household chores and streamline your daily life at home. Basic appliances like fridges, ovens, dishwashers, and washing machines simplify essential tasks and free up precious time. Meanwhile, smart appliances improve your home’s functionality and efficiency by letting you control climate, monitor grocery needs, and automating certain routines with the tap of a button on your smartphone. Don’t neglect outdoor appliances like grills, which allow you to utilize your outdoor space for functional activities in addition to recreation.
- Shading: Adequate shading promotes home comfort and reduces the strain on your heating and cooling systems. Blinds, curtains, and shades on your windows block or filter bright sunlight and help keep your interior cool, so you can minimize your reliance on the AC. Strategic landscaping outside your home, such as well-placed trees or awnings, provides additional shade while beautifying your yard.
- Lighting: Effective lighting makes daily tasks more manageable and enhances your home’s ambiance. Two types of lighting help you fulfill both aesthetic and functional needs: task and accent lighting. Task lighting provides bright, concentrated light in areas like your kitchen or home office. Equipping these spaces with suitable task lighting makes activities like cooking and working less burdensome. At the same time, accent lighting creates visual interest and adds to the atmosphere of a room. For example, you can use spotlights to draw attention to your beloved artwork, or to create a cozy lighting scheme for family movie nights.
Use ambient lighting
Ambient lighting provides a gentle, even glow that softens a room, banishes dark corners, invites comfort into your home, and reflects your personal style. There are three practical tips for using ambient lighting to usher warmth into your home: aim for warm tones, control and diffuse the light sources, and layer your lighting.
Yellow and orange tones are cozy, intimate, and inviting. Lights with warm tones feel comforting because they subconsciously remind you of sunsets and firelight. This warmth helps you relax and creates a sense of ease in your home. In contrast, bright white light gives your home the feeling of a laboratory or a surgical suite – hardly a warm, comforting environment.
View in gallery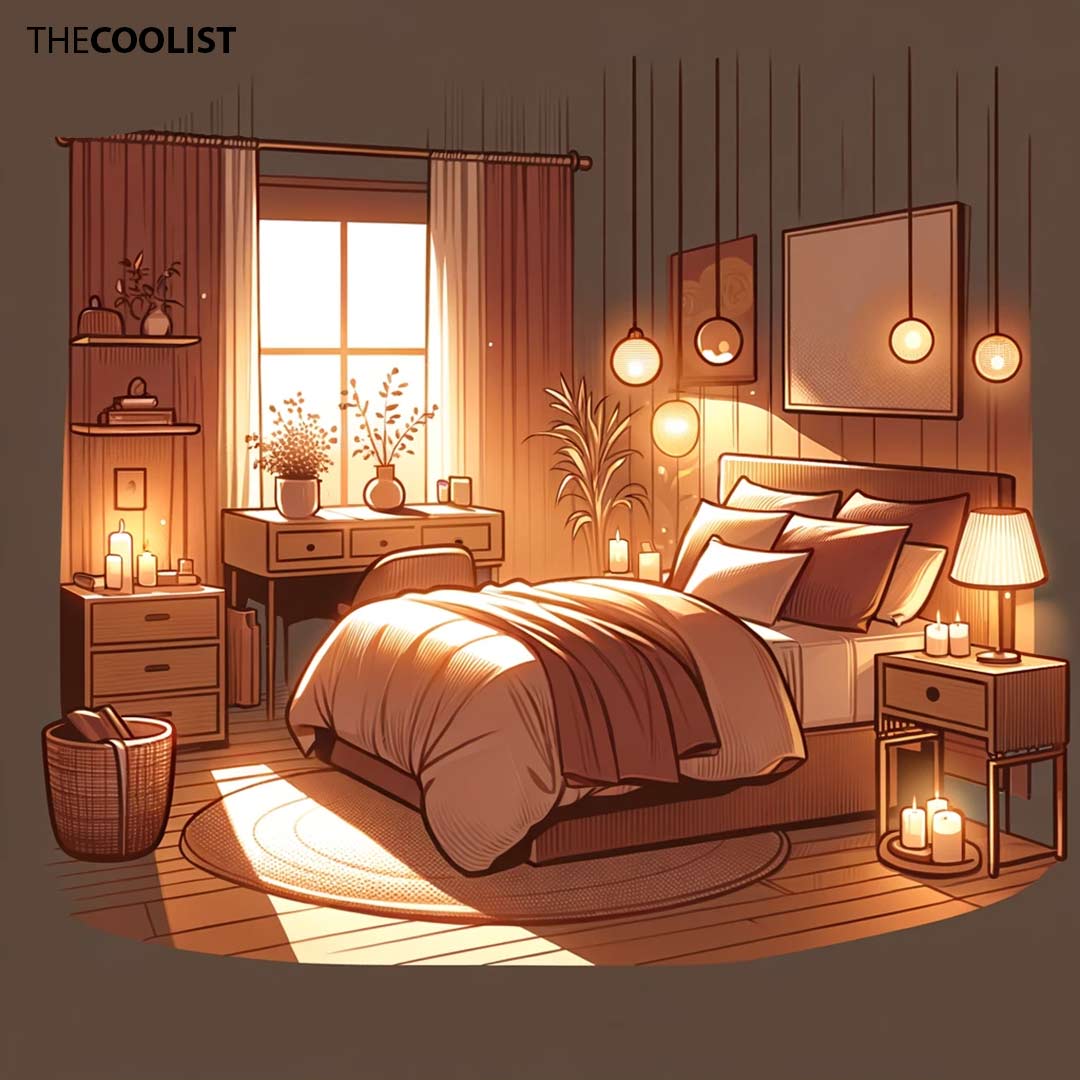
Controlling the overall ambiance with dimmers and diffusing light softens your home’s spaces. Dimmer switches let you match the brightness to the task at hand and the desired mood. Meanwhile, lampshades made of fabric or other soft materials scatter the light source, to offer gentle illumination instead of an overpowering glare. These simple control points make it easy to shift your space between energized for the day and subdued for a relaxing evening.
Layered lighting helps transform a house into an inviting home by creating a warm, multi-dimensional atmosphere that avoids harsh shadows and overly bright areas. By thoughtfully combining ambient, task, and accent lighting, you effectively customize the atmosphere in each room. Start by establishing a soft, overall glow with recessed ceiling lights or a central fixture on a dimmer. Then, incorporate wall sconces, table lamps, or floor lamps to create warm pools of light. The interplay of these light sources adds depth and dimension to the space, fostering a cozy and welcoming feel.
Lighting sources for ambiance
Below are four key sources of light you can use to create a warm ambiance in your home.
- Ceiling fixtures: These are the starting point for overall illumination. However, ceiling-mounted lights are often bright. So, make sure that you can soften this light through dimmers or shades.
- Floor and table lamps: Table and floor lamps are better for creating a warm ambiance at home than ceiling lights because they produce pools of soft, indirect light that lacks the harshness of overhead fixtures. Additionally, these lights are flexible and versatile – you can move them around and see how well they work in different parts of your home.
- LED Strip Lights: Light strips add a modern, customizable glow around furniture, accents, and architectural features. Consider using colored lights to match your mood or create unique zones in a room.
- Smart Lighting Systems: Smart lighting lets you control the colors and intensity of your lights from a smartphone. These systems are costly, but offer a fun and adaptable home lighting system.
Decorate walls and floors
Decorating walls and floors creates a backdrop for your personal style as you turn your house into a home. Start with the fixed elements, such as wall and floor finishes, then weave in layers of personality with carefully chosen décor.
View in gallery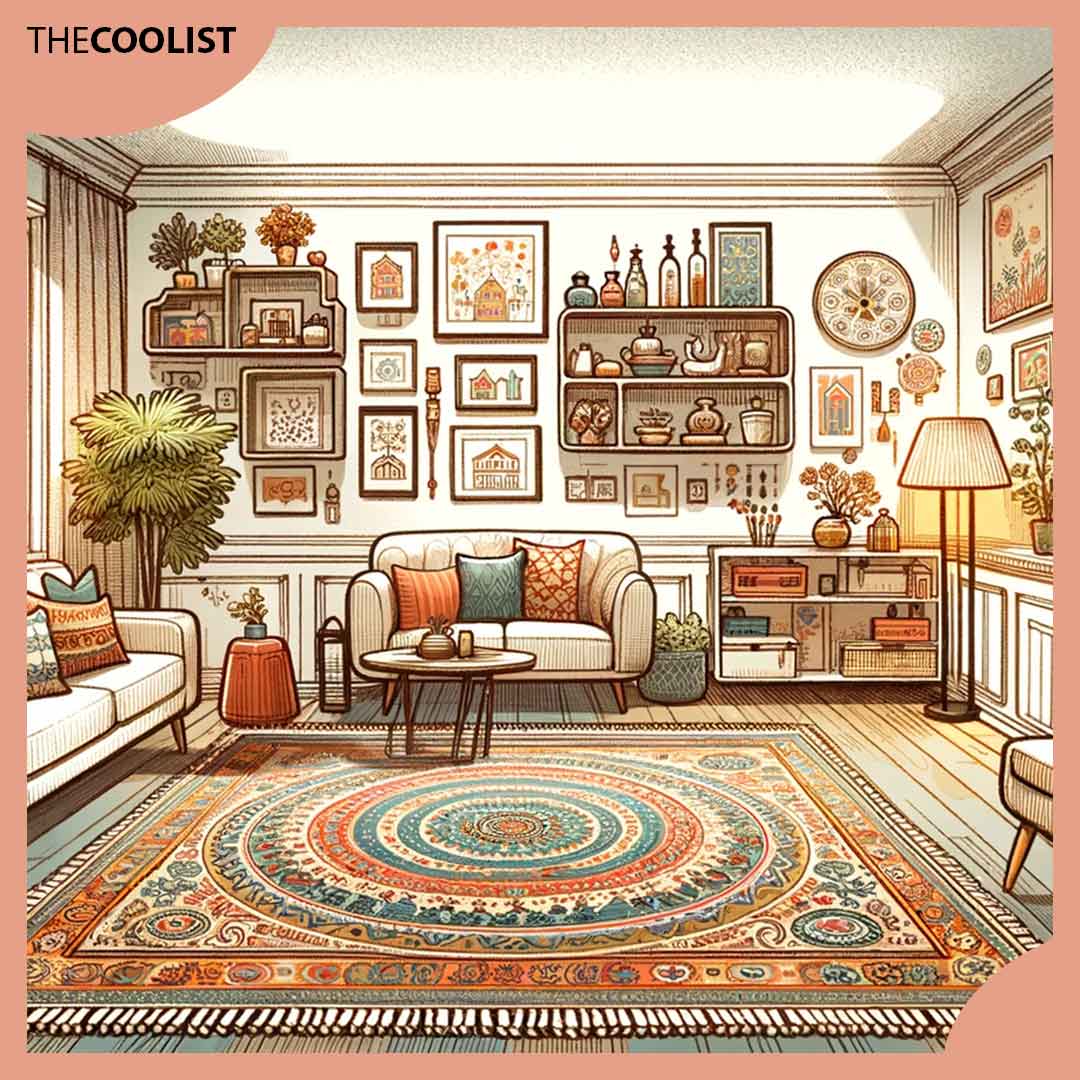
Wall finishes
Wall finishes, such as paint and wallpaper, set the tone of a room by influencing its color and texture, and providing a visual emphasis. Paint offers versatility since you get endless color choices and the opportunity to create accent walls that dramatically transform a space. Paint is easy to apply and update, which makes it ideal for changing styles or freshening up a room. Meanwhile, wallpaper adds a more pronounced texture and patterned designs for a sense of luxury or playfulness. That said, changing the wallpaper when renovating a space takes much more effort than repainting the walls.
Floor finishes
Floor finishes establish the visual base of your home. Options like hardwood, parquet, engineered finishes, and tile give your home varying degrees of warmth, style, and durability. Hardwood floors bring natural warmth, while parquet offers unique patterns and character. Engineered finishes are more resistant to wear than hardwood or parquet, but often mimic the latter in their appearance and can give your home plenty of character without sacrificing durability. Meanwhile, tiles are practical and moisture resistant, but often no less visually appealing than engineered or wood-based finishes. Consider laying warm-toned tiles in your wet areas such as the kitchen and bathroom.
Décor
With wall and floor finishes in place, use décor to give your home vibrancy and personality. Artwork, photographs, rugs, drapes, and pillows are easy and affordable decor options that add an intimate touch to your home’s ambiance.
Start by decorating your walls with art and photographs. The artwork you hang should reflect your tastes and touch you on an emotional level while harmonizing with your chosen wall finish. Choose photographs that depict cherished people and moments from your past. The deeply personal meaning behind the photos instills a sense of belonging, peace, and comfort in your living spaces.
Consider placing rugs on floors in your living spaces. Rugs infuse a room with warmth, visually soften hardwood or tile, and add a layer of color and texture to your design. When selecting a rug, think about both pattern and pile. A rug with a bold pattern creates a striking focal point, while a subtly patterned or solid-colored rug adds texture and grounds the space without competing for attention. Opt for low pile rugs in high-traffic areas for easy cleaning, and leave the more luxurious, high pile rugs in bedrooms for extra coziness and comfort.
Appropriately colored drapes bring elegance and softness to a room. Soft, muted colors like dusty rose, pale blue, or creamy white instill a sense of tranquility and grace. Conversely, rich hues like emerald green, navy, or deep plum ooze warmth and sophistication. Apart from their aesthetic appeal, drapes control daylight and improve a room’s acoustics.
Pillows offer one of the simplest ways to give a space character. A few decorative throw pillows on a sofa, chair, or bed instantly inject color and personality into the room. You may have to experiment with different shapes, sizes, colors, and patterns before you find pillows that complement the surroundings well.
Add natural indoor and outdoor plants
Incorporating natural indoor and outdoor plants helps turn your house into a home by bringing vitality, beauty, and tranquility to your living spaces.
View in gallery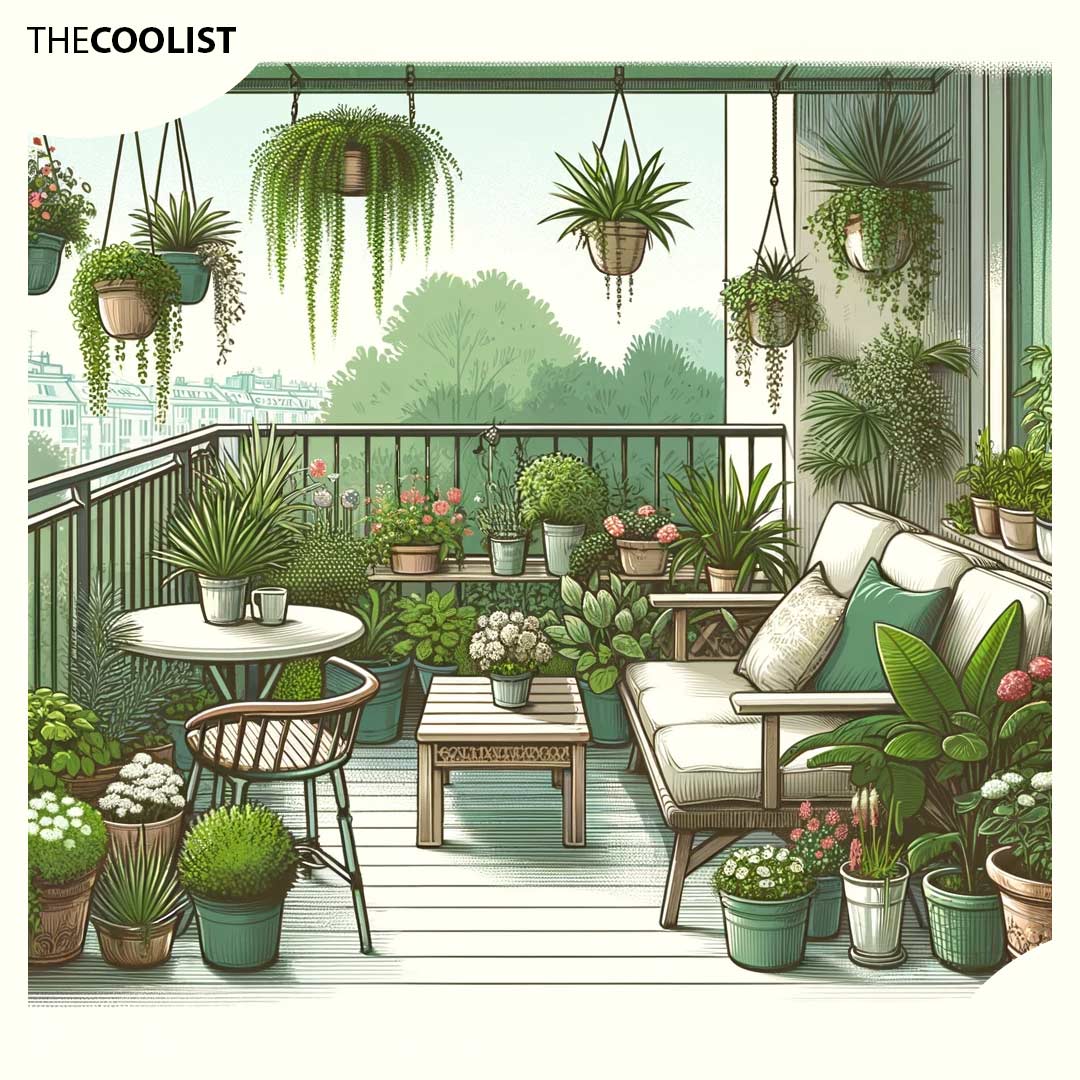
Indoor plants purify the air, enhance your mood, and add color to your living spaces. When choosing your indoor plants, consider their ease of care and aesthetics. For instance, easy-to-care-for options like succulents, snake plants, and peace lilies add unassuming greenery to the surroundings with minimal effort on your part. Meanwhile, orchids, indoor azaleas, and gardenias impart color, beauty, and elegance, but require a bit more expert care.
Outdoor plants enhance the home’s curb appeal, create a welcoming entrance, and provide shade in the hot summer months. Use flowering shrubs like hydrangeas and rhododendrons for bursts of color, evergreens for year-round appeal, or larger trees for shade and to give your home a sense of permanence. At the same time, an edible garden with herbs like rosemary, basil, and chives beautifies outdoor spaces and provides fresh flavors on your dinner table.
Add warmth
Warmth in a home is that feeling of welcome and coziness that fosters a sense of belonging. To infuse your home with warmth, embrace strategies such as soft lighting, plush textures, inviting colors, natural elements, and personal touches that reflect your character.
Soft lighting is characterized by a warm, diffused glow. In contrast to the harsh brightness of a white light, it creates a relaxed, intimate atmosphere. To soften the lighting in your home, replace bright bulbs with warmer hues, install dimmer switches, and opt for table lamps or floor lamps with gentle shades instead of ceiling-mounted lights. The diffused glow of soft lighting complements the coziness of plush textures in your furniture, blankets, rugs, and drapes.
View in gallery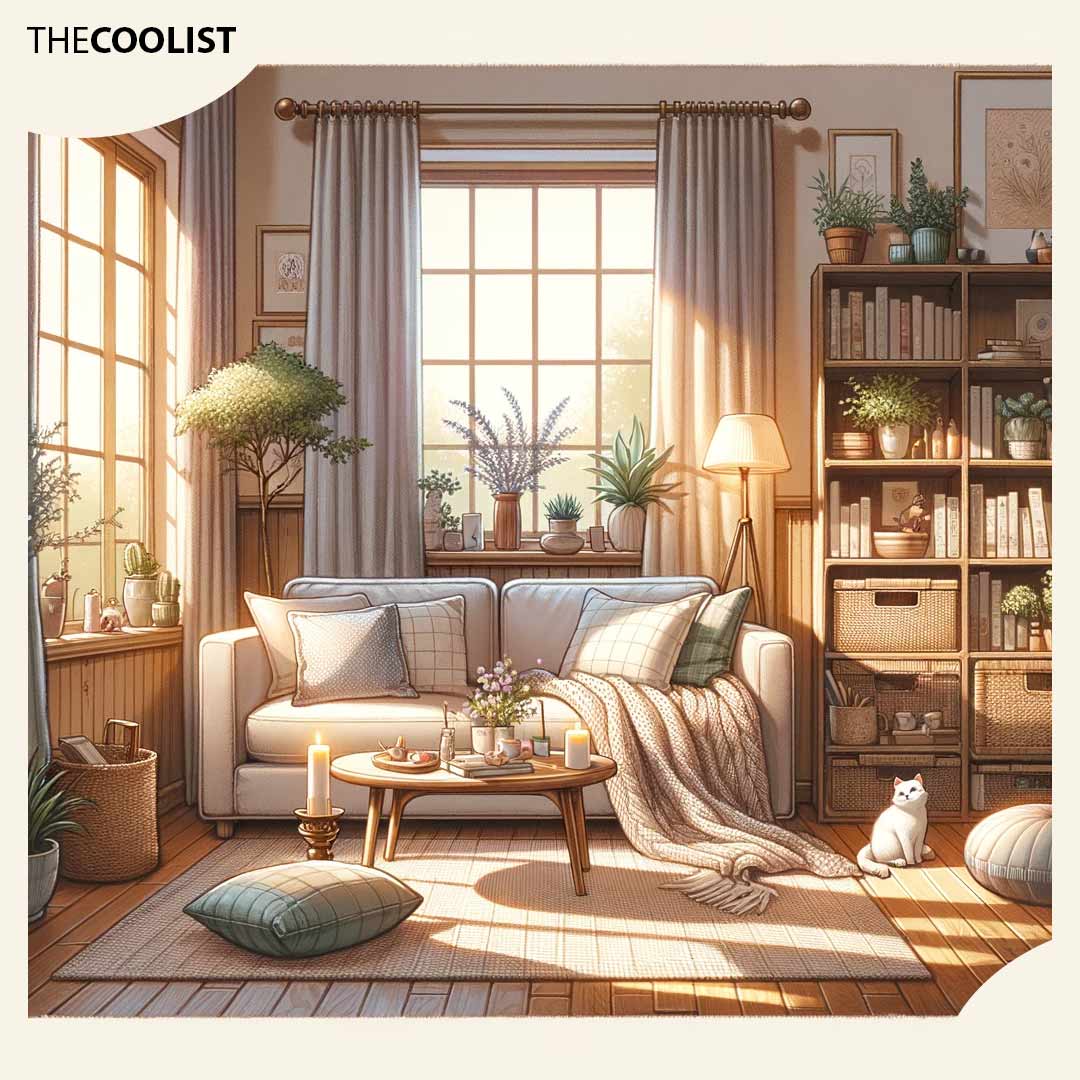
Fabrics with a plush texture are soft, thick, and luxurious to the touch. These fabrics promote a sense of comfort and make the space they’re in feel inviting. To introduce more plush textures into your home, add throws and blankets in fabrics like velvet, faux fur, or chunky knits. Opt for upholstered furniture in comforting materials and layer rugs. Consider the color scheme of your home, too. To create an emotionally comforting space, match plush textures with inviting colors that harmonize with your design.
Warm colors like reds, oranges, yellows, and earthy browns add vibrancy, while deep shades like navy or plum are lush and cozy. Opt for warmer tones in your wall and floor finishes, furniture, or accents like pillows and artwork. An earthy color palette sets the stage for incorporating natural elements, which contribute a unique warmth to the home’s atmosphere.
Natural elements like wood, stone, and plants add an organic touch that connects us to the outdoors. Consider incorporating natural elements in your furniture and decor – wooden tables, wicker accents, or even a simple bowl of smooth stones bring a natural warmth to the home. Meanwhile, houseplants of different shapes and sizes bring a sense of life to the home, and with it, a feeling of tranquility and well-being.
The four strategies above create a foundation of warmth and welcome in your home. However, the most defining touch comes from filling your living spaces with things that bring you joy. Whether it’s cherished photos, loved books, or any other items that make you smile, these personal touches make your house feel uniquely yours.
Fill your home with things you like
A ‘house’ is defined by walls and a roof, while a ‘home’ is infused with your personality – one that prominently manifests in the objects you like most. To personalize your living space and create a sense of belonging, surround yourself with your favorite things.
View in gallery
The following five items are examples of objects that permeate your home with your unique identity.
- Books: Books add character to shelves, coffee tables, and reading nooks. Most crucially, they offer a glimpse into your personality, which invites curiosity and makes the space feel lived-in and truly yours. Meanwhile, musical instruments infuse your home with personal expression – whether they’re art pieces or ready for an impromptu session.
- Hobbies and games: Incorporating hobbies and games into your home decor showcases your passions and encourages leisure and play. For example, a dedicated game room, a shelf filled with board games, or artfully stored craft supplies all make your home a hub for your favorite pastimes.
- Gadgets: Smart home devices offer convenience and efficiency, while personal tech gadgets cater to your tech-savvy side.
- Plants: Plants breathe life into your space by adding a touch of nature. Selecting those you love makes your home feel more nurturing and connected to the natural world.
- Liquor: A selection of spirits, wines, or craft beers is a statement piece that’s ready to welcome friends and family.
By filling your home with items that resonate with your lifestyle, you create a space that feels like an extension of yourself and fosters a sense of belonging.
Have a place for everything
Ensure you have a place to store all your belongings. Without effective storage, your living spaces become messy and chaotic, and the ensuing disorder stands in the way of you enjoying your home. Furniture, containers, utility rooms, and wall shelves are all effective strategies for storing your belongings and keeping your home neat.
View in gallery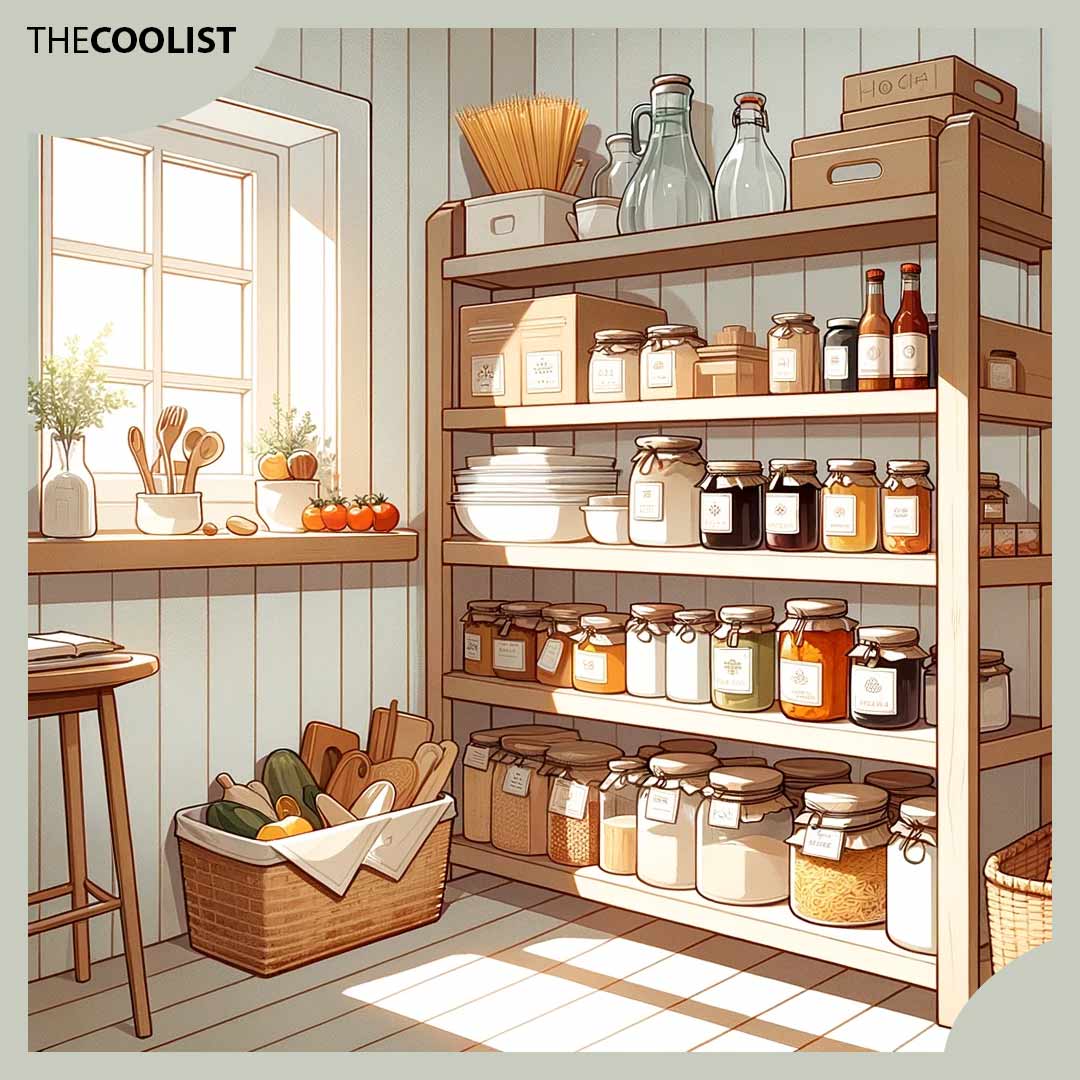
Ideal furniture pieces blend utility with aesthetics to enhance both your home’s ambience and functionality. Dressers, bookcases, and shelving units display your cherished items while keeping them orderly and accessible.
Decorative storage containers help maintain home order while serving as furniture or decor. Ottomans are a prime example. They have built-in storage for tucking away small items, such as childrens’ toys, table linens, or bedding, but are strong enough to support your weight so you can use them as seating, too. Baskets, bins, and decorative boxes of different sizes additionally help you keep items sorted and aesthetically pleasing.
Closets and utility rooms conveniently conceal cumbersome and unsightly items while keeping them well within reach. Such spaces may house cleaning supplies, tools, and other necessities, so you can keep your living areas clutter-free and home to the personal items you enjoy.
Smaller homes may not have closets or utility rooms at your disposal, but they still offer plenty of wall space for storage. Wall-mounted shelves and hanging systems create valuable storage areas without taking up your precious floor space. With proper installation, wall storage also serves as decor, as there are creative ways to display your functional items on walls. For example, hanging kitchen utensils or musical instruments makes both an artistic statement and keeps your home clutter-free.
The four decluttering strategies above bring order to your home, and also make deep cleaning more manageable. With fewer surfaces to dust and less clutter to move around, regular upkeep becomes an easier task.
Keep it clean
A clean home is inviting and promotes well-being. To keep your home clean, prioritize the following five strategies: invest in a reliable vacuum cleaner, prevent mold build-up in wet areas, dust often, and incorporate both light daily tidy-ups and less frequent but deeper cleanings.
View in gallery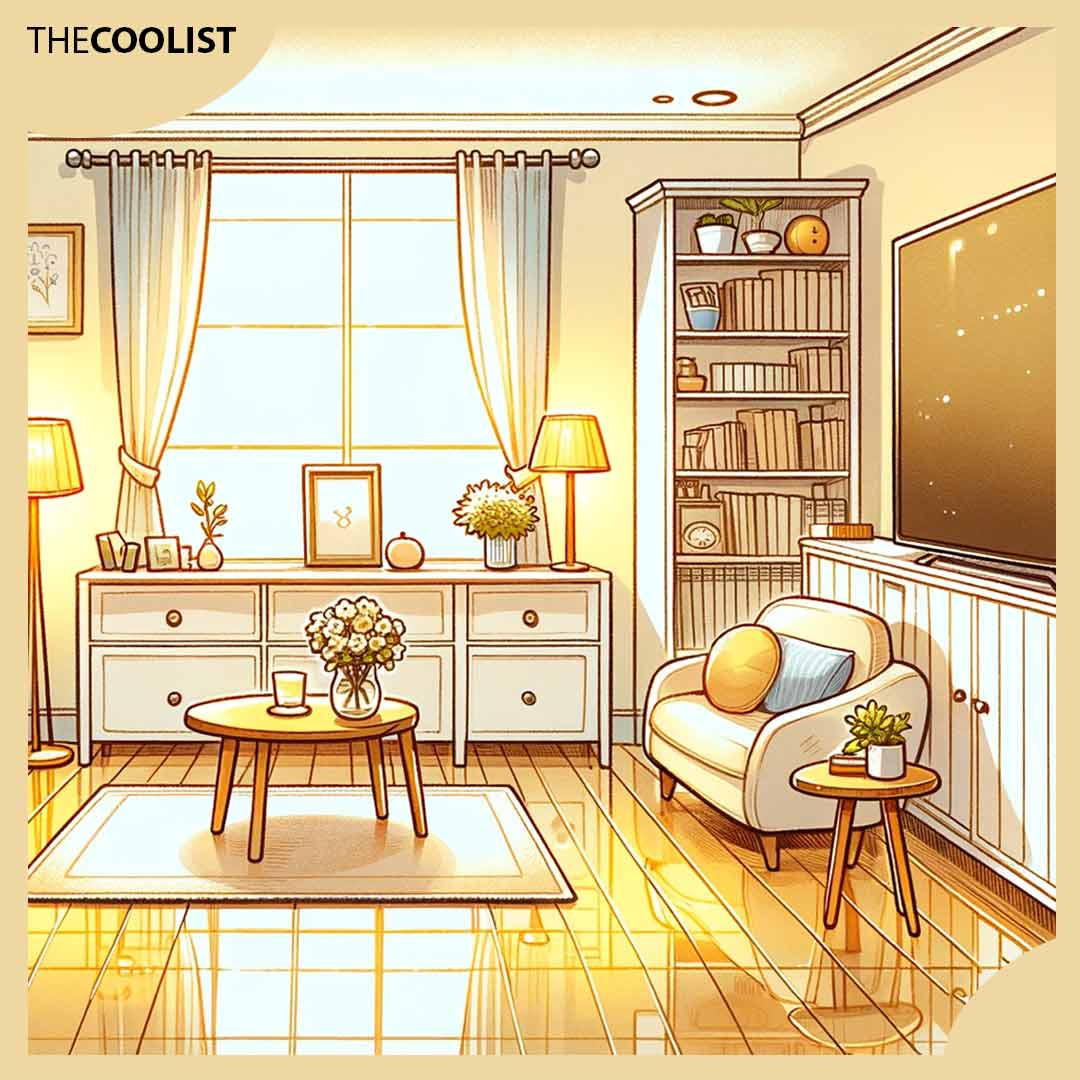
A quality vacuum makes cleaning a less tedious chore. That’s because a reliable vacuum cleaner removes built-up debris, pet hair, and allergens from both carpeted and hard floor surfaces faster and more efficiently than a broom. To choose the ideal vacuum for your home, consider your flooring types (carpet, hardwood, tile), the size of your space, whether you have pets or allergies, and whether you prefer a corded or cordless model.
Dust the surfaces of your home regularly to maintain cleanliness and prevent allergies. Shelves, decor, and furniture collect dust quickly and require regular upkeep to preserve their appearance and maintain a healthy home environment. A moist cloth offers a quick and effective way to dust, but you may need a duster with an extension pole to access the hard-to-reach and high surfaces.
Wet areas like bathrooms and kitchens need special attention because they’re magnets for mold. You must be vigilant to prevent mold from appearing and spreading in these areas. To this end, ensure adequate and consistent ventilation, wipe down surfaces often, and address mold outbreaks immediately to keep your kitchen and bathrooms mold-free and healthy.
Cleanliness extends into your yard, and includes activities such as mowing the lawn, planting decorative annuals, and other forms of landscaping.
Cleaning your home regularly makes the more comprehensive cleanups more manageable. Consider dusting, spot-cleaning, and clearing the kitchen counters every day. And while a mop and bucket offer the deepest clean for your floors, tools like the Swiffer are the most convenient for daily pick-ups.
Use scents creatively
Scent has the power to unlock memories, transform your mood, and help make a living space your own.
View in gallery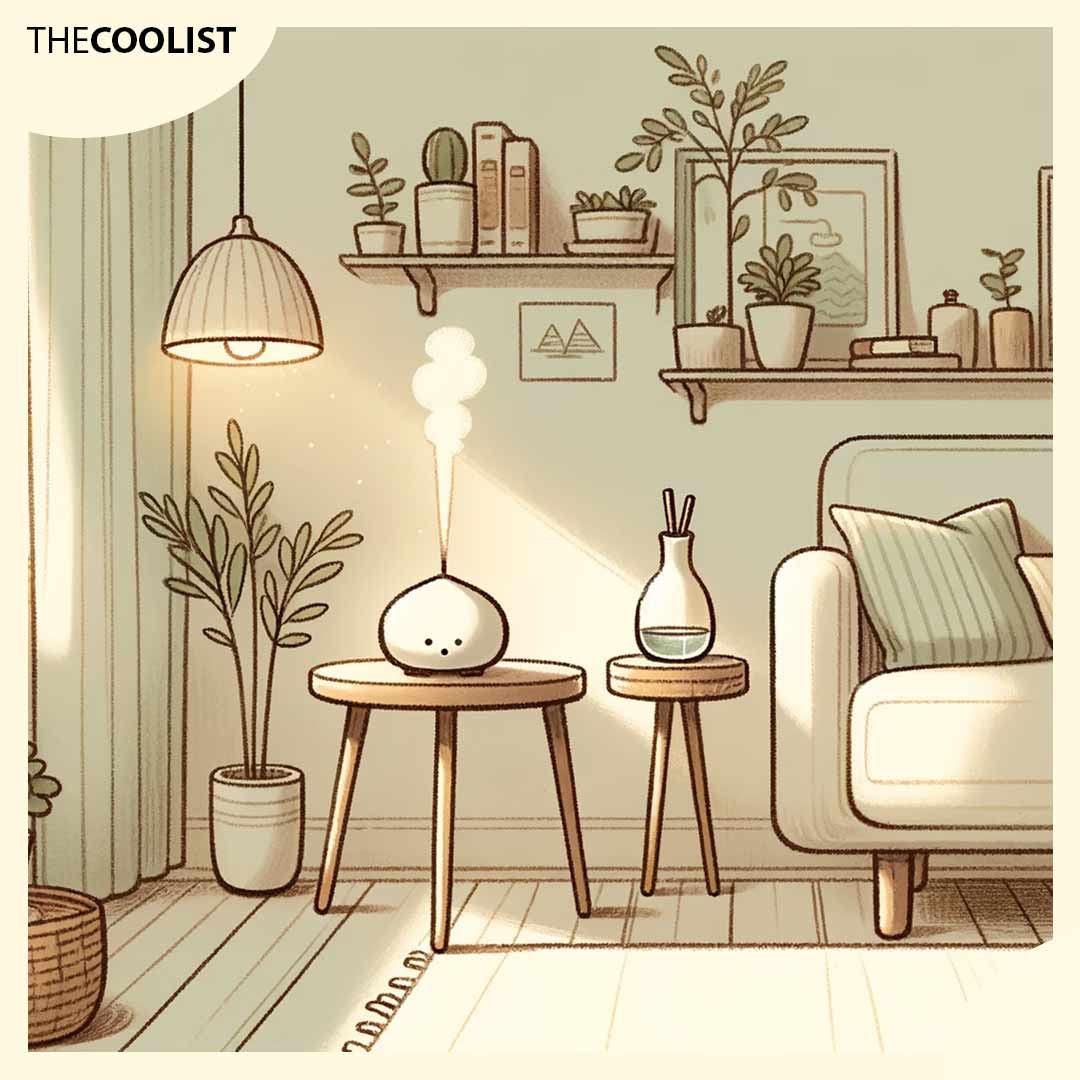
To curate the scents of your home, use a combination of candles, diffusers, incense, plants, seasonal fragrances, and even creative DIY blends.
- Aromatic candles offer the dual benefit of ambient lighting and fragrance. Scents that align with your tastes make your living spaces more inviting and reflective of your style while emitting a soft, intimate light. For example, give your kitchen a cozy vibe with warm candlelight and a vanilla scent, or light your entryway and infuse it with elegant florals as your guests arrive.
- Essential oil diffusers distribute subtle fragrances throughout a room to offer a continuous and consistent scent. There’s a wide assortment of oils available, so tailor the ambiance to suit your mood. For example, consider lavender oils when seeking relaxation, or get an energy boost from oils with citrus notes.
- Burning incense brings a touch of ritual to your daily routine and infuses your spaces with a calming fragrance. Scents like sandalwood and frankincense aid focus and foster a sense of tranquility, so these aromas are ideal for areas of the house where you like to relax.
- Some indoor plants offer subtle scents on top of beautifying a home. Edible herbs like rosemary and mint release subdued yet pleasant aromas when you brush against them. Meanwhile, flowering houseplants like gardenias, jasmine, and frangipanis produce strong, sweet fragrances.
- DIY aromatics, such as potpourri made from dried flowers and spices, offer a personal touch. Place these in drawers, closets, or discreet corners, to infuse your homes with gentle aromas that are uniquely yours.
Remember – fragrance is all about personal preference. Start to implement the strategies above subtly, and build until you find a level that brings joy without irritating you or your guests.
Embrace the lived-in look
The ‘lived-in look’ is effortless, inviting, and foundational to the feeling of “home.”
View in gallery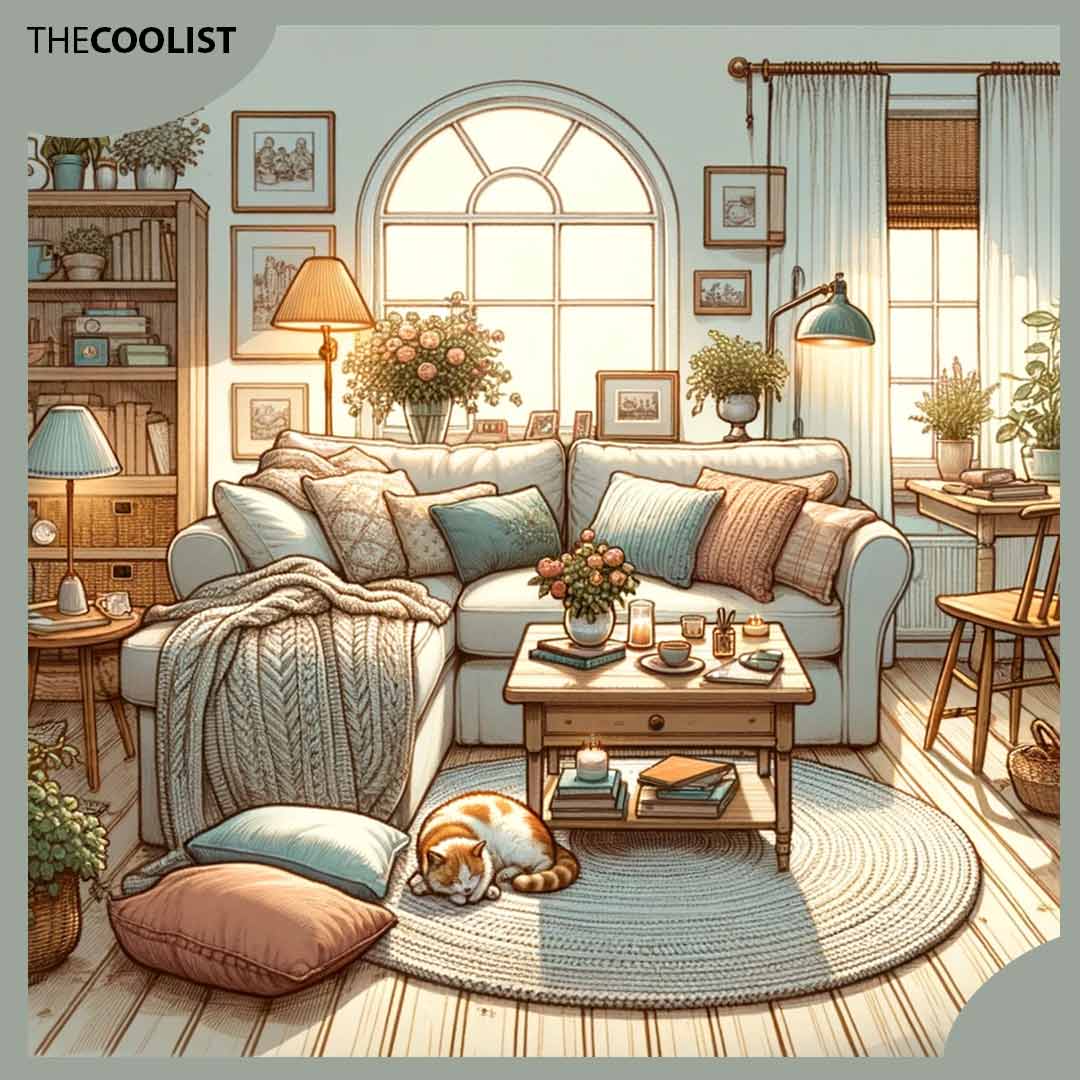
There’s no stylistic formula for achieving the lived-in look: you need a mindset shift. Instead of pursuing sterility every time you clean up or declutter, find a balance between cleanliness and organic messiness that creates a snapshot of your daily routine. That’s how you get the true, uncurated lived-in look in your home. It’s the warmth of a kitchen showing remnants of a baking project; the faded pages of a beloved book left open on a side table; the clutter of family photos sitting on a shelf.
What is a home?
A home is a personal sanctuary that reflects your life, love, and values. Unlike a house (which is simply a building) a home has the emotional and psychological warmth that comes from your memories, experiences, and sense of belonging. Personal touches, emotional engagement, and ongoing adaptation are the crucial processes that gradually foster a sense of home in your dwelling.
Turning a house to home involves infusing the space with personal touches. These could manifest in how your home functions, your choice of colors, the selection of furniture and decor, or the arrangement of spaces in a way that caters to your lifestyle.
Emotions you experience in your home make its living spaces your own. Home is where you celebrate achievements, mourn losses, and make memories – all of the resulting emotions then permeate the home’s walls.
Creating a home is an ongoing process of adaptation and evolution that mirrors the changes in your life. Whether you renovate to meet new needs, redecorate as your tastes change, or simply live and make new memories, the essence of a home is always in flux: it changes as you do.
Is ownership required to make a home?
No, ownership is not required to make a home. A home is defined not by legal ownership but by your sense of emotional attachment, personal touches, and the memories you create within its walls. Whether you rent or own, you can imbue your living spaces with warmth and personality through decor and furniture choices, and by living through meaningful experiences that foster your sense of belonging in the place.
What are the advantages of homeownership?
The advantages of homeownership are financial investment, stability, and personal freedom.
Owning a home is a sound financial investment in most markets. Homes usually appreciate over time and offer equity that you can leverage for other financial goals.
Moreover, home ownership provides stability. As a homeowner, you’re not at the mercy of a landlord who may choose to sever the lease to renovate or take over the unit. Homeownership is a particularly stable option if you opt for a fixed mortgage. Fixed mortgage payments have higher interest rates than their variable counterparts, but stay consistent for the length of the term. Variable mortgages, on the other hand, are subject to severe volatility in response to various economic factors, such as the overnight federal funds rate.
Finally, as a homeowner, you’re free to customize your living space without the constraints imposed by rental agreements. This freedom allows for extensive renovations, decorations, and alterations that truly make the space your own. That said, any major upgrades to your home’s structure, systems, or exterior are generally subject to approval by the planning and building departments in your jurisdiction, as well as the local Homeowners’ Association. Even so, homeownership gives you far more leeway to infuse your home with personal touches than a rental agreement.
What are the disadvantages of home ownership?
The disadvantages of home ownership include financial responsibility, maintenance requirements, and reduced flexibility.
As a homeowner, you face major financial responsibilities that include mortgage payments, property taxes, strata fees (if you’re in a condo) and insurance. Together, these obligations add up to a hefty sum that can be burdensome depending on your circumstances.
Additionally, you’re responsible for maintenance and repairs that are often necessary to keep your home in a good state of repair. These tasks demand time, effort, and money.
Finally, owning a home reduces your mobility and flexibility. For example, it’s more challenging to relocate for a new job opportunity (or personal reasons) if you own a home rather than renting it. That’s because any long-term relocations require you to put your home on the market and hope to sell it sooner rather than later for the price you want. This sales process might keep you tied to your current location and prolong your relocation for an extensive period.
What are the different types of homes?
Below is a look at four common types of homes and what sets them apart.
- Condos: Condos (short for “condominium”) are individual units contained within a larger multi-family building. Condos are often built in convenient urban locations with lots of community amenities. However, condo ownership requires you to abide by the bylaws enacted by the condo board, and leaves you responsible for payments that fund maintenance of the building’s common elements.
- Single-family homes: Single-family homes are freestanding, independently-owned homes that offer maximum control over both interior and exterior spaces. These homes give you great design freedom that’s only limited by local zoning and building codes. However, you also acquire full responsibility for repairing and maintaining your home. Additionally, single-family homes are often located away from community amenities.
- Townhouses: A townhouse is a multi-story dwelling that shares walls with neighboring units, has its own entrance, and typically comes with a small yard space. It blends elements of detached living and community, with less upkeep and lower costs than a single-family home. Townhouses are usually managed as condominiums, so you must follow condo bylaws and pay strata fees as a townhouse owner.
- Tiny homes: A tiny home is a compact detached house with an average floor area of 100-500ft2. Tiny homes generally feature an architectural design that prioritizes efficient living within a reduced footprint. If you’re considering buying a tiny home, expect clever use of space through features like built-in furniture, lofted floor levels, and multi-use structures.
What is the psychology of home?
The psychology of home comprises the relationship between your living space and your emotional and mental well-being. This relationship revolves around security, socialization, contemplation, and control over your surroundings.
Security is fundamental in a home. Your home is a haven: it shields you from physical threats and the unpredictability of the outside world. This sense of protection gives you the mental space to unwind, as you know that your home is a sanctuary to which you can always return.
Your home is the epicenter of your social life. Whether it’s family dinners, gatherings with friends, or the companionship of pets, your home is the backdrop for creating and sharing connections. In turn, these connections build memories and contribute to a sense of belonging.
A home is the place to which you retreat from the external world when you crave inward focus. Quiet reading zones, hobby rooms, and home gardens are all perfect spaces to contemplate quietly and recharge your batteries.
A home gives you a place to exert control over our surroundings. Unlike other environments you experience daily, your home lets you make design choices, adjust elements to your tastes, and establish spaces that promote individual needs. This sense of autonomy and ability to manifest your identity supports your psychological well-being.
How does home shape identity?
Home shapes identity by reflecting your tastes, outlook on the future, and social persona.
Your home is a canvas for expressing your tastes, values, and interests. The color of your walls, the art you hang on them, and even the trinkets you arrange on a shelf tell your story. Using your home as a medium for projecting your inner self reinforces your sense of identity.
Moreover, your home may embody your future desires. For instance, you might have a dedicated home office to manifest your professional goals, or a calm space for meditation if you pursue mindfulness. Filling your home with cues that relate to your aspirations contributes to your identity.
Lastly, your home fosters your social identity. The way you host gatherings, share meals, and create welcoming spaces shapes how you identify yourself in the context of your community.
How does a home connect to the community?
A home connects to the community by weaving you into the social fabric of the neighborhood. Participating in neighborhood events, engaging with local businesses, or enjoying local parks or community centers gives you a chance to interact with other community members. Over time, your interactions in these third spaces form meaningful connections and friendships. In turn, your emotional attachment to your neighborhood and the people in it contributes to your feeling of home – a home that spans beyond the walls of the dwelling.
How do notions of home change across cultures?
Notions of home change across cultures in response to societal structures, historical trends, and environmental conditions. A home is universally perceived as basic shelter, but the deeper emotional weight placed on what makes a house a ‘home’ differs greatly between cultures. Below are four primary ways in which the home is perceived in different parts of the world,
- Family traditions: Latin American, South, East, and Southeast Asian cultures embrace multi-generational living, and idealize shared homes and the preservation of ancestral ties.
- Hospitality and connection: Middle Eastern cultures view the home as a social hub for welcoming guests and sharing traditions. This notion of home manifests through practices like dedicating spaces for hosting guests and having elaborate shared meals.
- Harmony with nature: Indigenous philosophies across the world often have a deep connection between a home and the surrounding environment. For example, traditional Japanese homes contain natural elements indoors, while nomadic desert cultures use transportable homes to maintain harmony with the landscape.
- Individuality and success: In Western Europe and North America, the home represents personal choices and reflects the owner’s economic status. Ideals of homeownership, specific house types, and privacy within the home are important markers of individuality and achievement.
What is the spiritual significance of the home?
The spiritual significance of the home is rooted in its role as a sanctuary and place of worship and a connector to cultural traditions.
Your home is a sanctuary when you need space for quiet contemplation, meditation, or prayer. You may have religious or symbolic objects in your home, such as altars, heirlooms, or artworks that help facilitate a spiritual connection.
Moreover, a home might reflect your connection to family, ancestors, and cultural traditions. Sharing rituals, holidays, and everyday moments in your homes cements these bonds, and deepens your sense of belonging to the spiritual realm.
How does the home impact health?
Below is a look at how home impacts physical, mental, and social health.
- Physical health: The quality of your home environment directly influences your health. For example, the presence of mold, dampness, or allergens in a home can trigger respiratory problems like asthma and allergies. Meanwhile, lead paint, outdated water systems, and asbestos pose serious health risks. Adequate ventilation and access to natural light support overall well-being, while lack of heating or cooling can cause discomfort and even health problems during bouts of extreme weather. Finally, design aspects like the lack of stair handrails increase the risk of falls and injuries.
- Mental health: Your home offers space for relaxation. An uncluttered space reduces stress and improves sleep quality, while access to natural light and views of nature have been linked to improved mood and lower depression rates. In contrast, a messy home environment can cause anxiety, and a lack of daylight contributes to depression.
- Social health: Home has a major impact on your social bonds. When you’re proud of your living space, you’re more likely to invite friends and family over. Frequent socialization strengthens social connections. Homes designed for communal activities, like shared kitchens or cozy patios, encourage interactions and reduce loneliness. In contrast, homes with an isolating design decrease the quality and frequency of your social connections.
What is the importance of a healthy home environment?
A healthy home environment is crucial for your physical, mental, and social well-being.
A safe and well-maintained home protects you from illness and injury. Clean air lets your body function at its best and reduces the risk of respiratory issues. Similarly, suitable indoor temperatures and access to natural light create a healthy, life-sustaining environment.
Additionally, a healthy home promotes mental wellness and fosters positive emotions. It becomes a refuge from stress, a place to recharge, and a space to nurture inner peace.
Finally, a happy and comfortable home environment enhances family dynamics and social relationships. By creating a welcoming space where your social connections flourish, you strengthen your sense of belonging and community.
Can the home improve productivity?
Yes, the home can improve productivity. A well-designed and organized home minimizes distractions, cultivates focus, and improves your efficiency in carrying out tasks. Dedicated workspaces, good lighting, acoustic barriers, and comfortable seating are all aspects of a home designed with productivity in mind.
Setting up a designated space in your home solely for work helps your brain associate that area with focus and productivity. This strategy keeps you from getting sidetracked with household tasks and enhances your work efficiency.
Adequate lighting reduces the strain on your eyes and immerses you in a comfortable working environment. Natural light is best, but feel free to supplement it with task lighting as needed. To prevent fatigue and headaches (both of which decrease productivity), avoid both dim and harsh lighting; try to find a brightness balance that works for you.
Daily bustle and outdoor noise are major sources of distraction when you’re trying to work at home. Investing in heavy doors, acoustic panels, or white noise machines minimizes auditory distractions and keeps your productivity on track.
Discomfort derails focus quickly as it progresses to physical strain. Ergonomic seating promotes good posture and lets you focus on work instead of an aching back
How does the home environment impact sleep quality?
The home environment impacts sleep quality through factors like light, noise, temperature, comfort, and overall organization.
Light exposure has a crucial impact on your circadian rhythm – the internal body clock that tells you when to sleep and wake up. Harsh indoor lighting and or even sunlight peeking through curtains suppress the production of melatonin, the hormone that promotes sleepiness. When your melatonin production lags, you’re likely to struggle falling and staying asleep at night. To this end, ensure that you can adjust your home’s lighting properly and remove all sources of excessively bright or blue light as you prepare for bed.
Noise pollution is an obvious obstacle to restful sleep. Traffic, neighbors, or even appliances within the home can create unwanted noises that disrupt sleep cycles and lead to frequent awakenings. Consider using soundproofing solutions (like heavy blinds and rugs), white noise machines to mask background noises, and earplugs.
Home air temperature affects sleep because our bodies naturally cool down when preparing for bed. A room that is too warm or too cold can make it difficult to achieve comfortable, sustained sleep. Setting your thermostat to a cooler temperature at bedtime should improve your sleep quality.
A cluttered home environment leads to a cluttered mind, which in turn generates stress that makes it harder to unwind. Maintaining order helps the mind view the home as a sanctuary, not a source of anxiety; and when your mind’s at ease, falling (and staying) sleep gets easier, too.
What are the major projects for home improvement?
Below is an overview of the five major home improvement projects.
- Kitchen remodels: The kitchen is the heart of a home, so strive to make yours both functional and warm. For example, consider redesigning the layout to promote better flow when hosting gatherings, or add personal touches that inspire culinary creativity.
- Bathroom remodel: Making the bathroom your oasis. Consider luxury upgrades like heated floors or a soaking tub, or functional ones like double sinks to support shared routines.
- Master bedroom remodel: Turn your master bedroom into a truly tranquil space. For instance, you may want to repaint it in more soothing colors, invest in a luxurious bed, soundproof the walls, or add a cozy reading nook.
- Dedicated space addition: Remodeling projects that create space for your favorite activities are instrumental in turning a house into a home. For example, you may want to add a carpentry workshop, an art studio, a music room for jamming sessions, or a home gym for regular workouts. Consider transforming unfinished or underused areas (such as a basement or attic) into spaces dedicated to your passions.
- Deck construction: Add a deck to your front or back yard and you’ll find yourself spending more leisure time outdoors in the warmer months. Deck additions let you set up an area for barbecuing, entertaining guests, or lounging in a hammock when you wish to relax and recharge – all while soaking up the beauty of the surrounding nature.
When is a house not a home?
A house is merely a structure and not a home when it lacks warmth, security, and a sense of belonging. A house without its inhabitants’ love and personal touch feels sterile, cold, and devoid of emotional resonance. Meanwhile, a house that’s neglected or in disrepair might still provide physical shelter, but you’ll never feel comfortable in it because it does not promote the feeling of security. Finally, you’ll never get that sense of belonging that truly makes a dwelling a home if you haven’t built lasting memories within its walls.