The counters were already in. Cream quartz, soft veining, the good stuff. The grey wood-effect floor was fresh too. She stood in the doorway, looked at her kitchen, and still felt let down.
Nothing in the room was wrong on its own. Nothing was talking to the cabinets. The walnut she had lived with for over a decade had gone from “rich” to “heavy,” and the two newest things in the room were fighting the oldest thing every morning.
Her first quote for new units paused her Pinterest scrolling for a week. So she went another way: kept every cabinet box, kept the quartz, kept the floor, and had the whole thing sprayed over a weekend in RAL 7040 Window Grey. Here is how it went, and what she learned the hard way so you do not have to.
The quote she did not take
A proper replacement for a kitchen her size runs eight to twenty-five thousand pounds once you add fitting, VAT, and the extras nobody mentions in the showroom. Add four to eight weeks of microwave dinners, a skip on the driveway, and the real risk of fitters chipping the quartz on the way out.
The part most companies will not tell you: if your counters are solid, your floor is fine, and your cabinet boxes are not falling apart, you do not need a new kitchen. You need a new finish on the one you have.
Why Window Grey and not just “any grey”
She did not grab a swatch off a rack. She went with RAL 7040 in a satin sheen, and it matters that it was this exact grey.
Window Grey sits in a sweet spot. It is cool enough to pull the room into the same decade as the quartz and the floor, but it carries a soft, dusty warmth that stops the kitchen from looking like a server room. A harder slate would have swallowed this much natural light. A chalk white would have washed out against the quartz. Window Grey lands in the middle on purpose.
The satin finish is doing quiet work too. Matte paint shows every fingerprint. Gloss shows every roller mark and looks cheap. Satin catches light softly, wipes down with a damp cloth, and ages well.
The part of the job nobody films
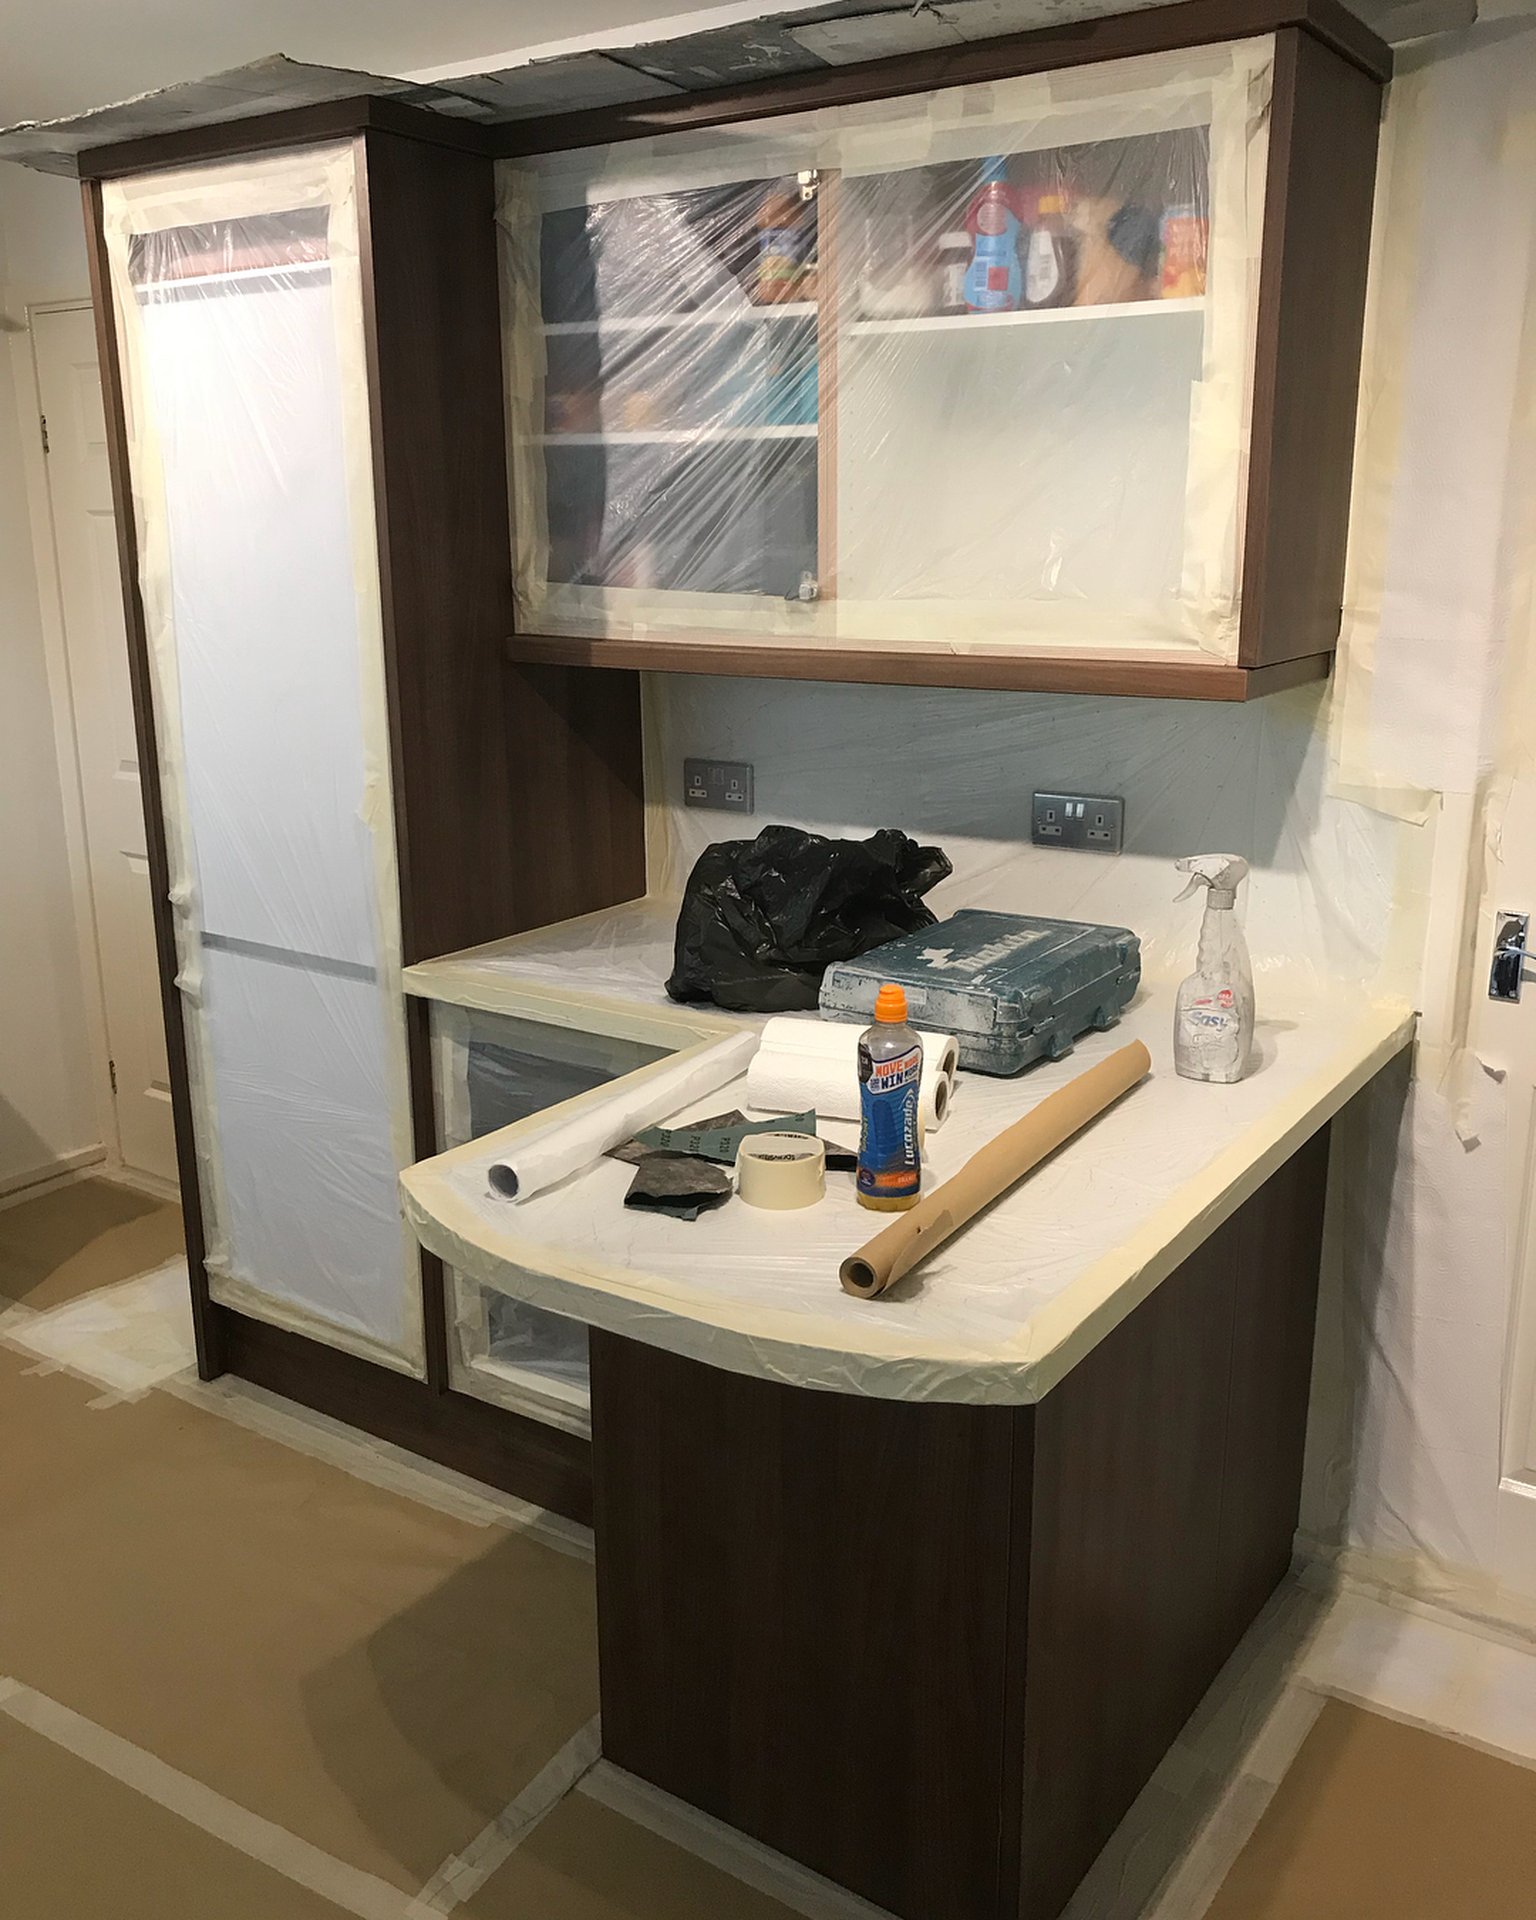
Before a drop of paint goes on, the whole kitchen gets wrapped. Counters, hob, oven, sockets, floor, ceiling, window frames, the lot. Masking properly takes a full day on its own and is the single biggest reason a pro team beats a weekend DIY attempt.
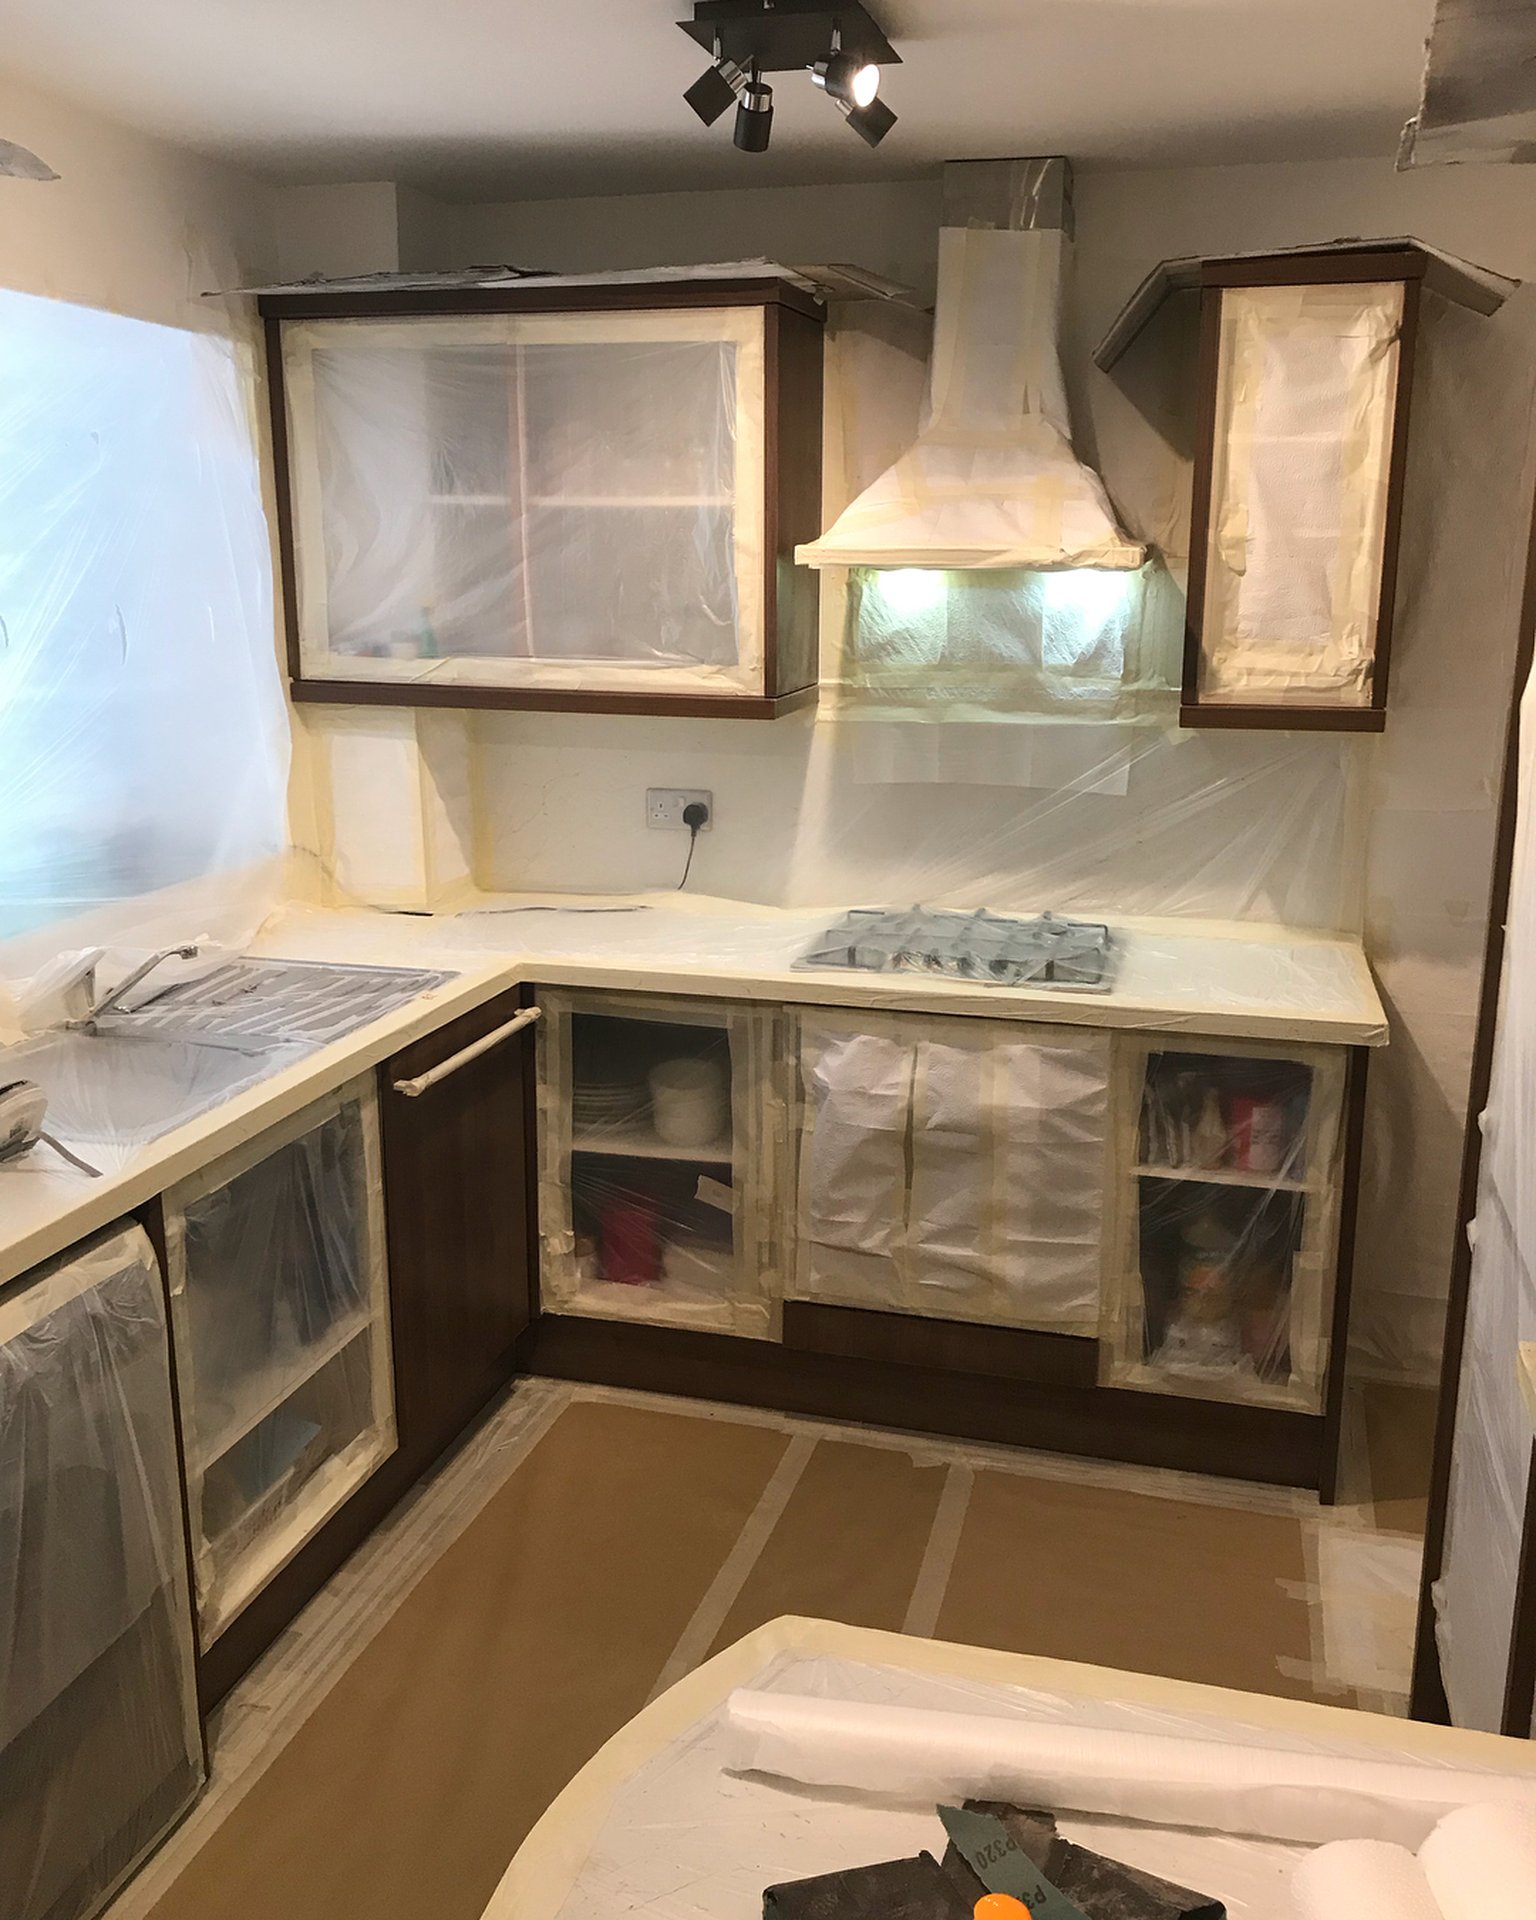
Doors and drawer fronts come off and get sprayed in a booth with no dust and no breeze. The cabinet frames stay put and get sprayed on site. Two or three coats of a two-pack lacquer go on, the same stuff that goes on car panels. It cures hard and does not peel at the edges six months later.
The change nobody notices, which is the point
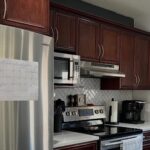
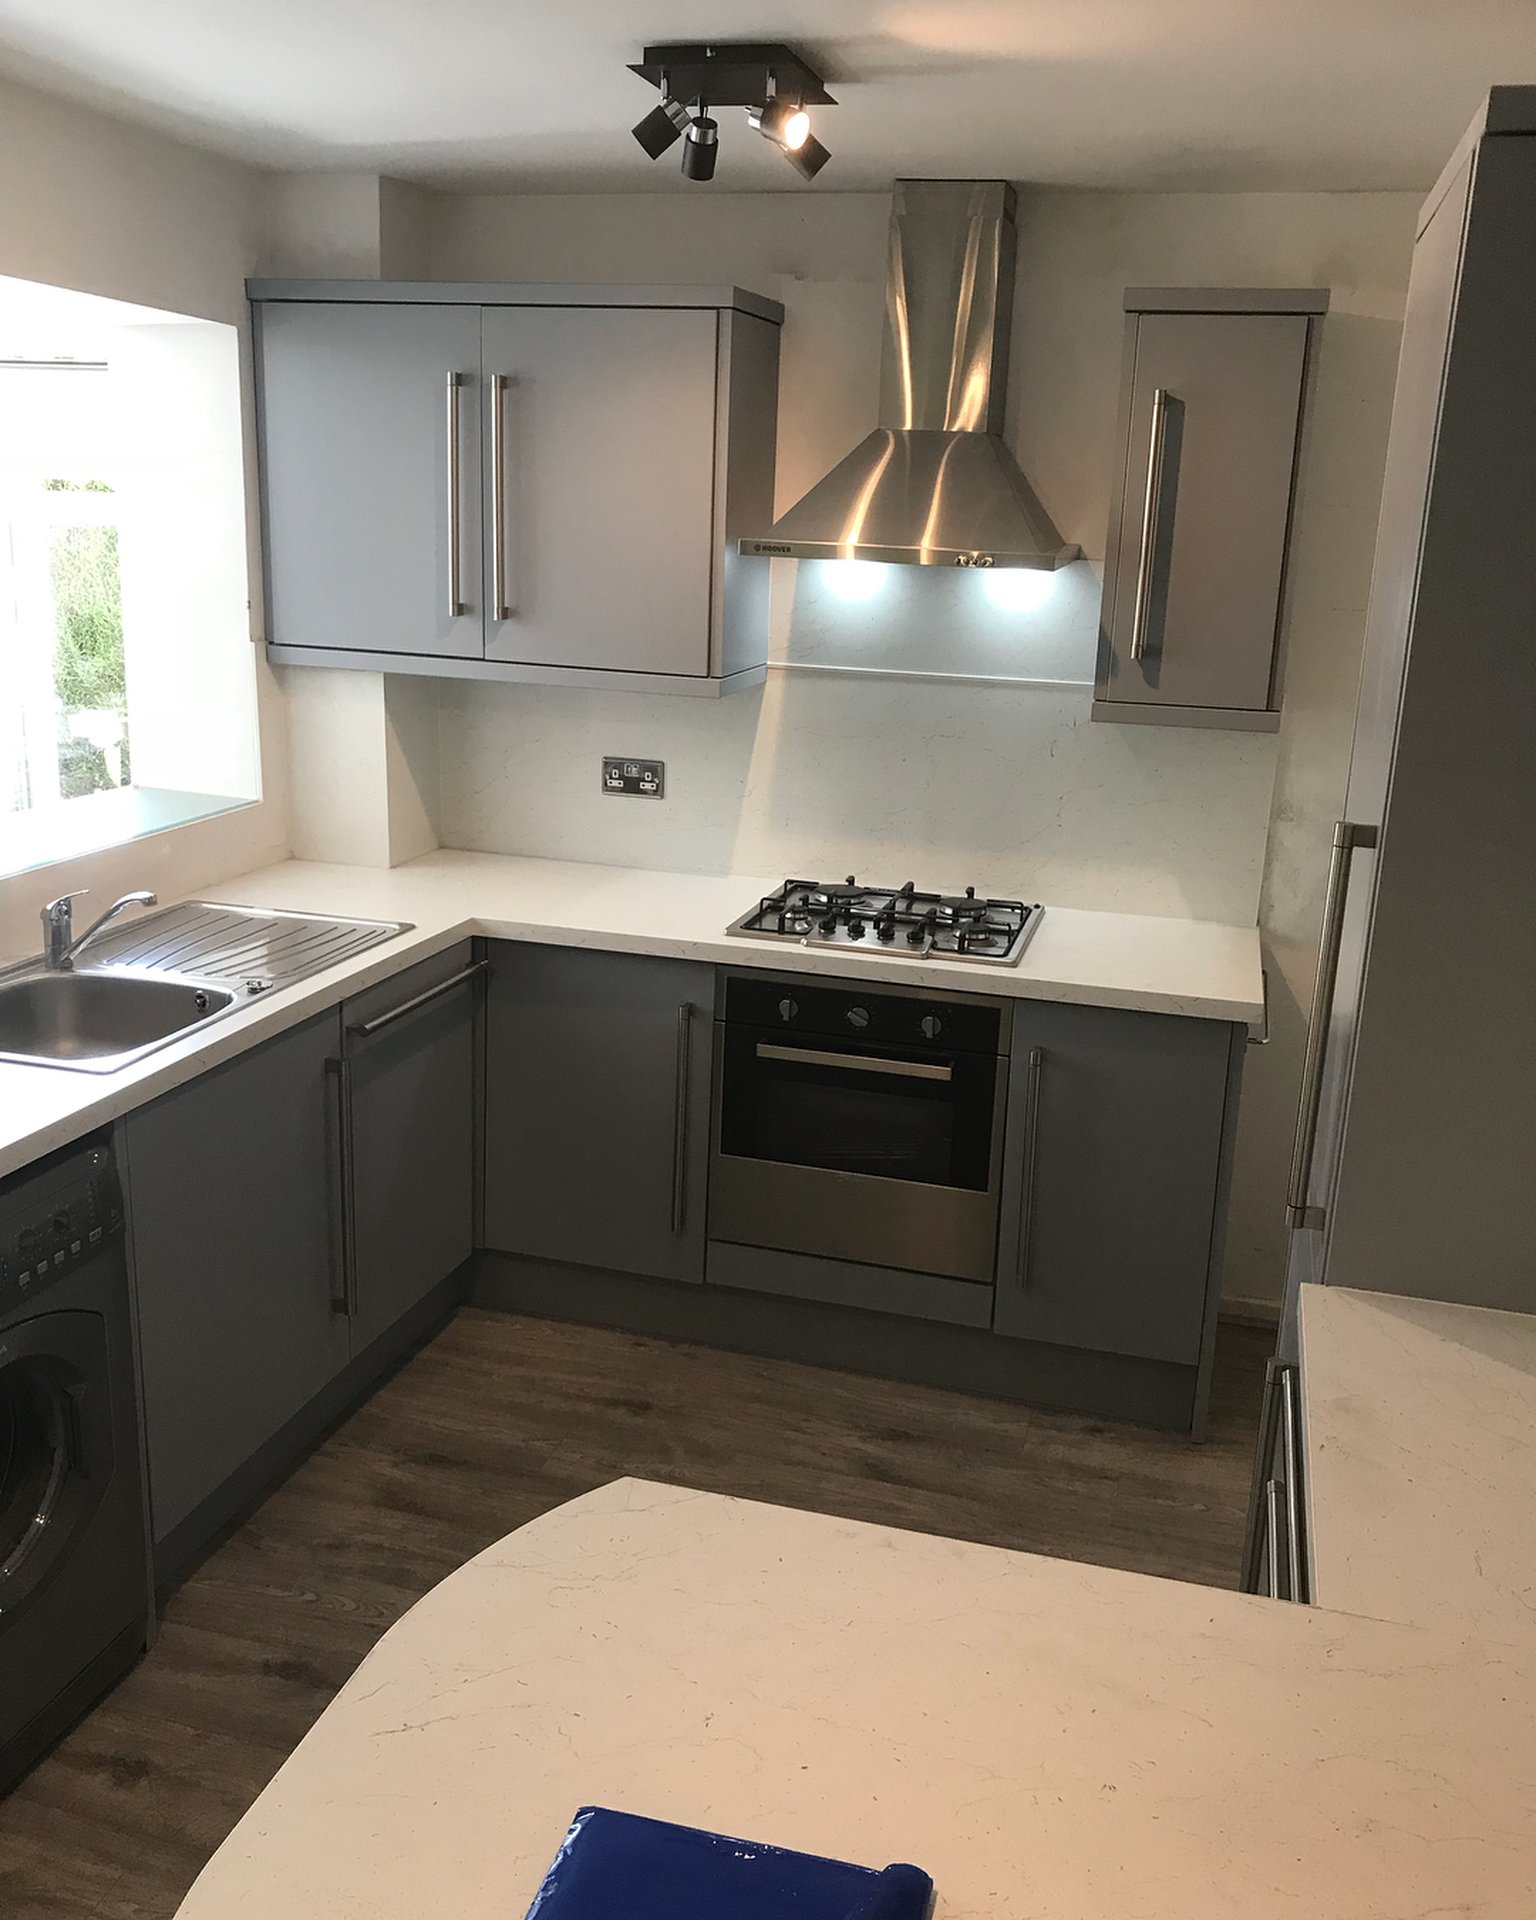
Look at the cooking wall. Same ceiling, same spotlights, same chimney hood, same socket in the same place. She did not move an appliance, knock out a wall, or swap the hob. The whole upgrade is one color change plus one small door swap on the glass uppers (switched for solid door fronts to match the new grey, which is why the top cabinets read as clean panels now).
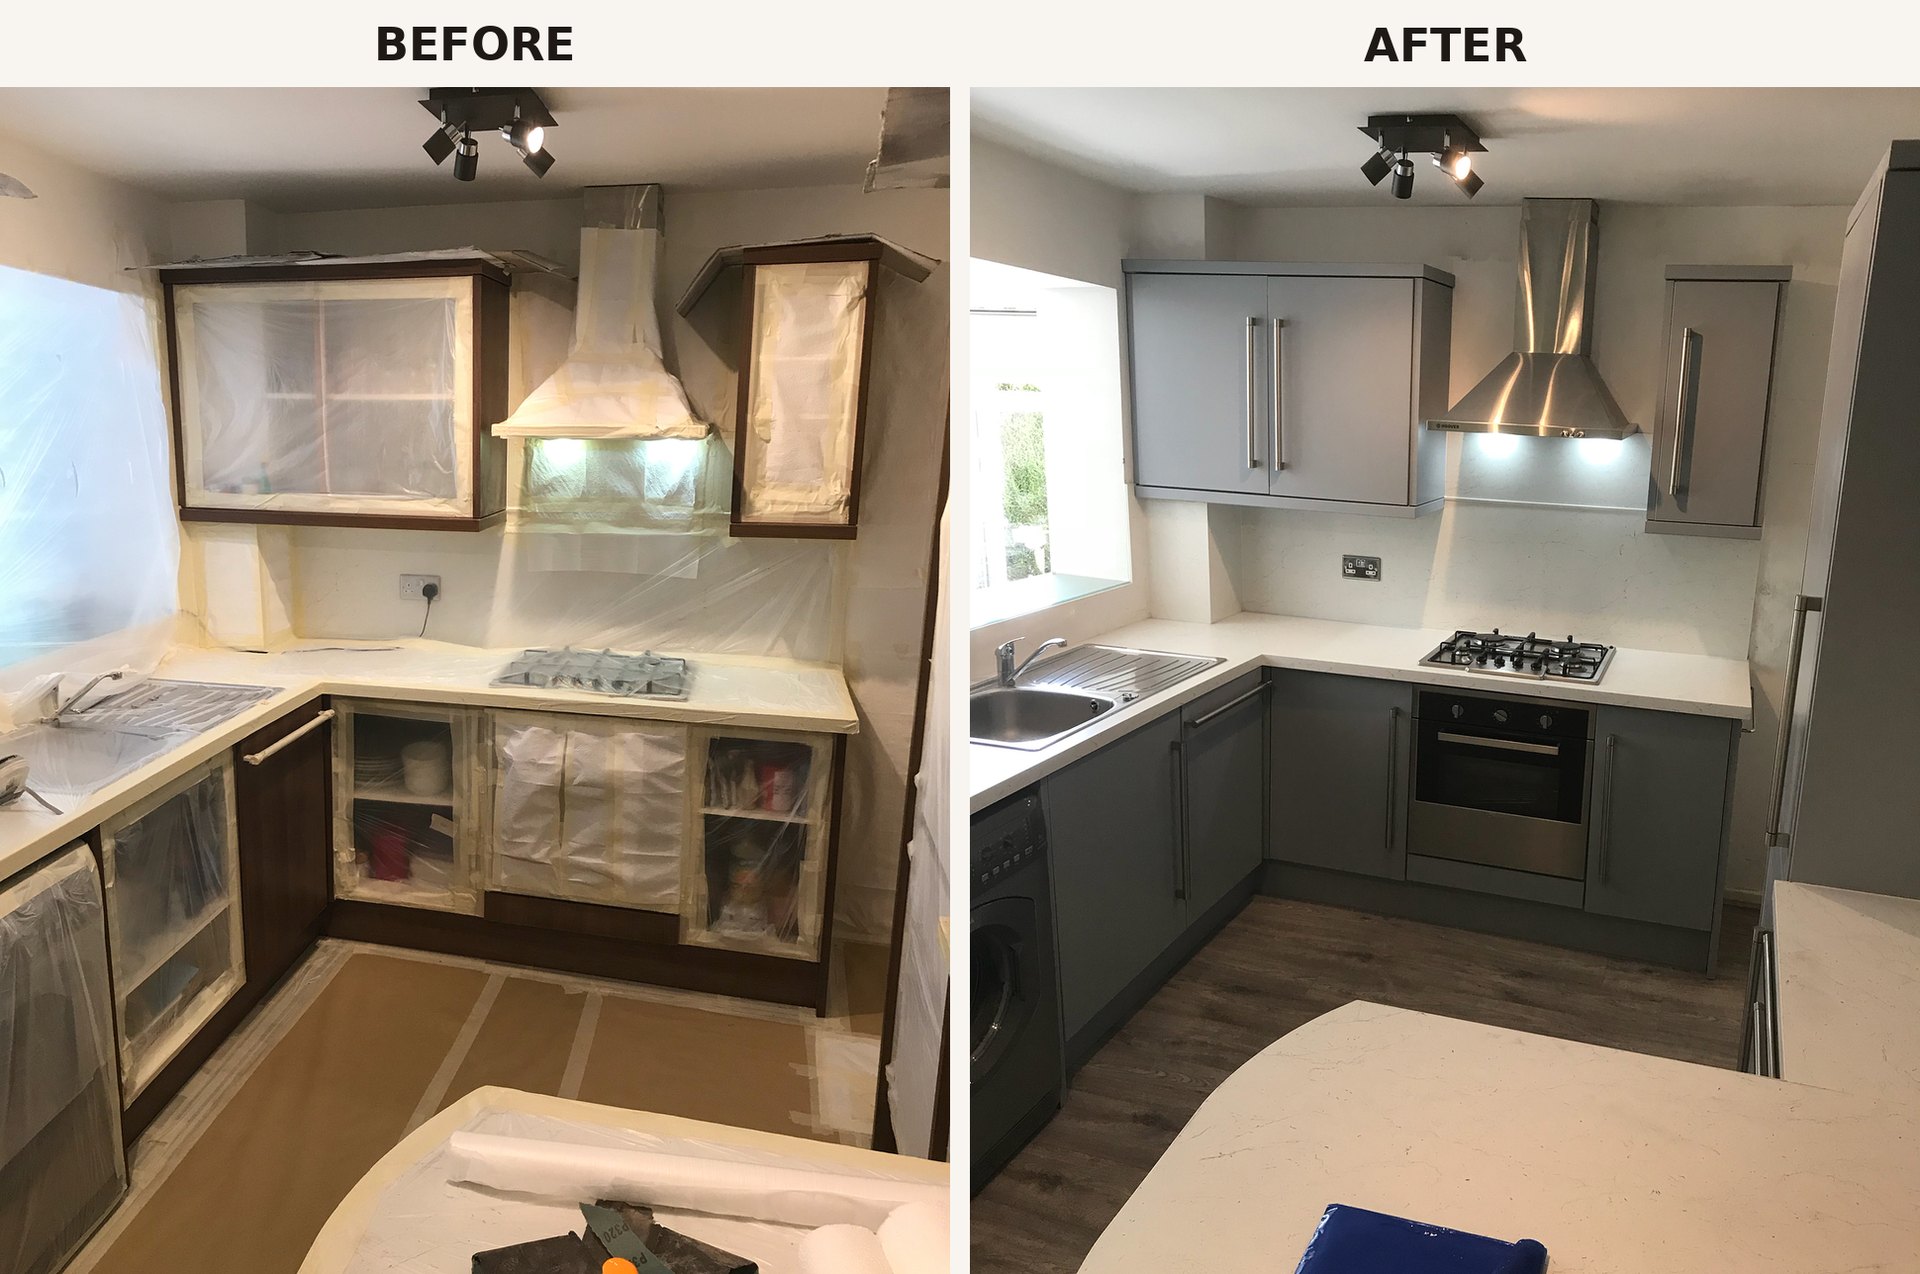
That is the trick. Nothing moved. The layout is identical. The eye reads it as a new kitchen because the finish stopped shouting over everything else.

The breakfast bar corner, before and after
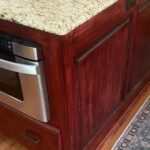
This is the other end of the same kitchen. Same slab of cream quartz on the breakfast bar. Same tall larder, same drawer stack, same sockets in the same holes.
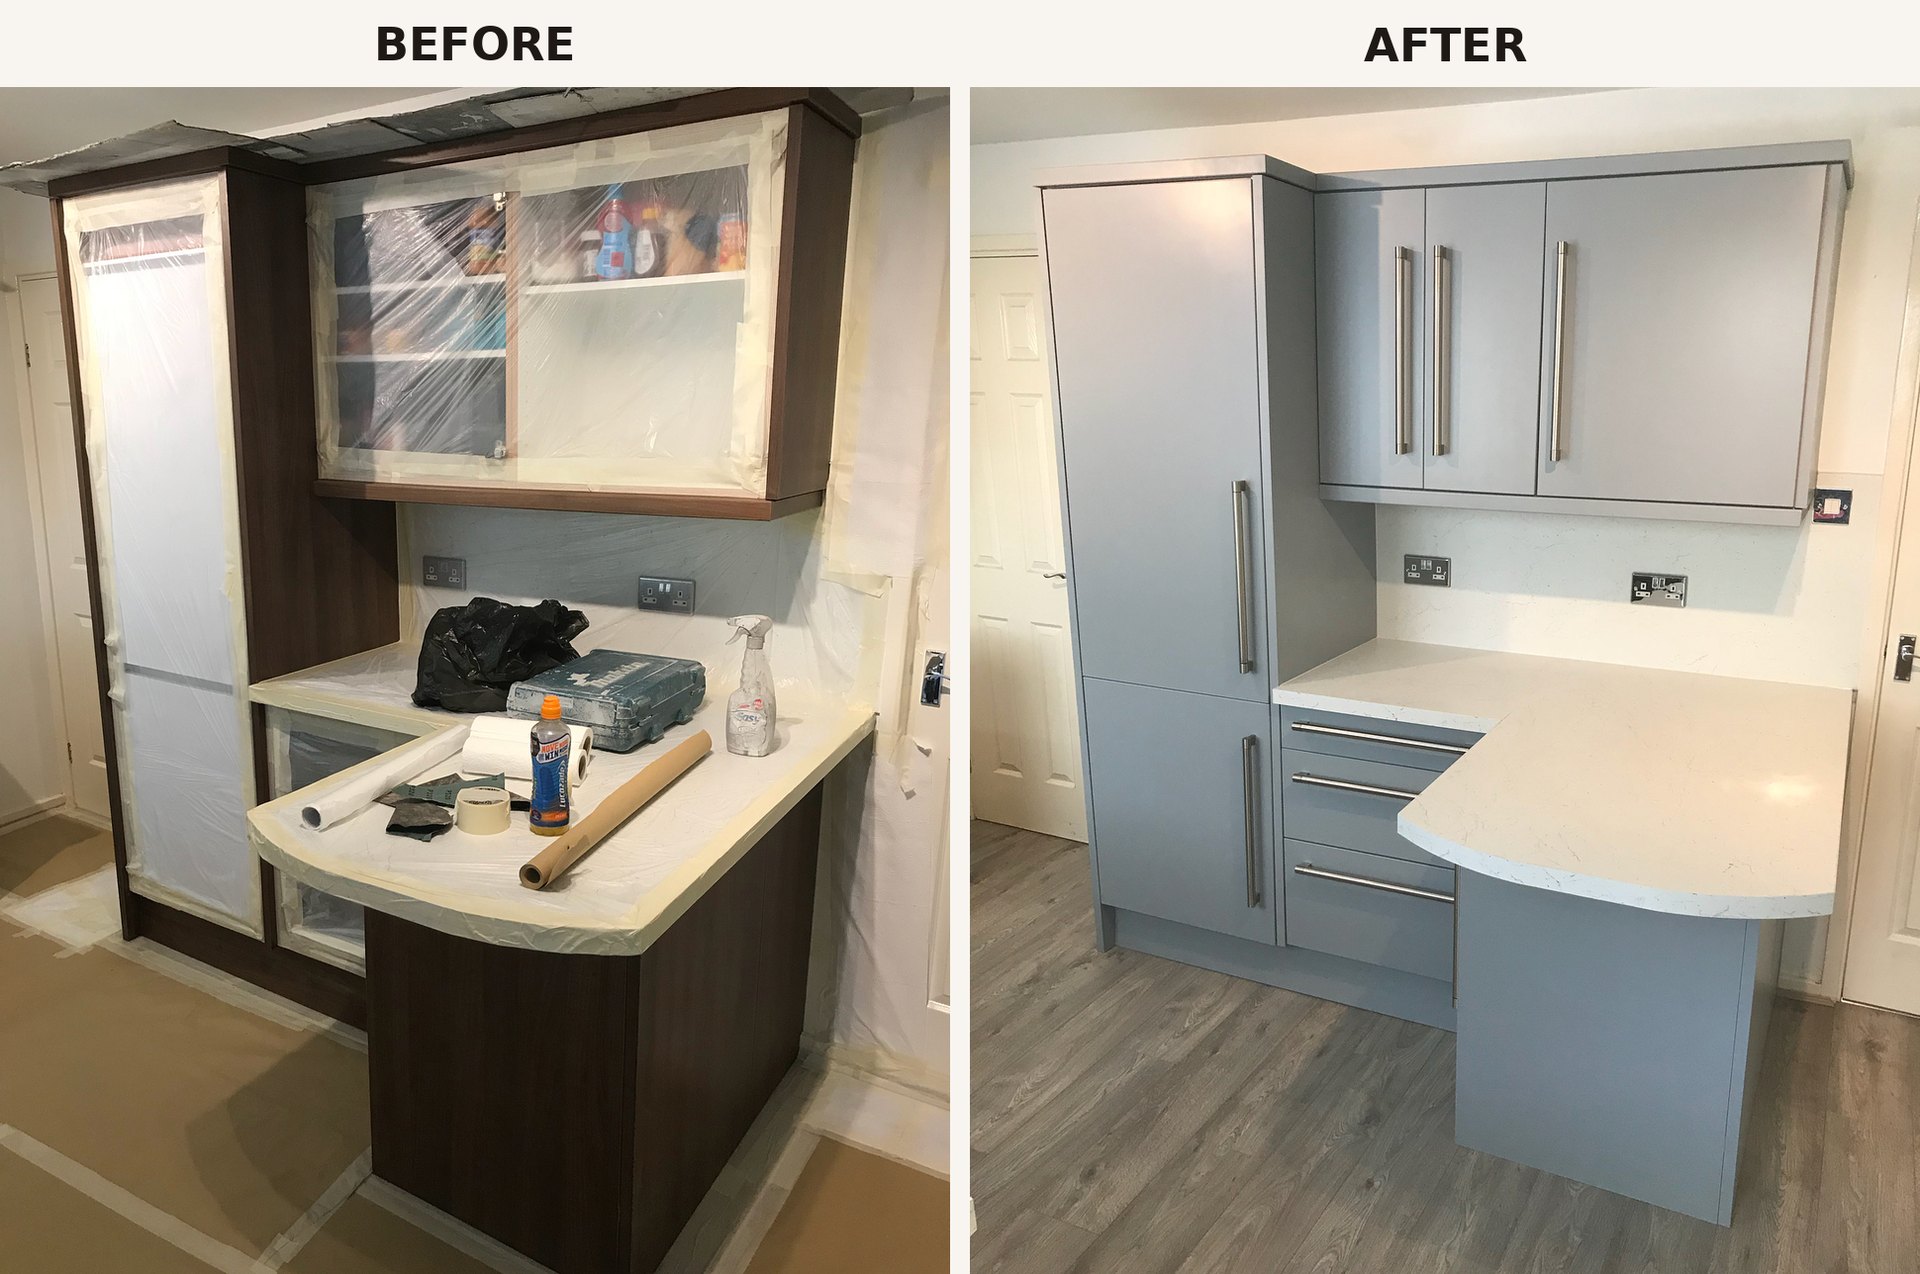
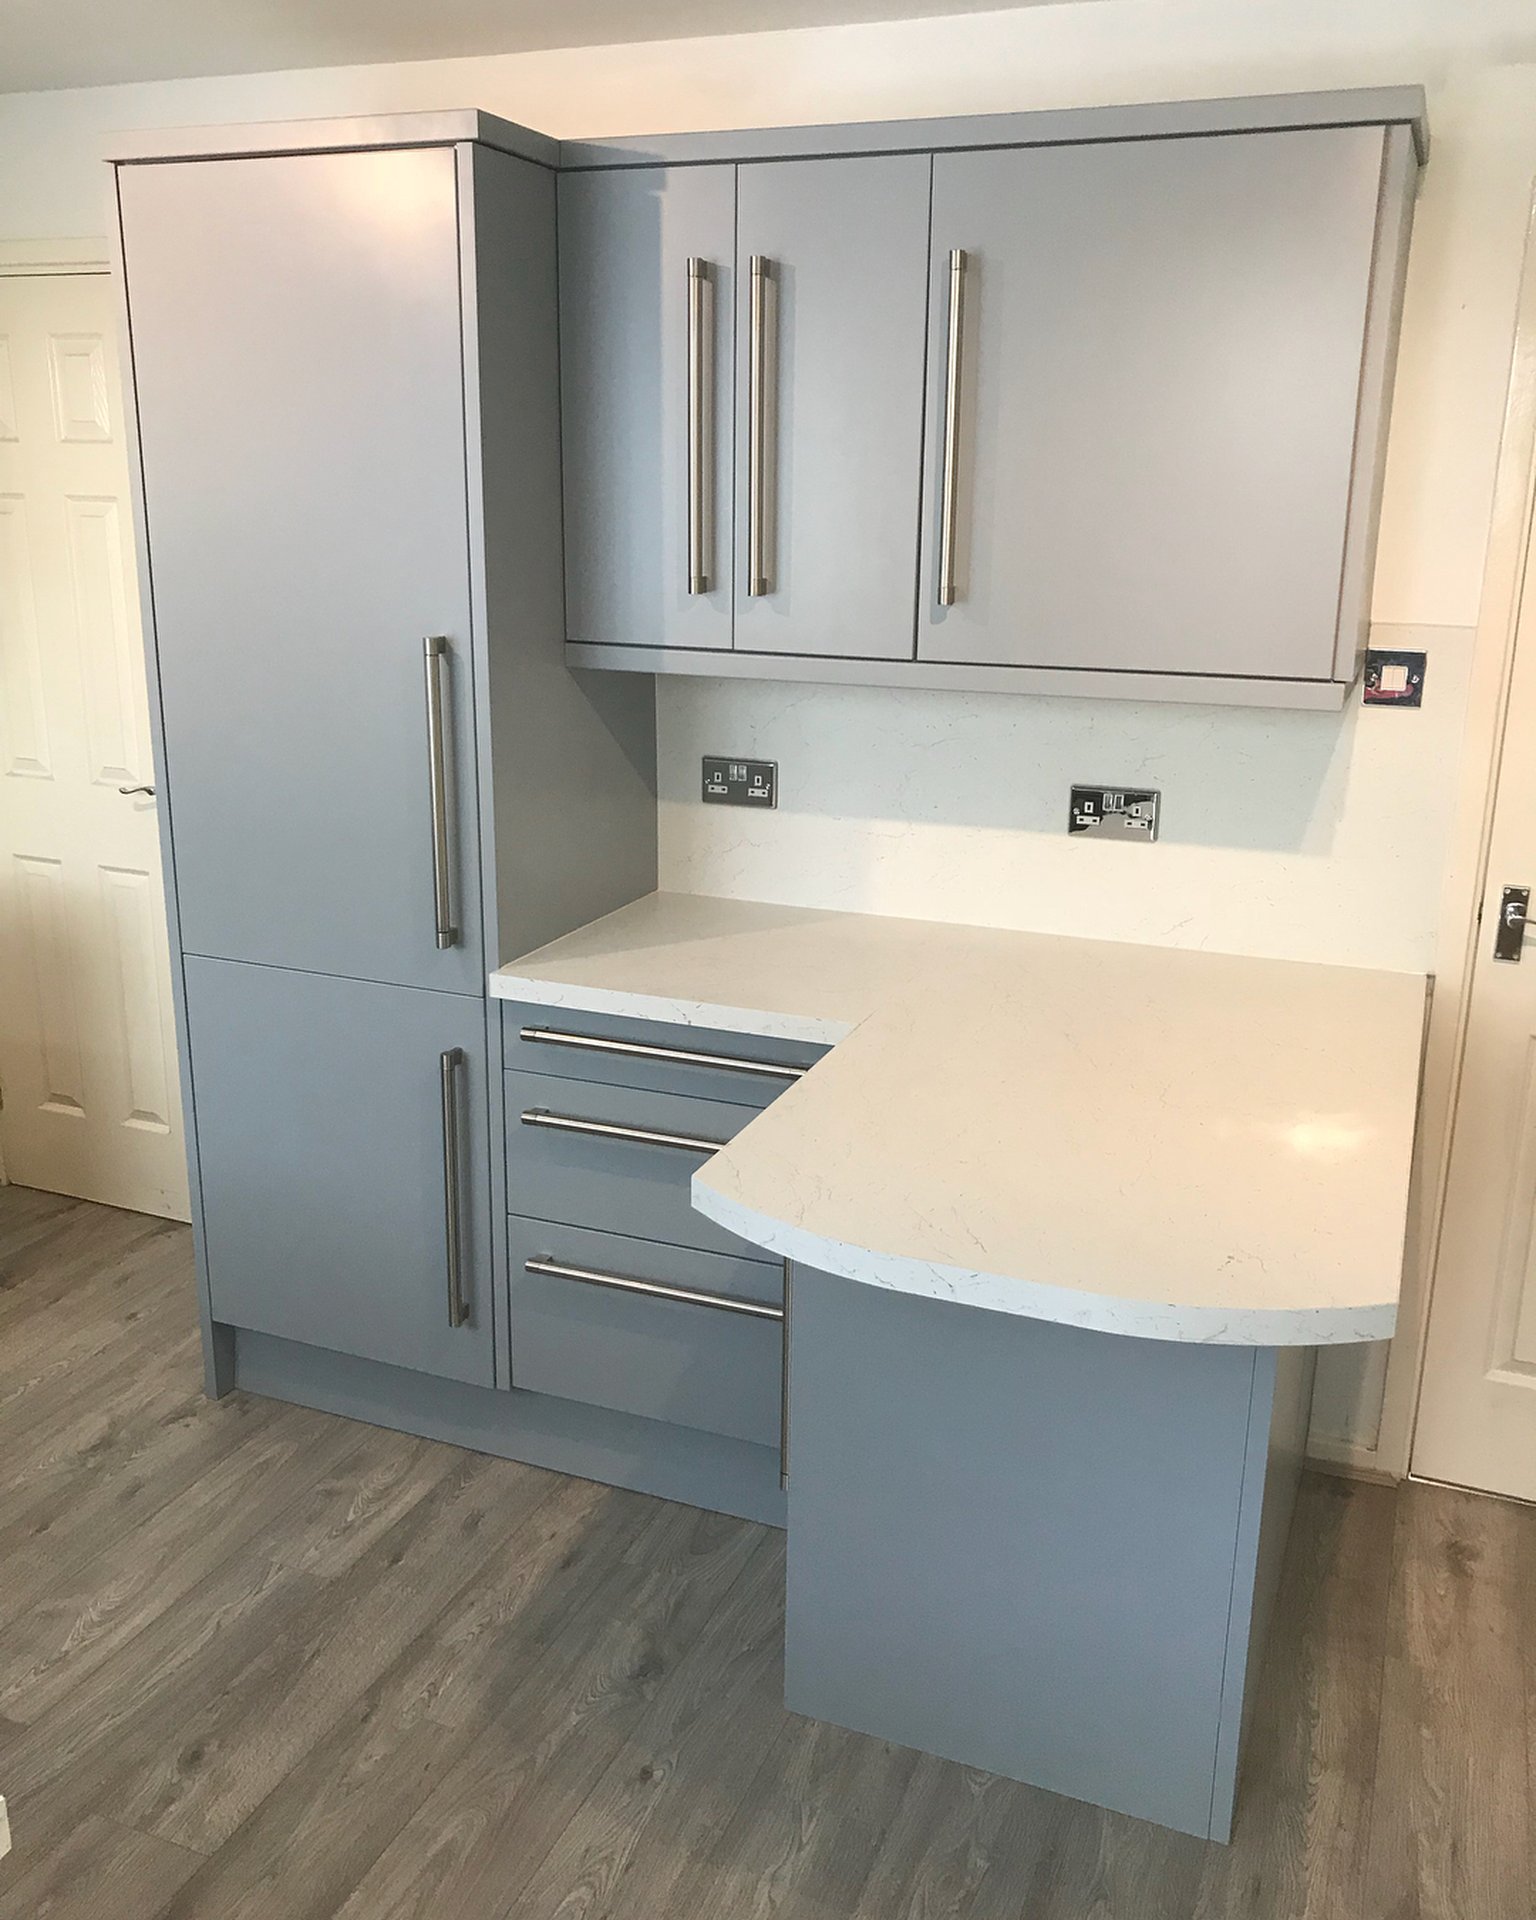
What changed: three brushed-steel bar handles on the drawers, solid uppers in place of glass, and the color. The curved quartz went from looking stranded on a dark wood box to looking like it was planned with the cabinets from day one.
The sink side you only notice once it is right
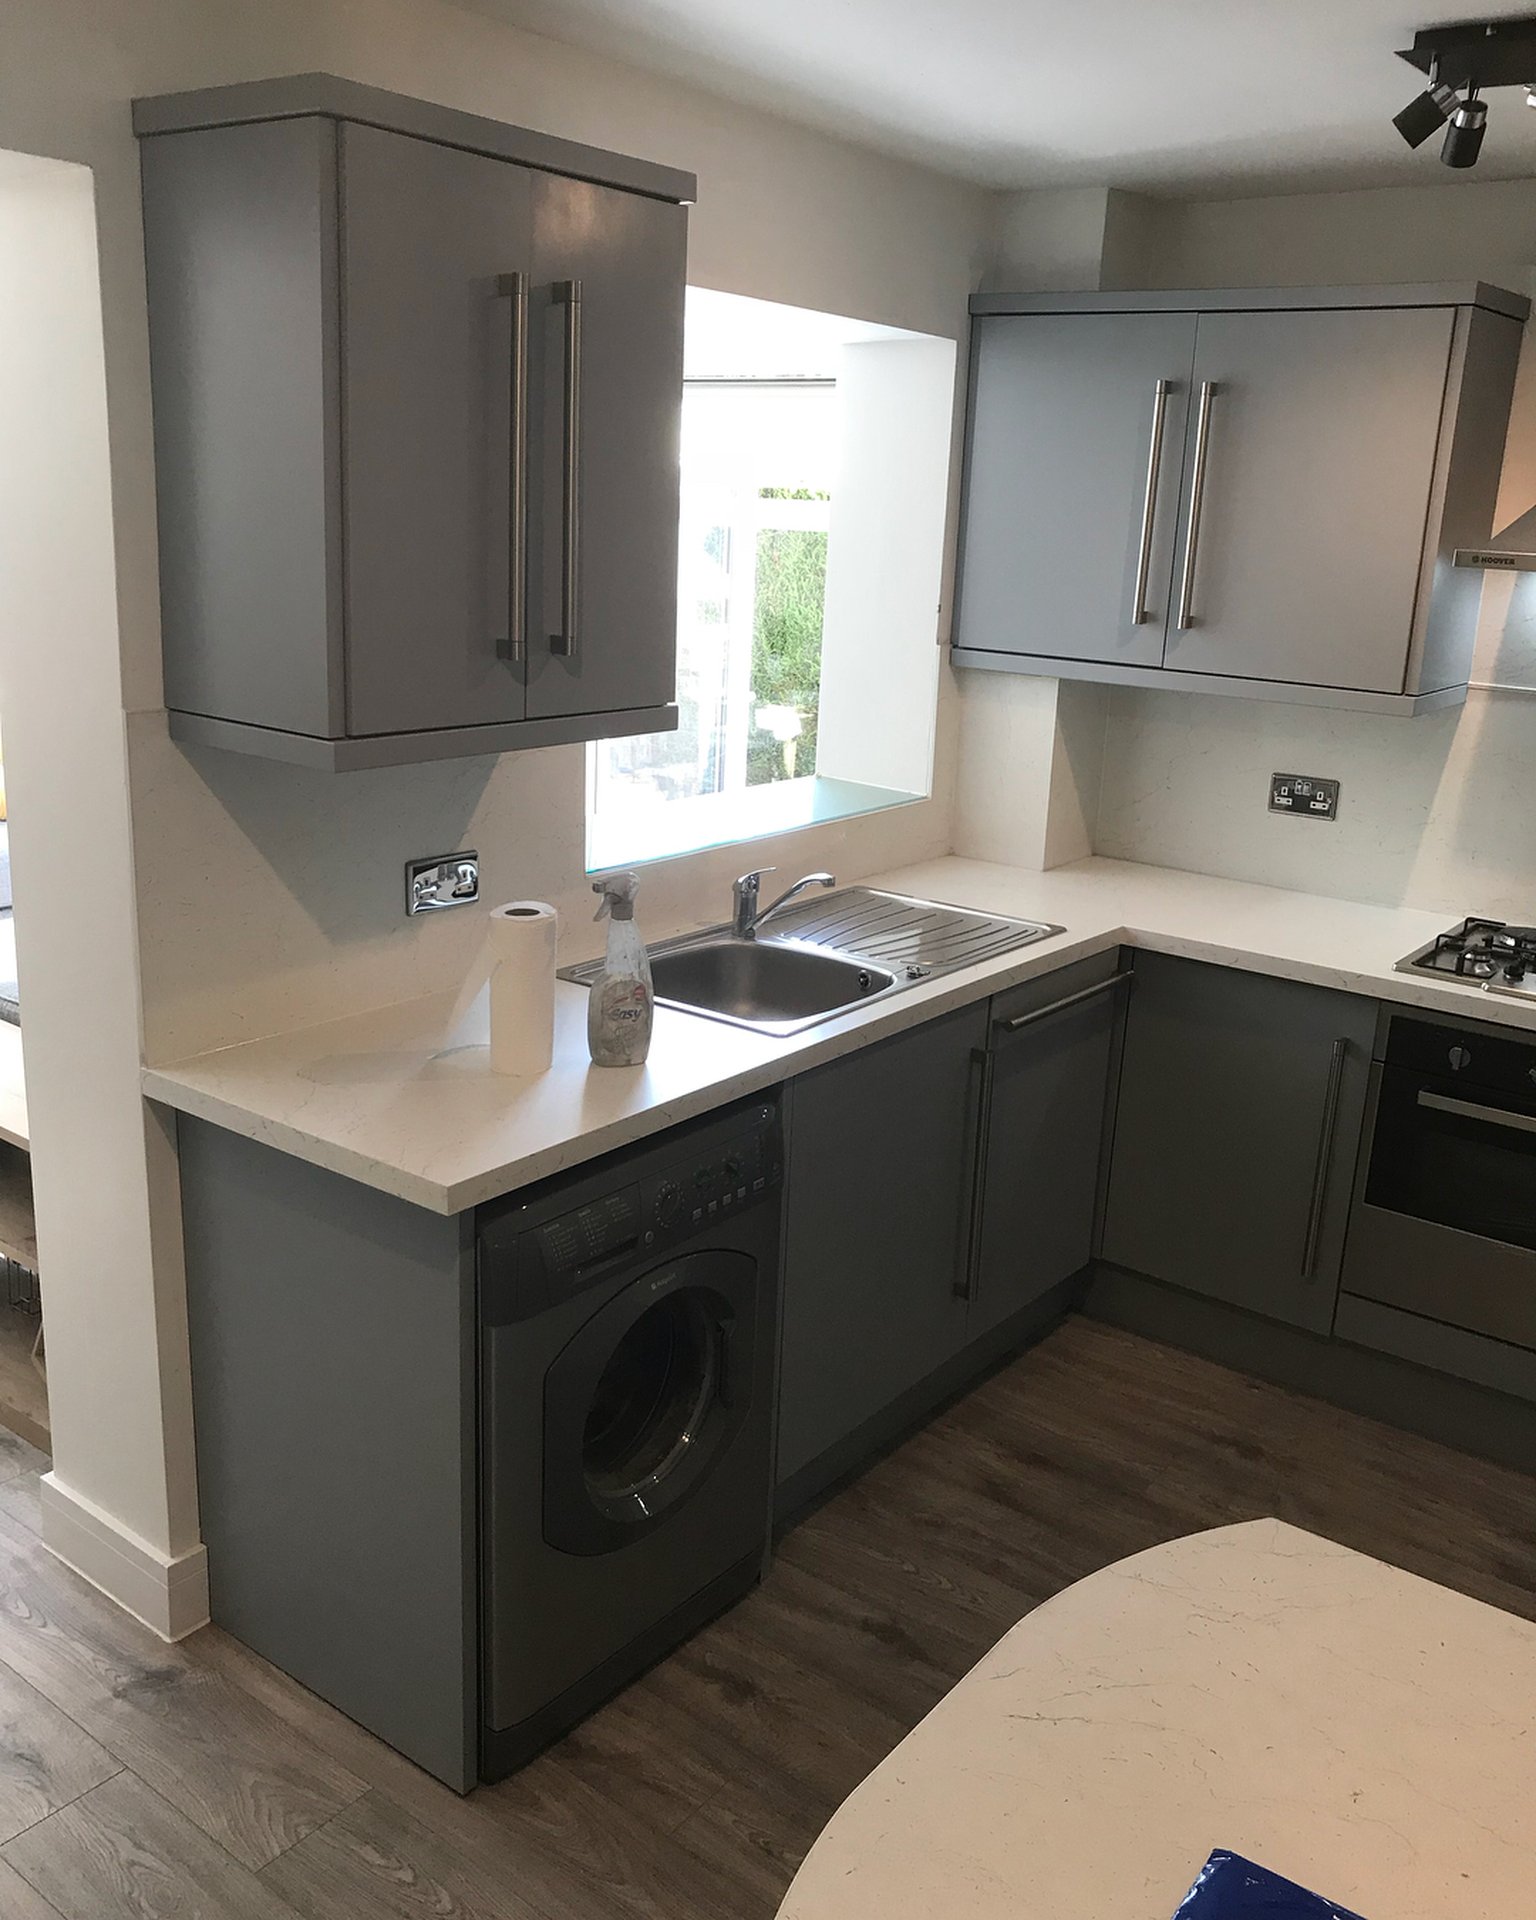
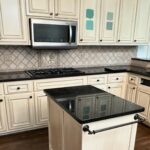
Look at how much light that window throws now that the walnut is gone. The window did not change. The cabinets just stopped soaking up every bit of daylight coming through it.
The full room pulled together
What this actually costs, and who should skip it
A professional spray for a kitchen this size runs roughly £1,000 to £2,500 in the UK, or $1,500 to $3,000 in the US, depending on door count. Compared to a new kitchen, that is coffee money.
Good candidates: solid wood or solid MDF doors that are structurally fine but look dated, with counters and floors that are newer than the cabinets.
Skip the spray if your doors are chipped, swollen, water damaged, or made of thin thermofoil that is already peeling. Paint will not save a door that is already failing. New doors on the old boxes are still a fraction of the cost of a full rip-out.
The one lesson worth stealing
A kitchen that feels tired is almost never a kitchen that needs replacing. Nine times out of ten the cabinets are fine, the layout is fine, the appliances are fine, and the finish is the one thing dragging the room backward. One weekend, one color, one careful crew, and the fight is over.