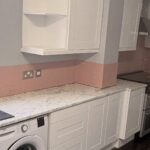
A homeowner in Handsworth did what thousands of people on Pinterest and TikTok are told to do every day. Her kitchen looked tired. The cabinets were twenty years old. A full rip-out felt wasteful and the quote was brutal. So she took the shortcut. She wrapped the doors in vinyl.
For a little while, it looked great. Then it didn’t.
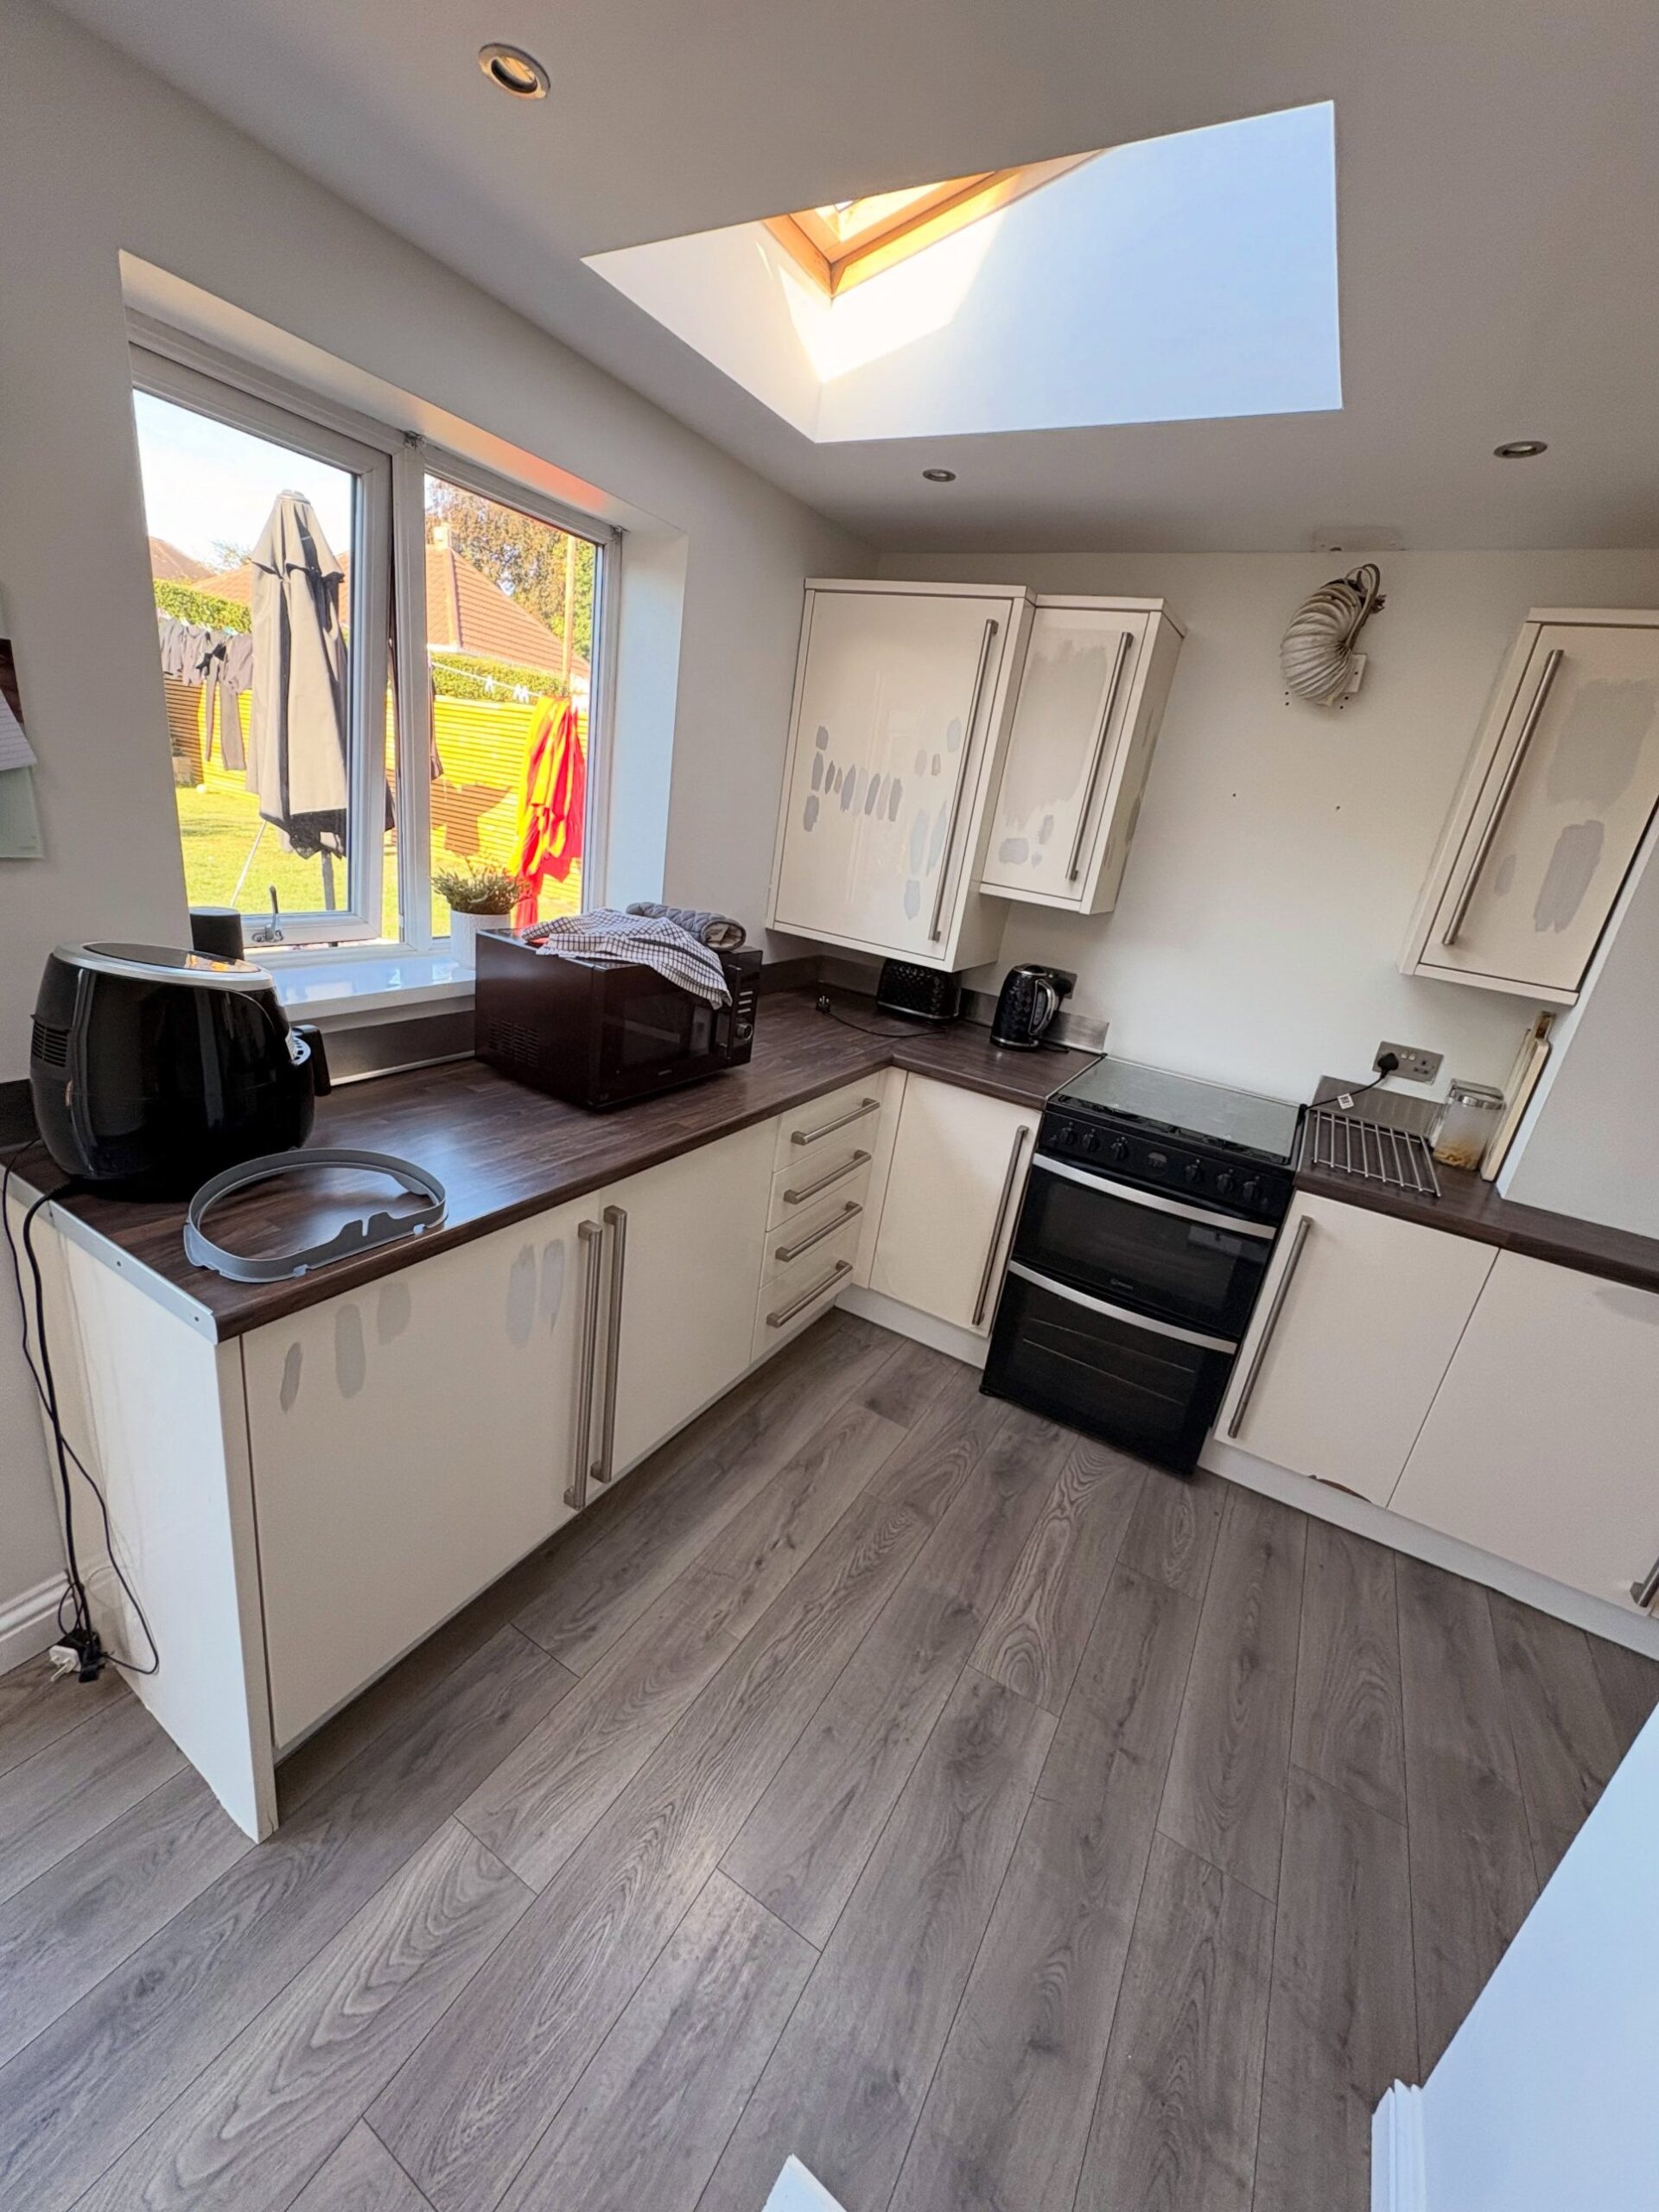
Why vinyl wraps quietly fail in real kitchens
Vinyl wraps are glue plus plastic. Kitchens are full of heat. Steam rises off the kettle. The oven throws warmth into the cabinet above it. The sun hits one door every afternoon through the back window. The glue gives up quietly. One summer a corner lifts. The next, a bubble forms by the hob. Over time, half the doors can start failing and there is nothing you can do to fix them. You cannot re-stick a wrap. You cannot paint over the plastic. You can only strip it off and start again.
That is exactly where she was when she called in a sprayer.
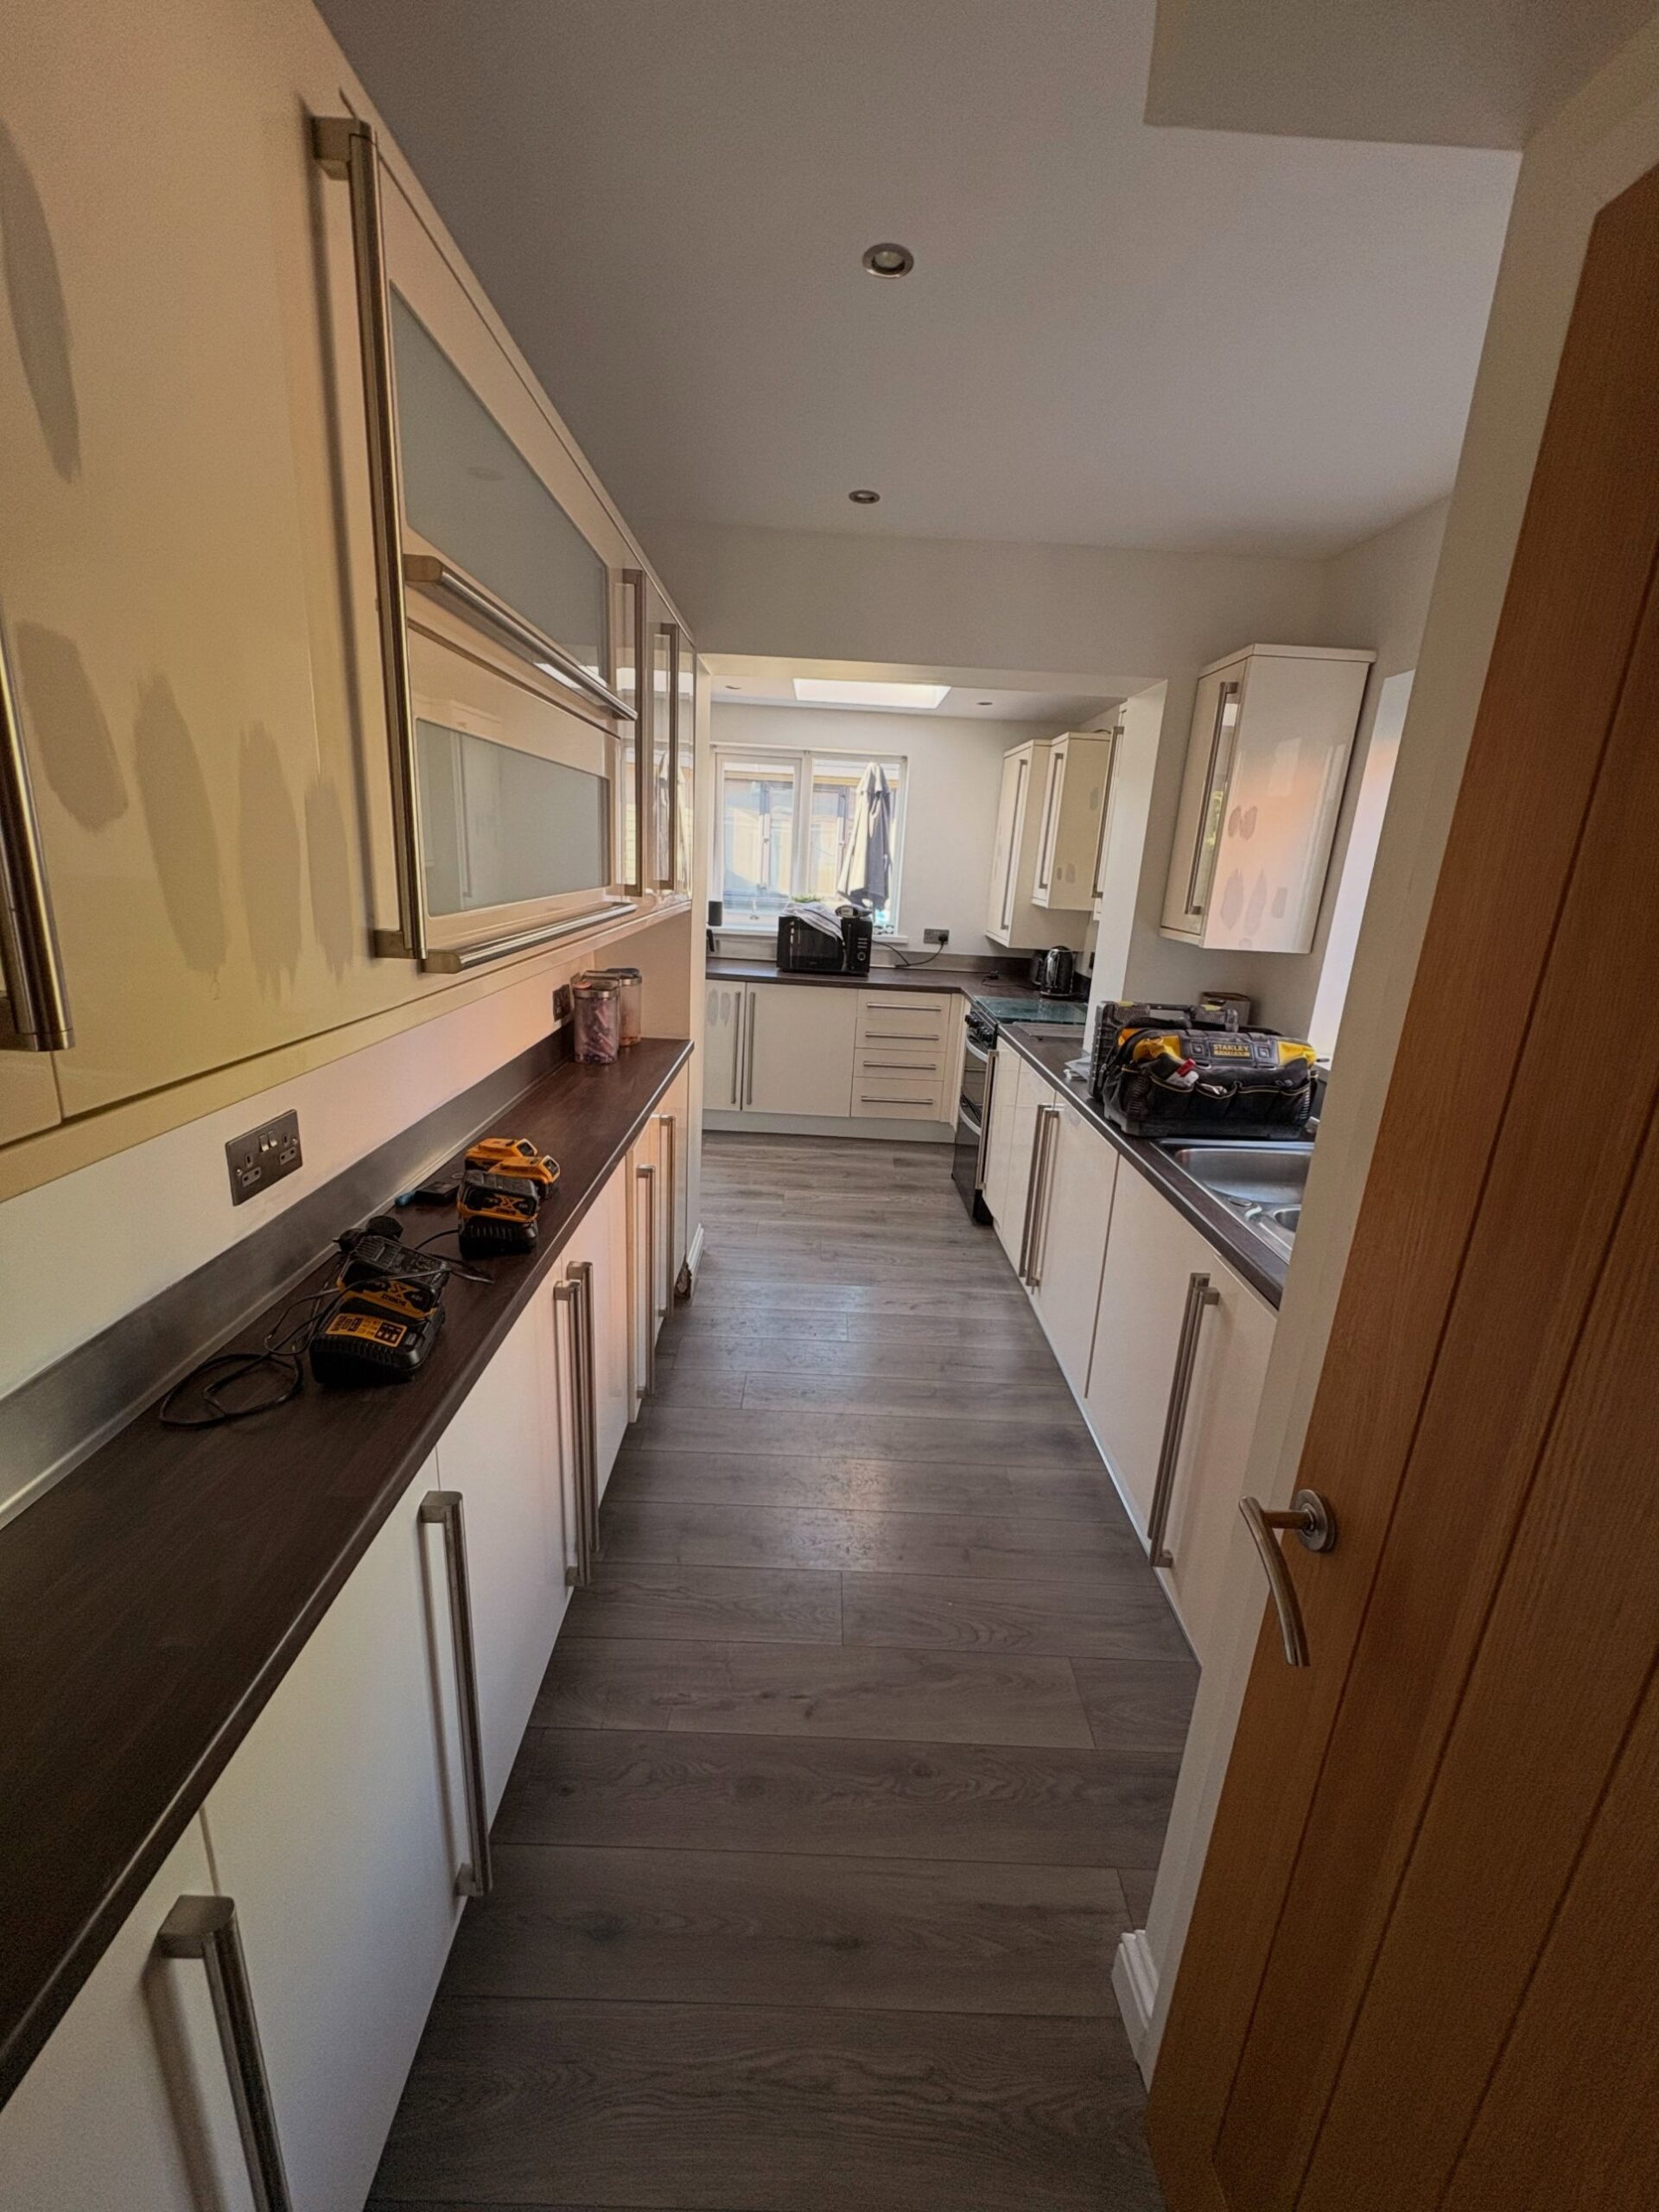
The ghost patches left behind after the wrap came off
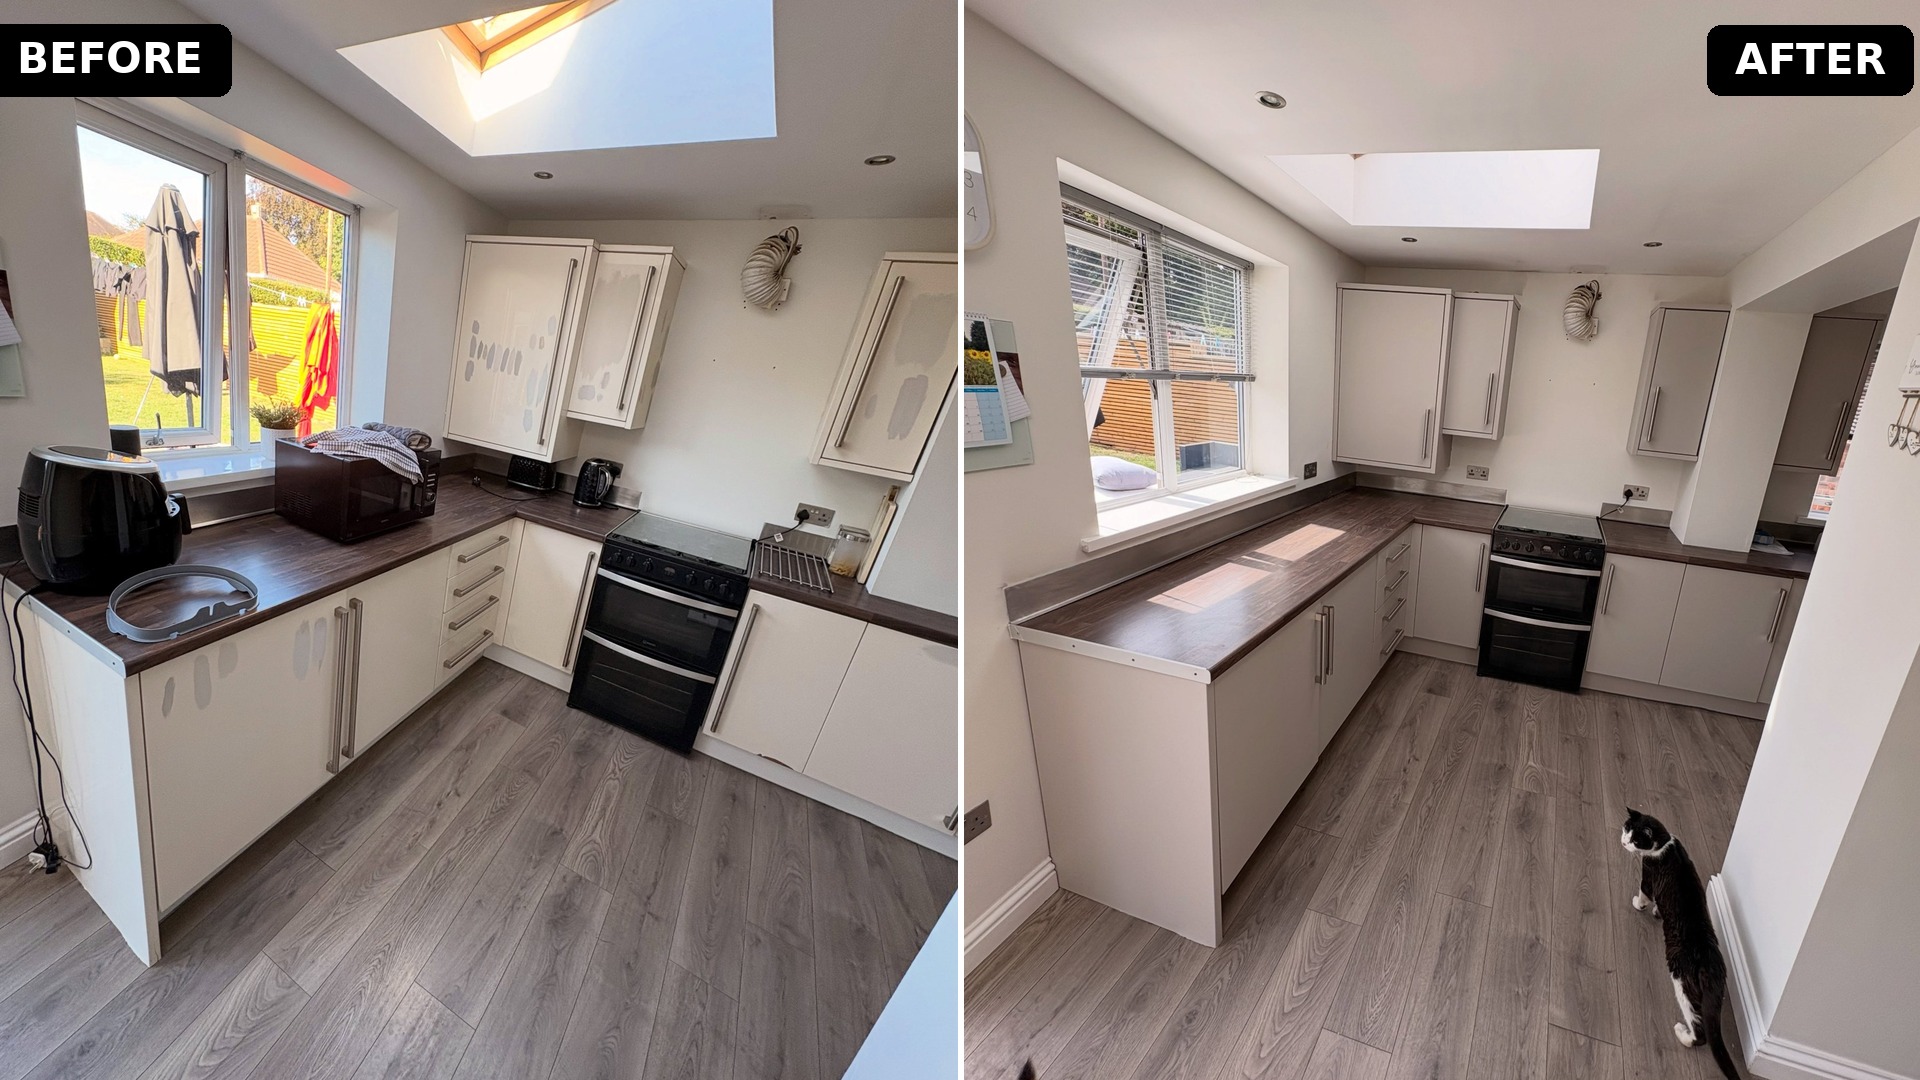
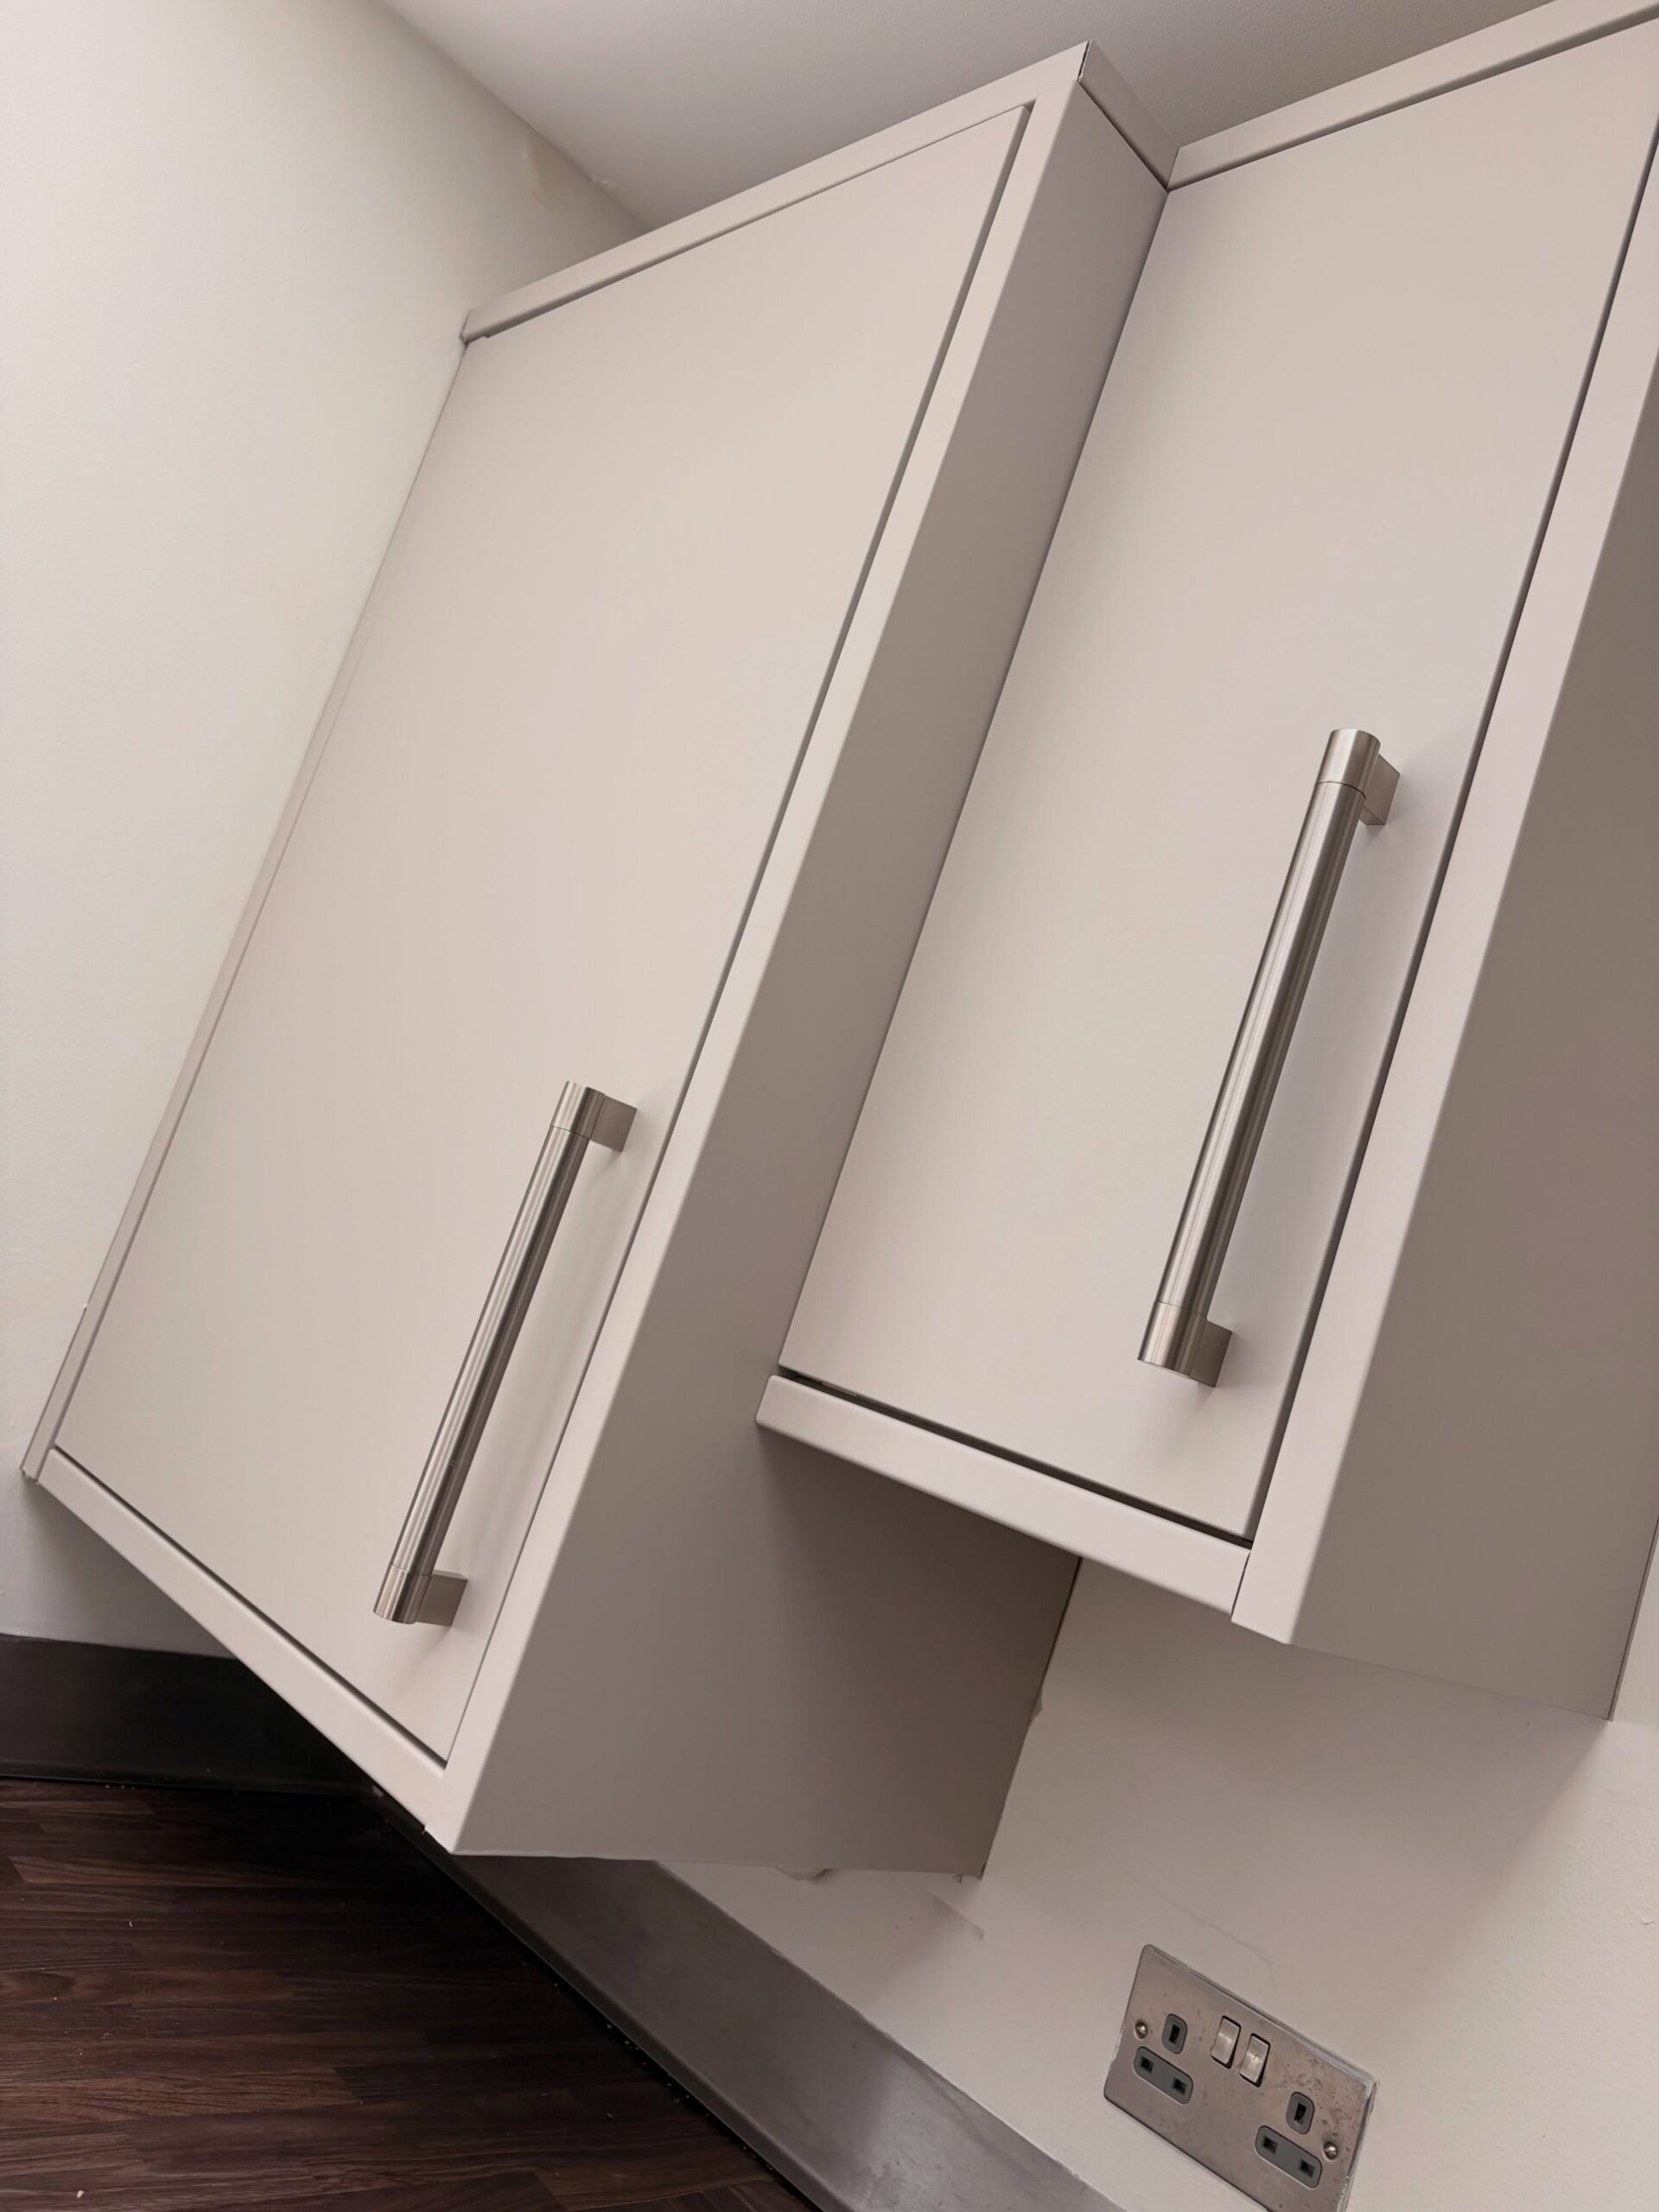
Look at the cabinet doors in these first photos. Those grey smudges and shadows are not dirt. They are the ghost patches left behind after every vinyl panel was peeled off, cleaned up, and sanded back to raw door. The carcasses underneath were fine. The twenty-year-old build was solid. The handles were long and dated but the frames were straight and the hinges still worked. What had failed was the hack.
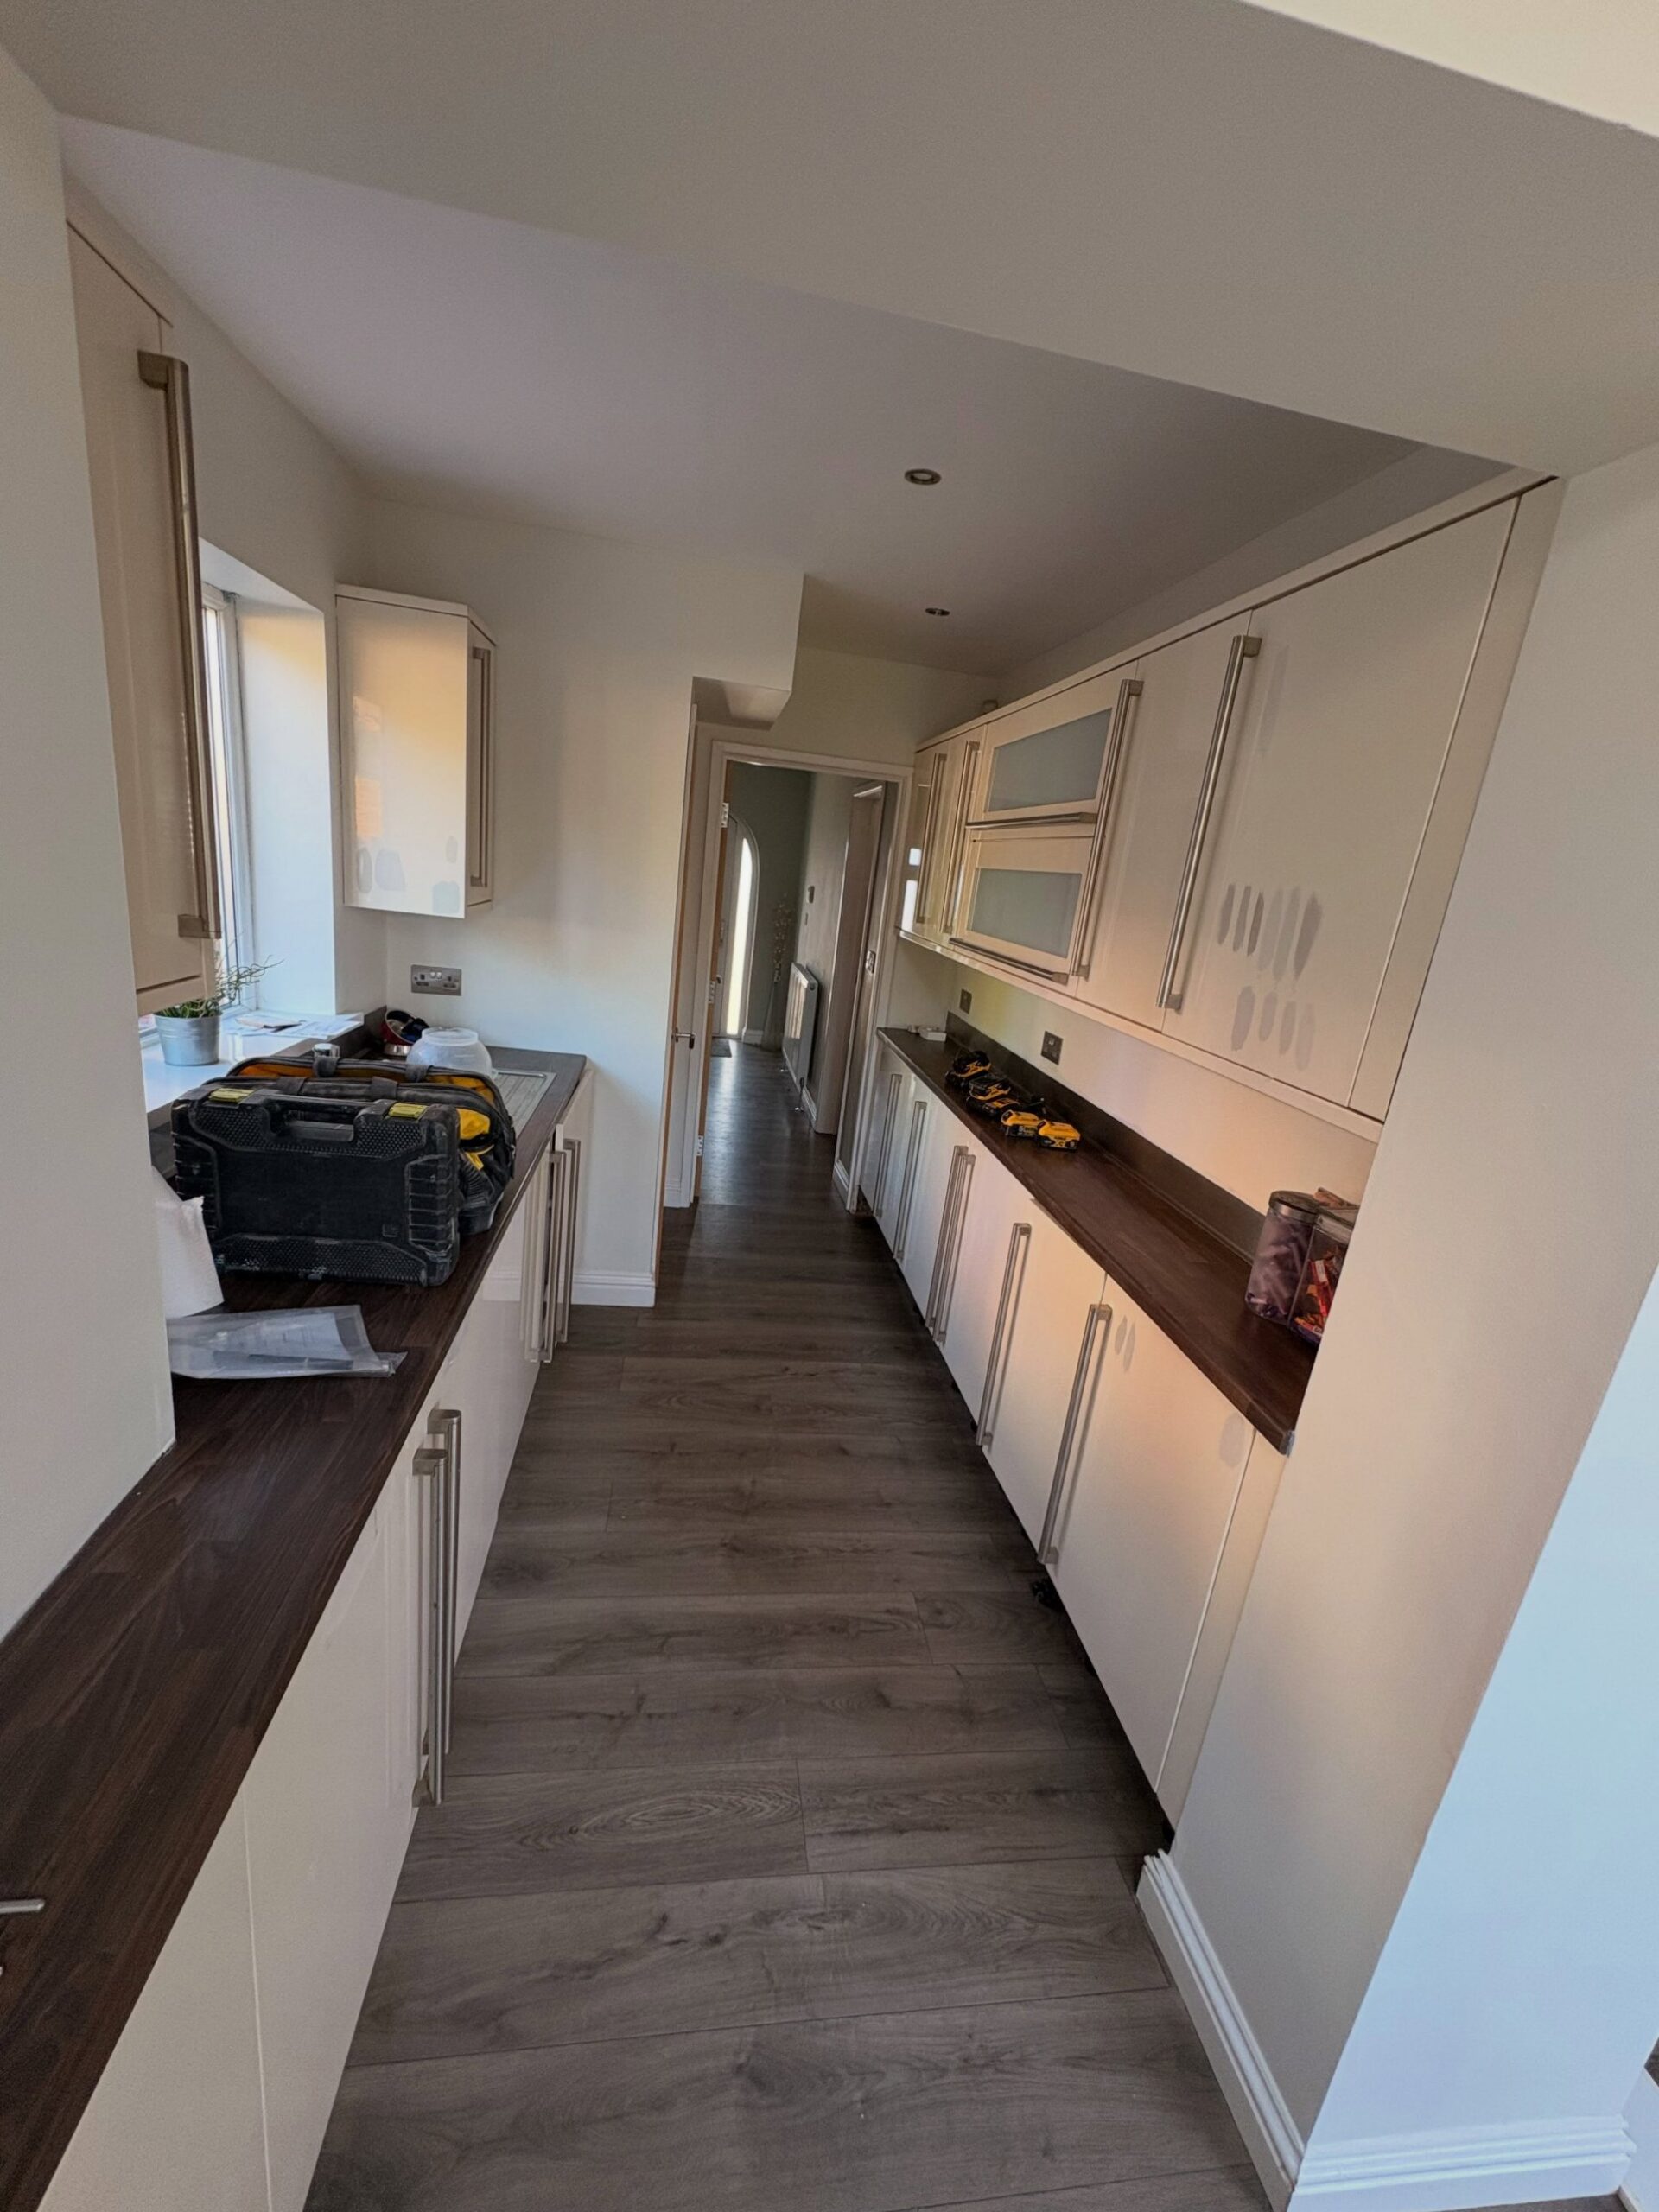
The real prep nobody shares in the hack videos
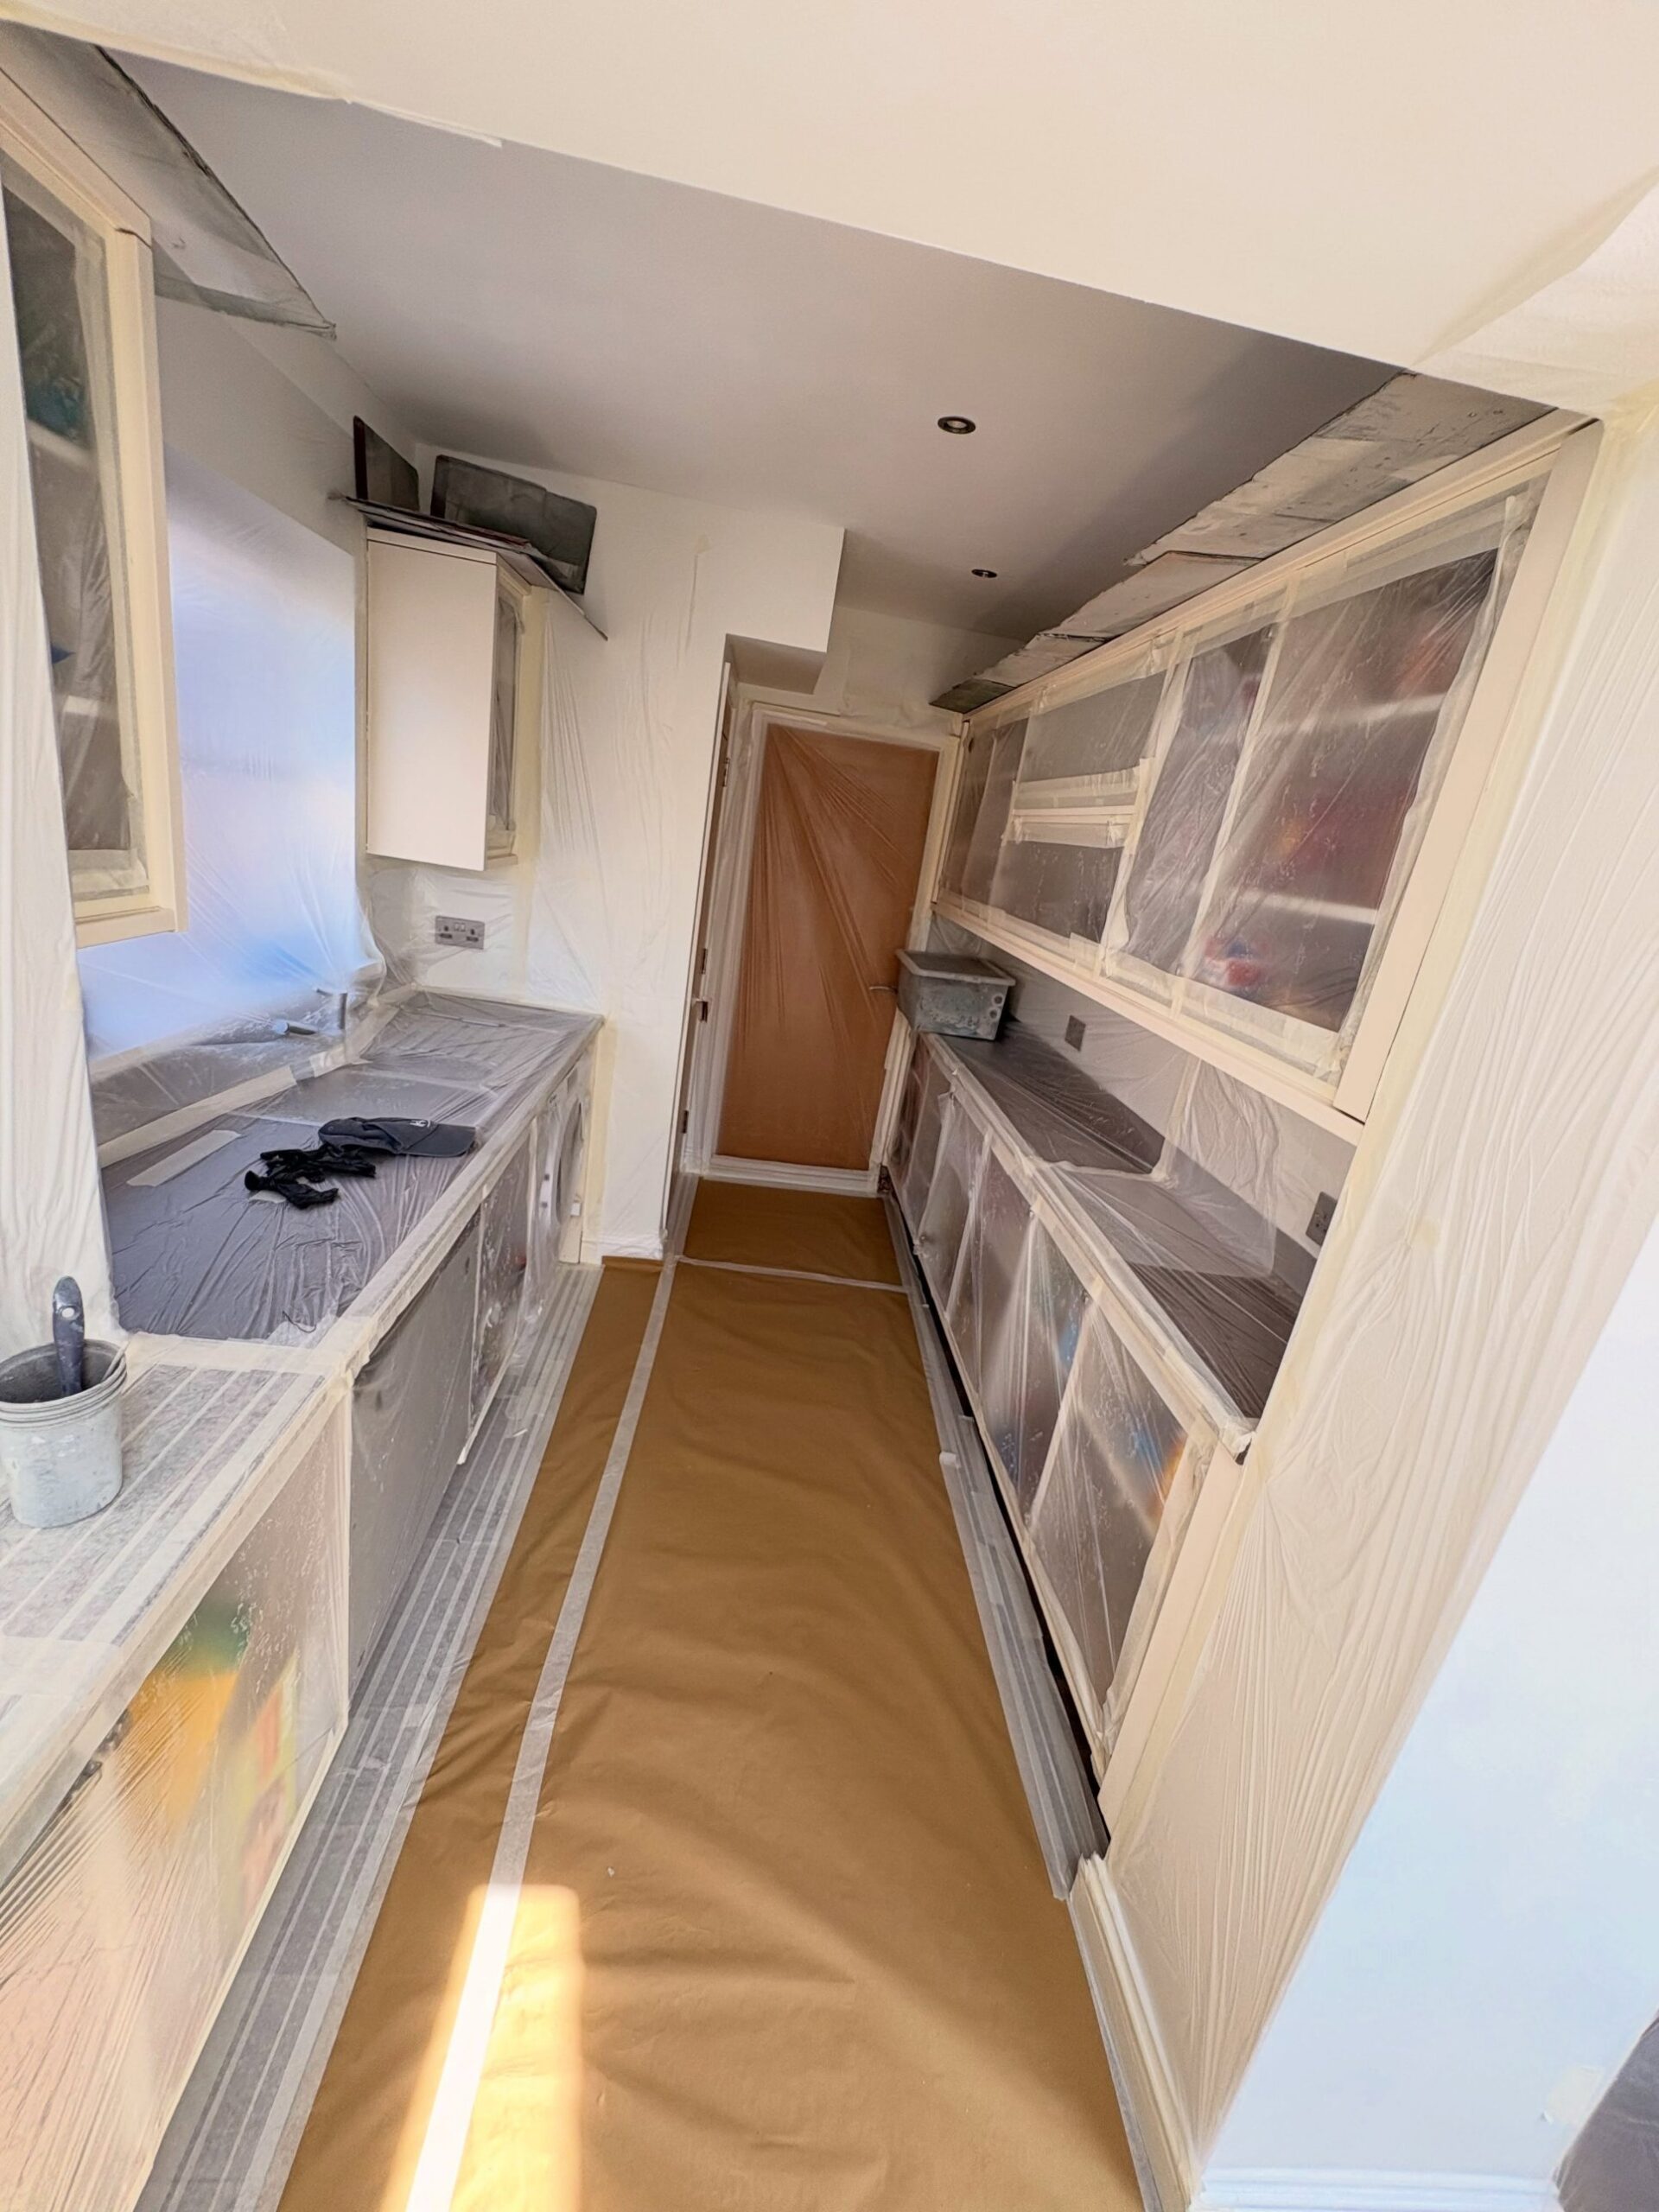
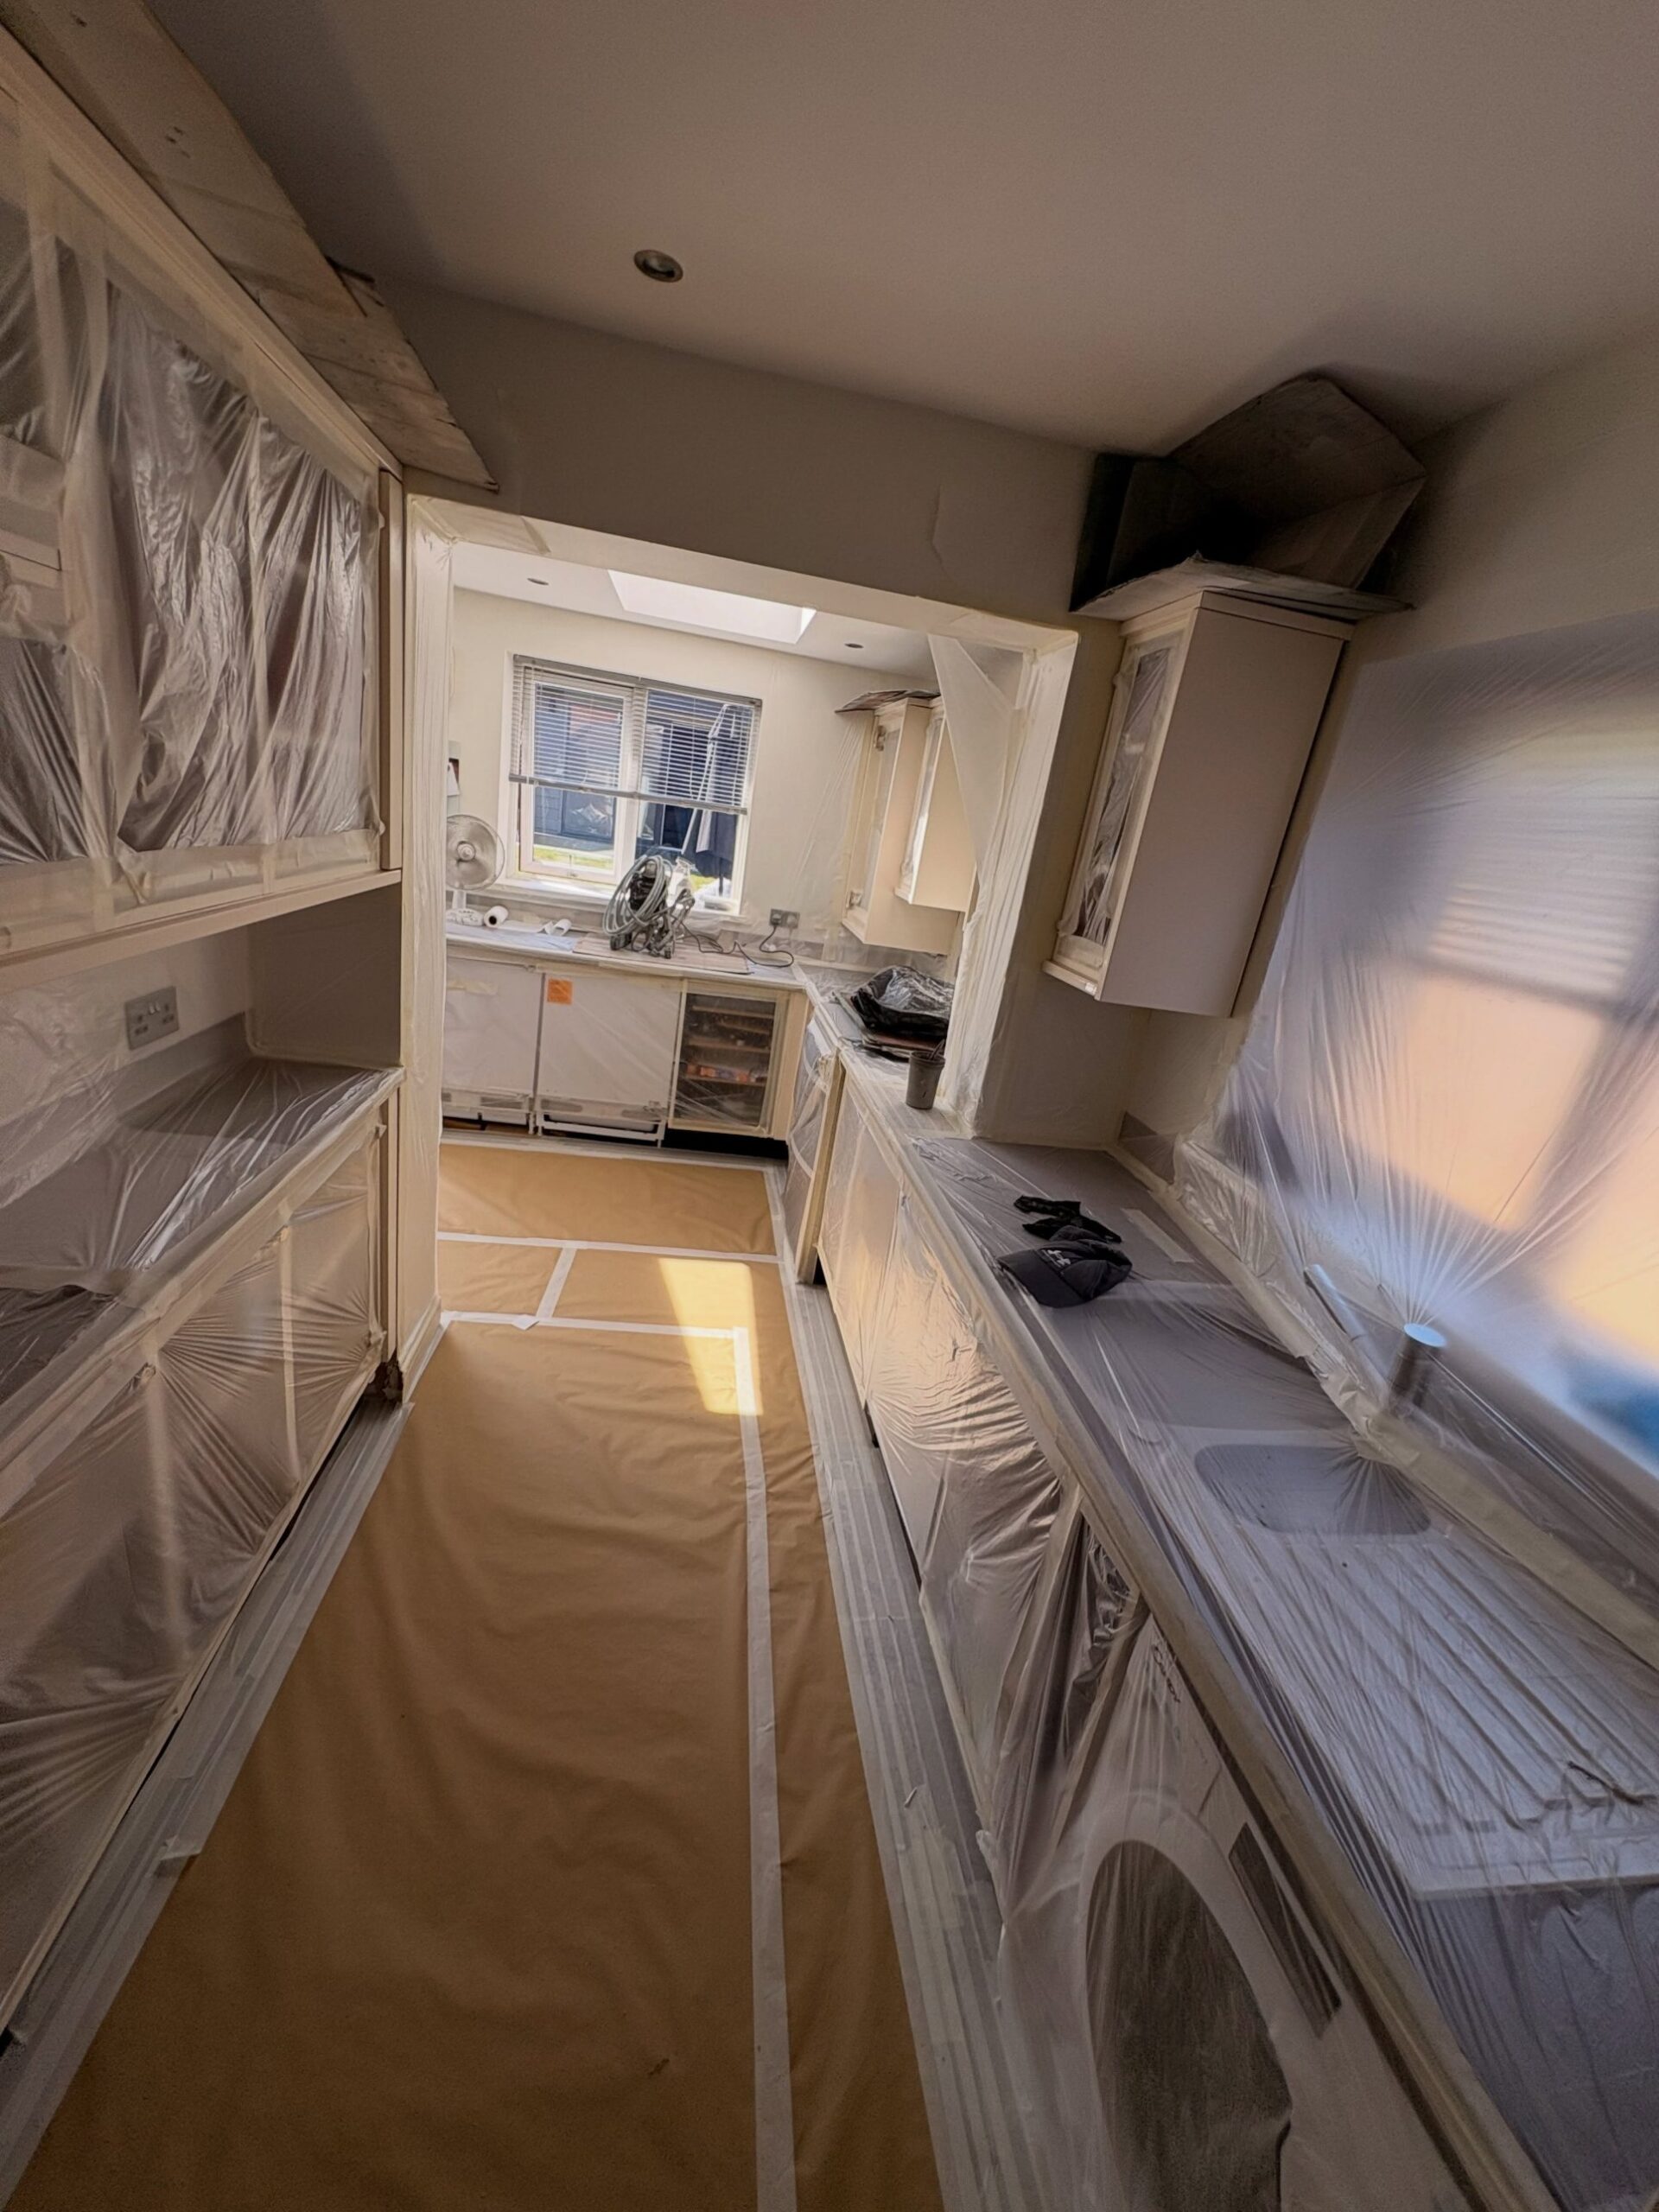
Then came the real work. Every door off the hinges. Every surface wiped, keyed, and primed. Plastic sheeting floor to ceiling across the whole galley. Paper on the floor. Masking tape on every edge. Nothing left exposed except the one surface the paint is meant to land on.
Why Farrow & Ball Purbeck Stone was the right color
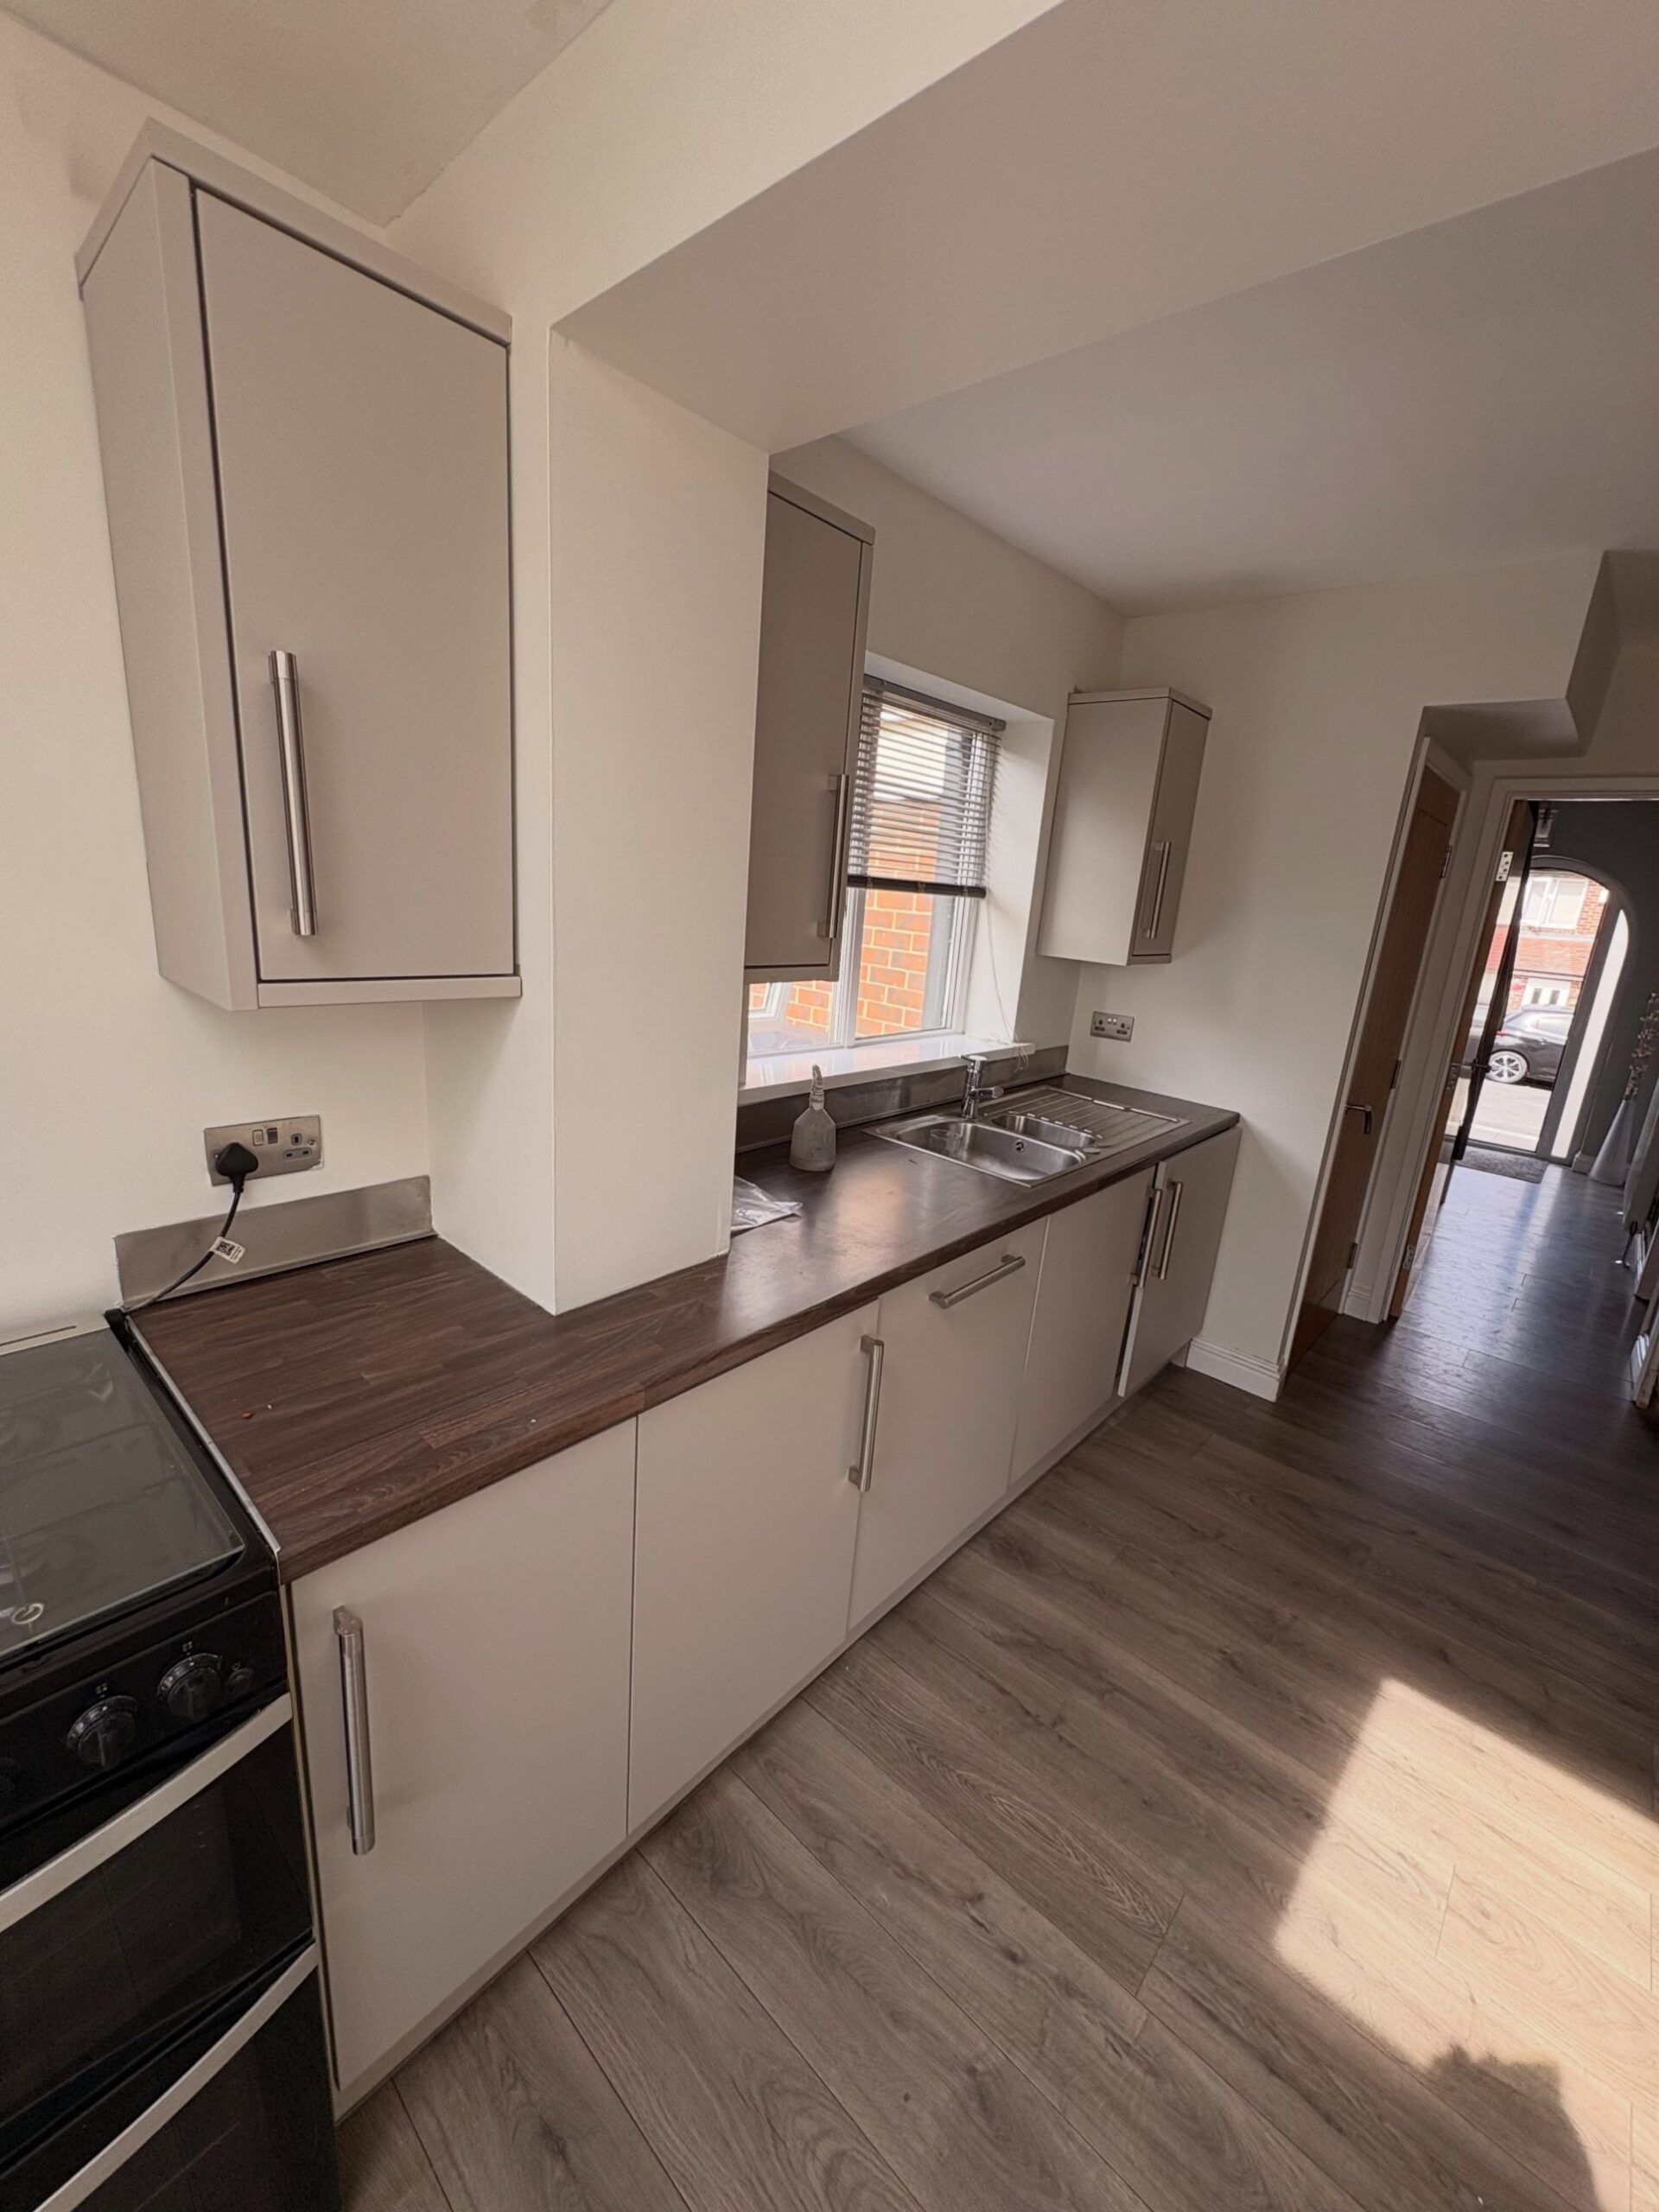
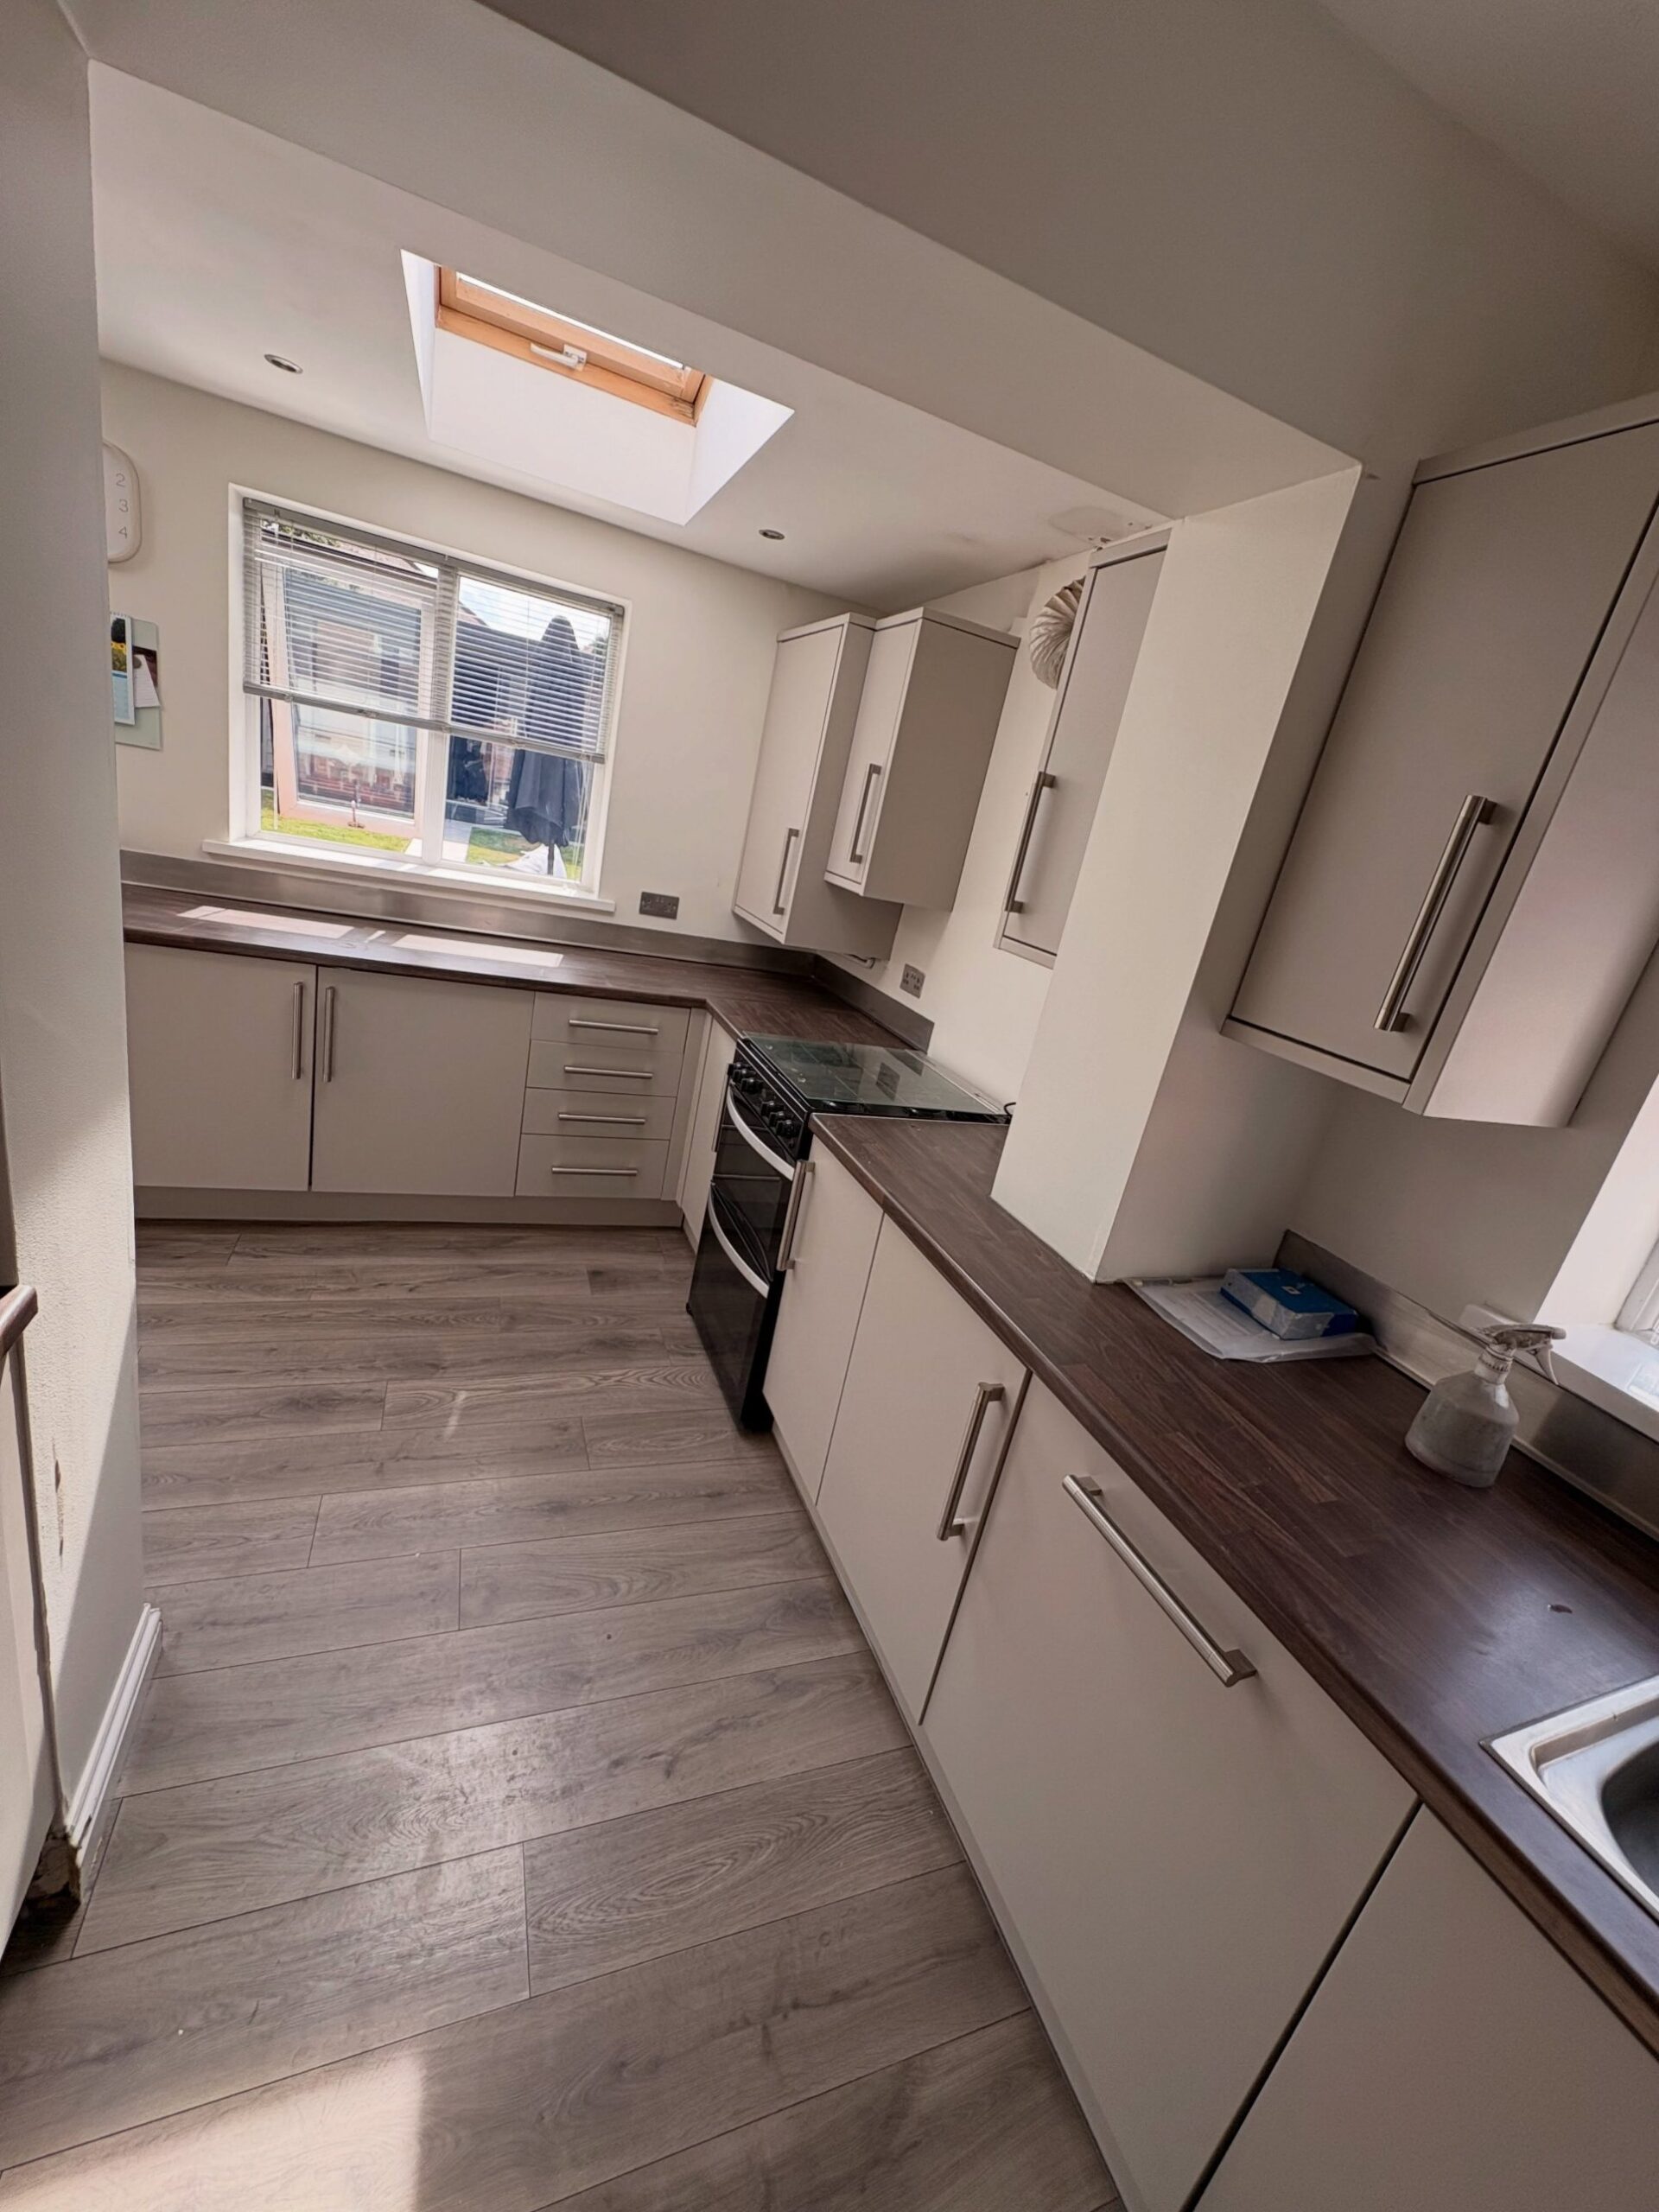
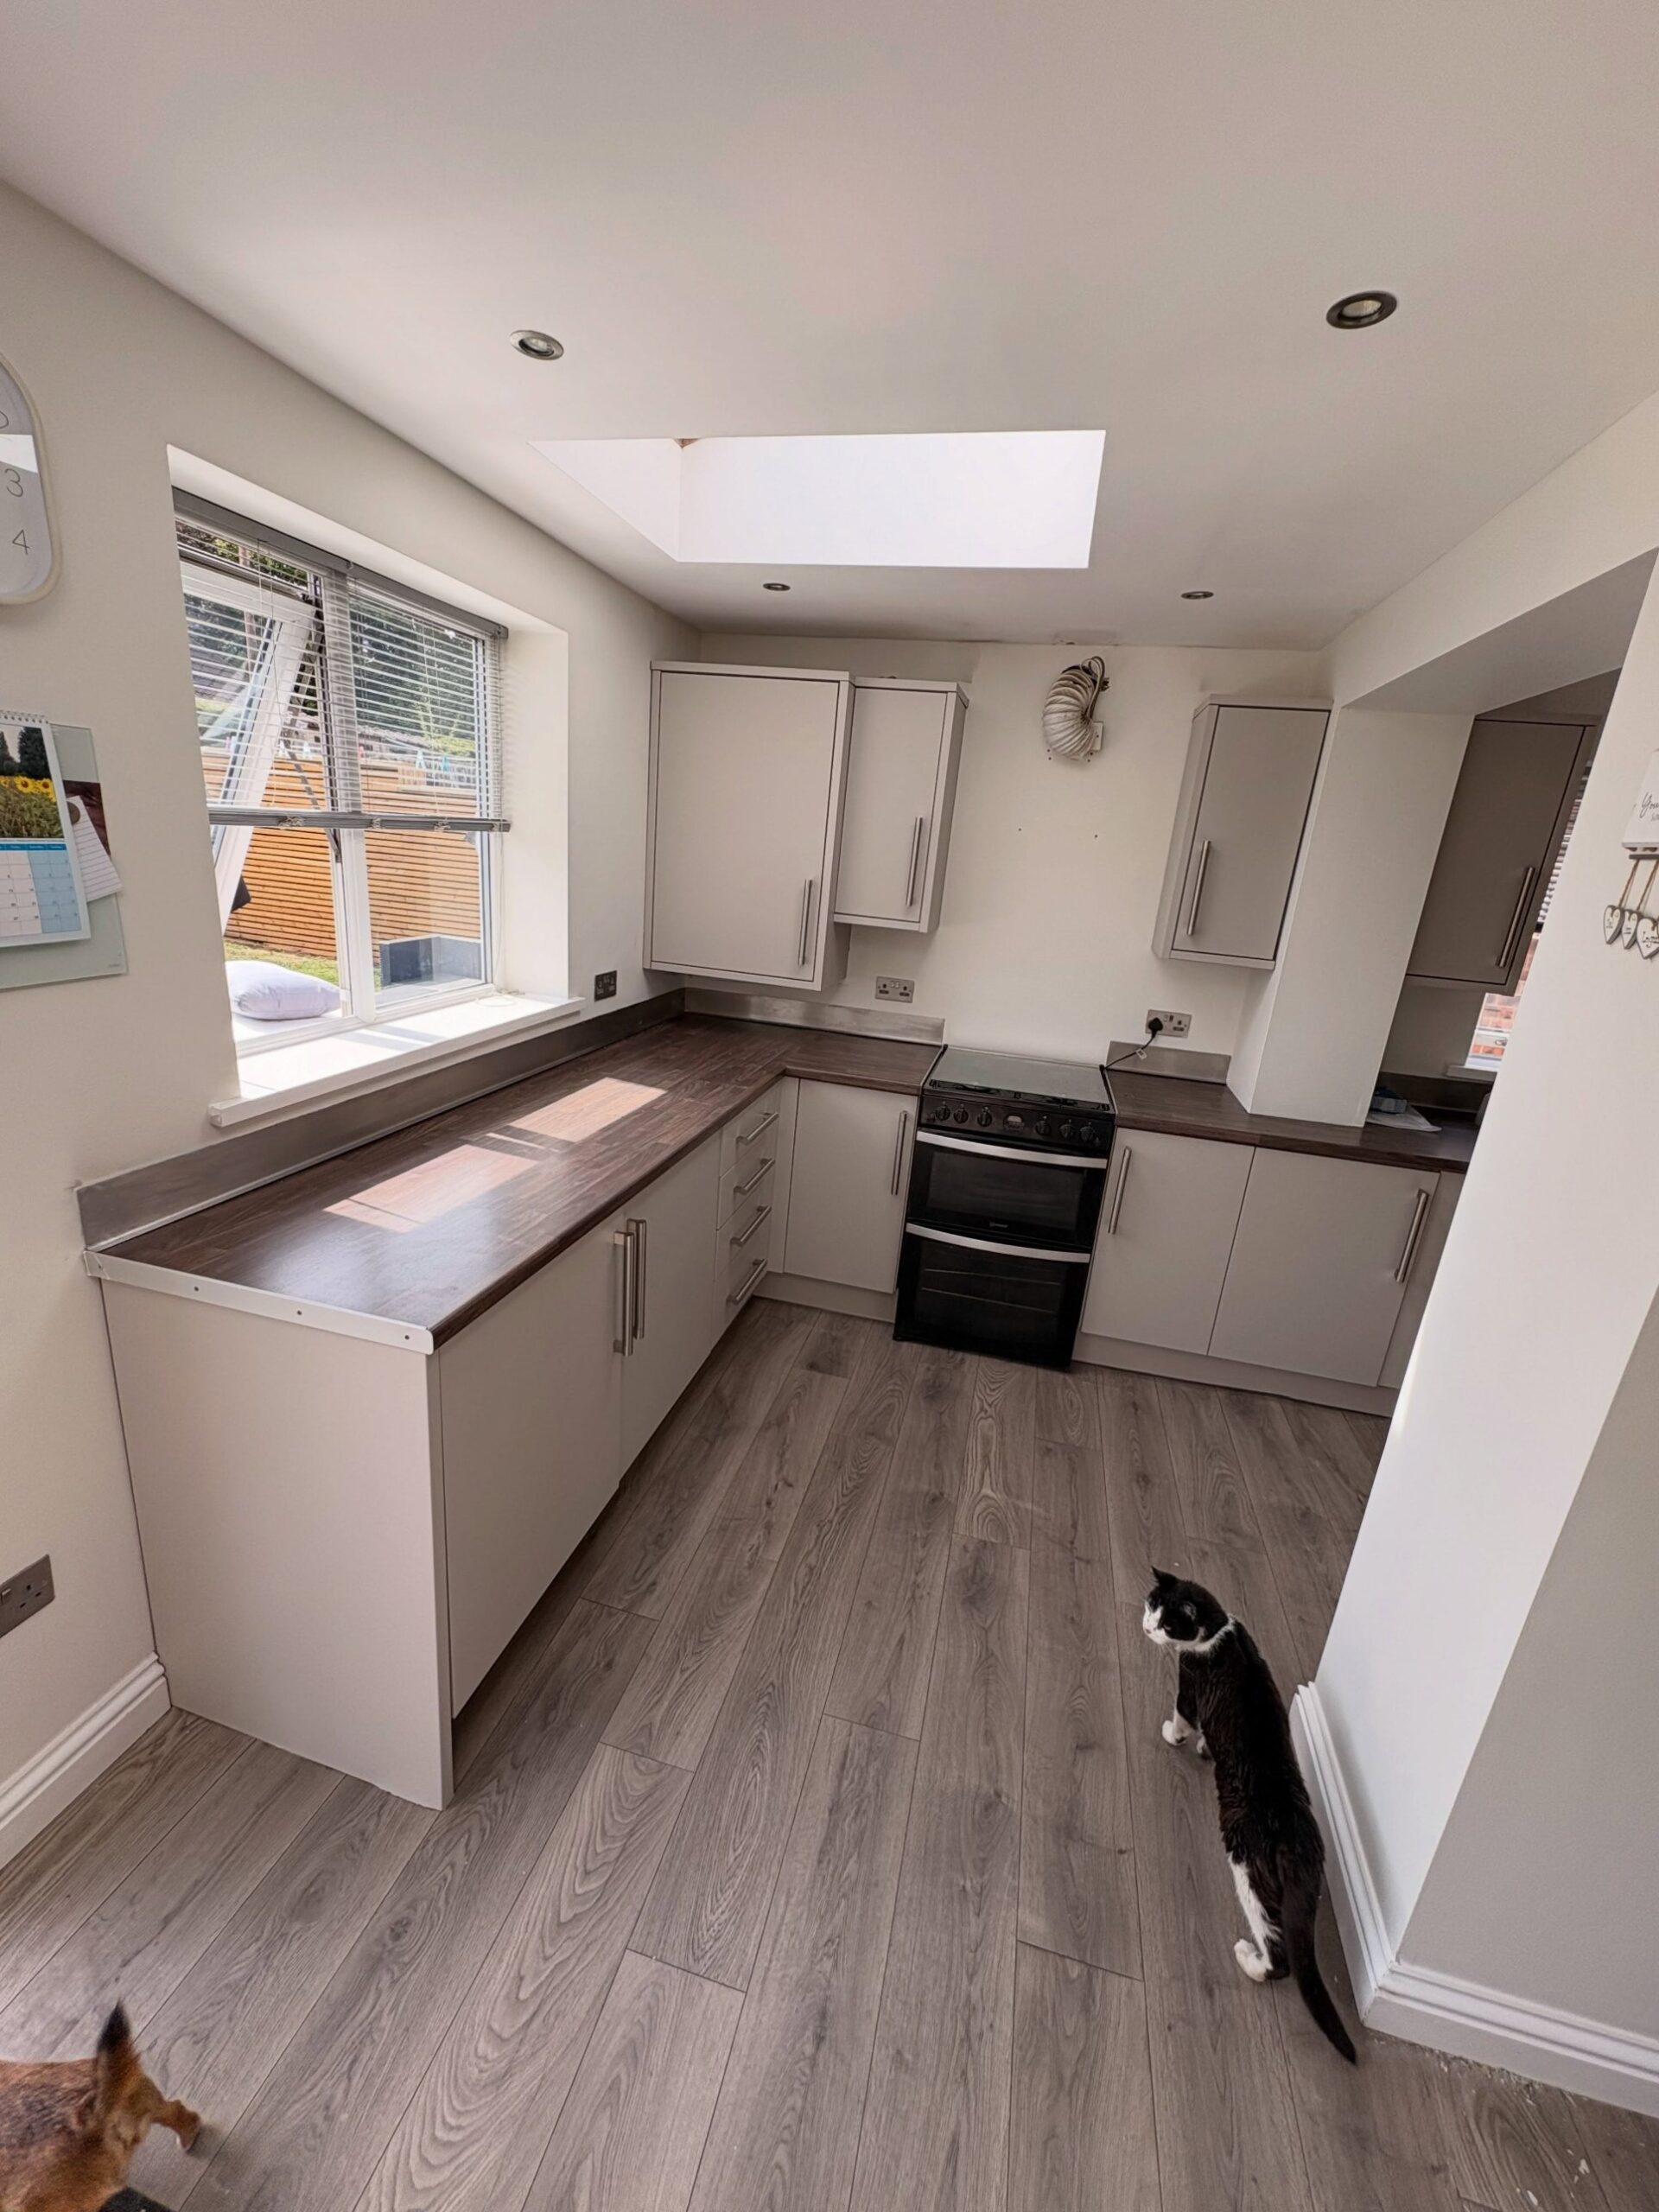
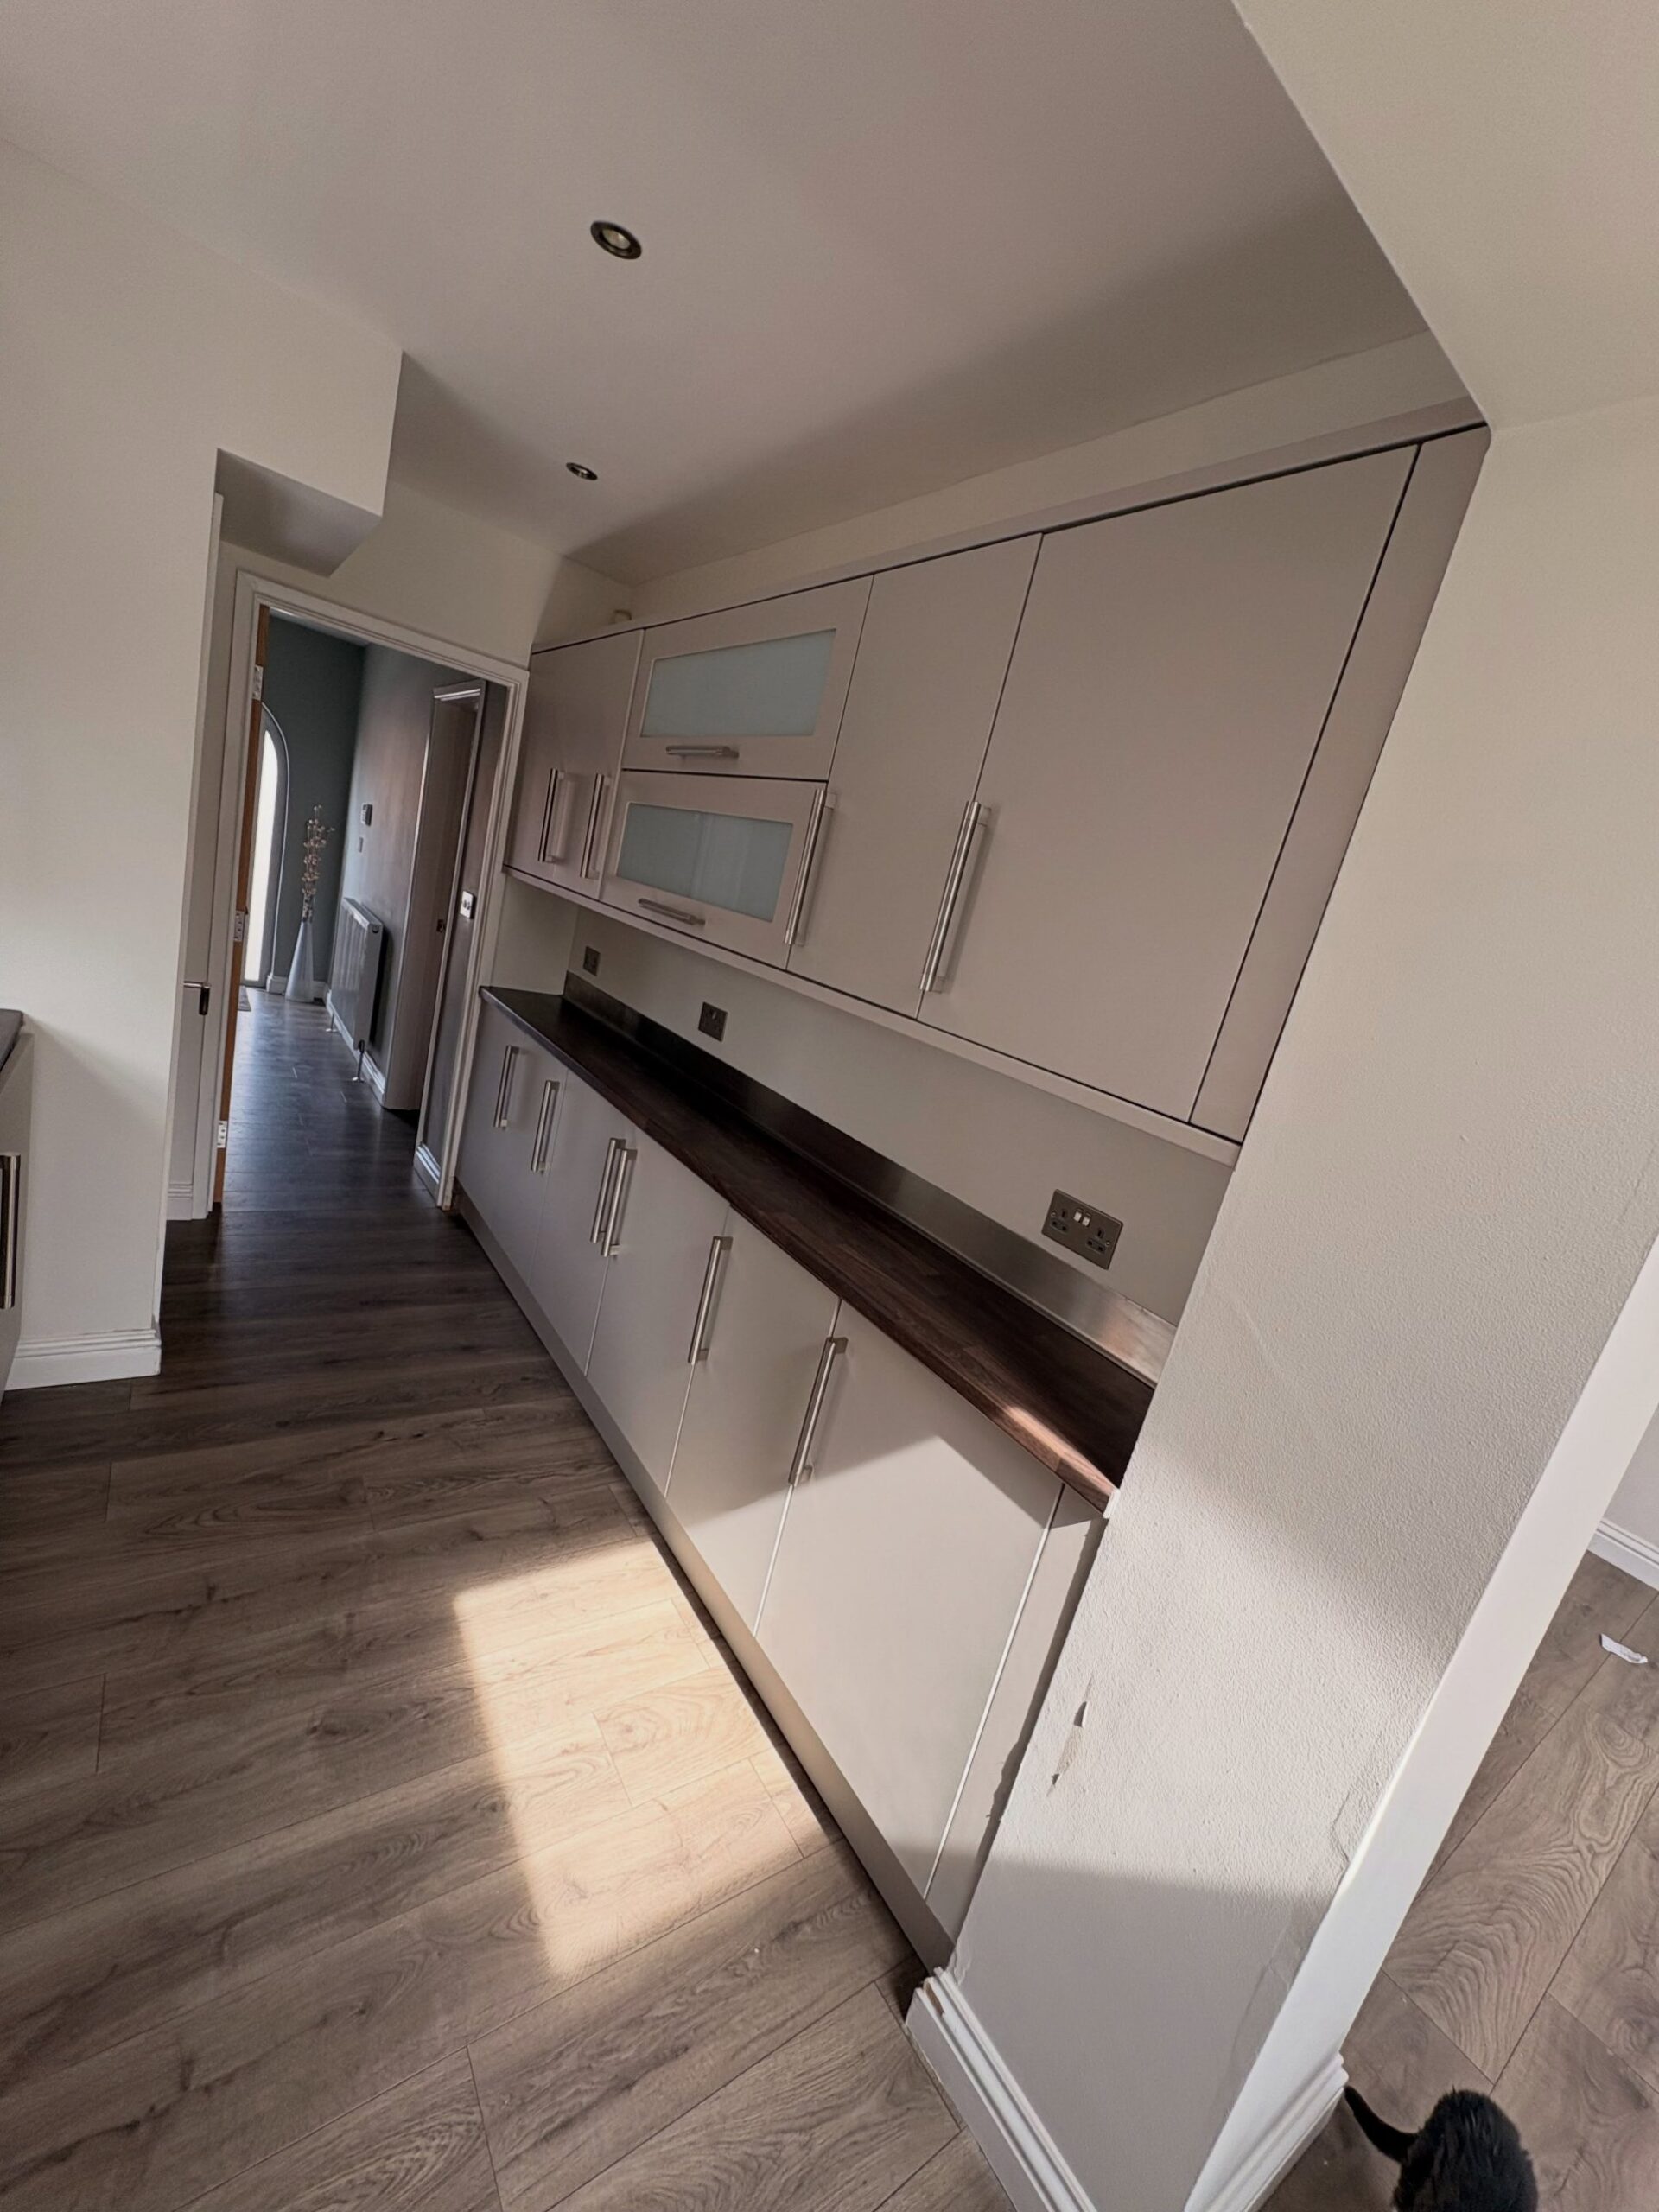
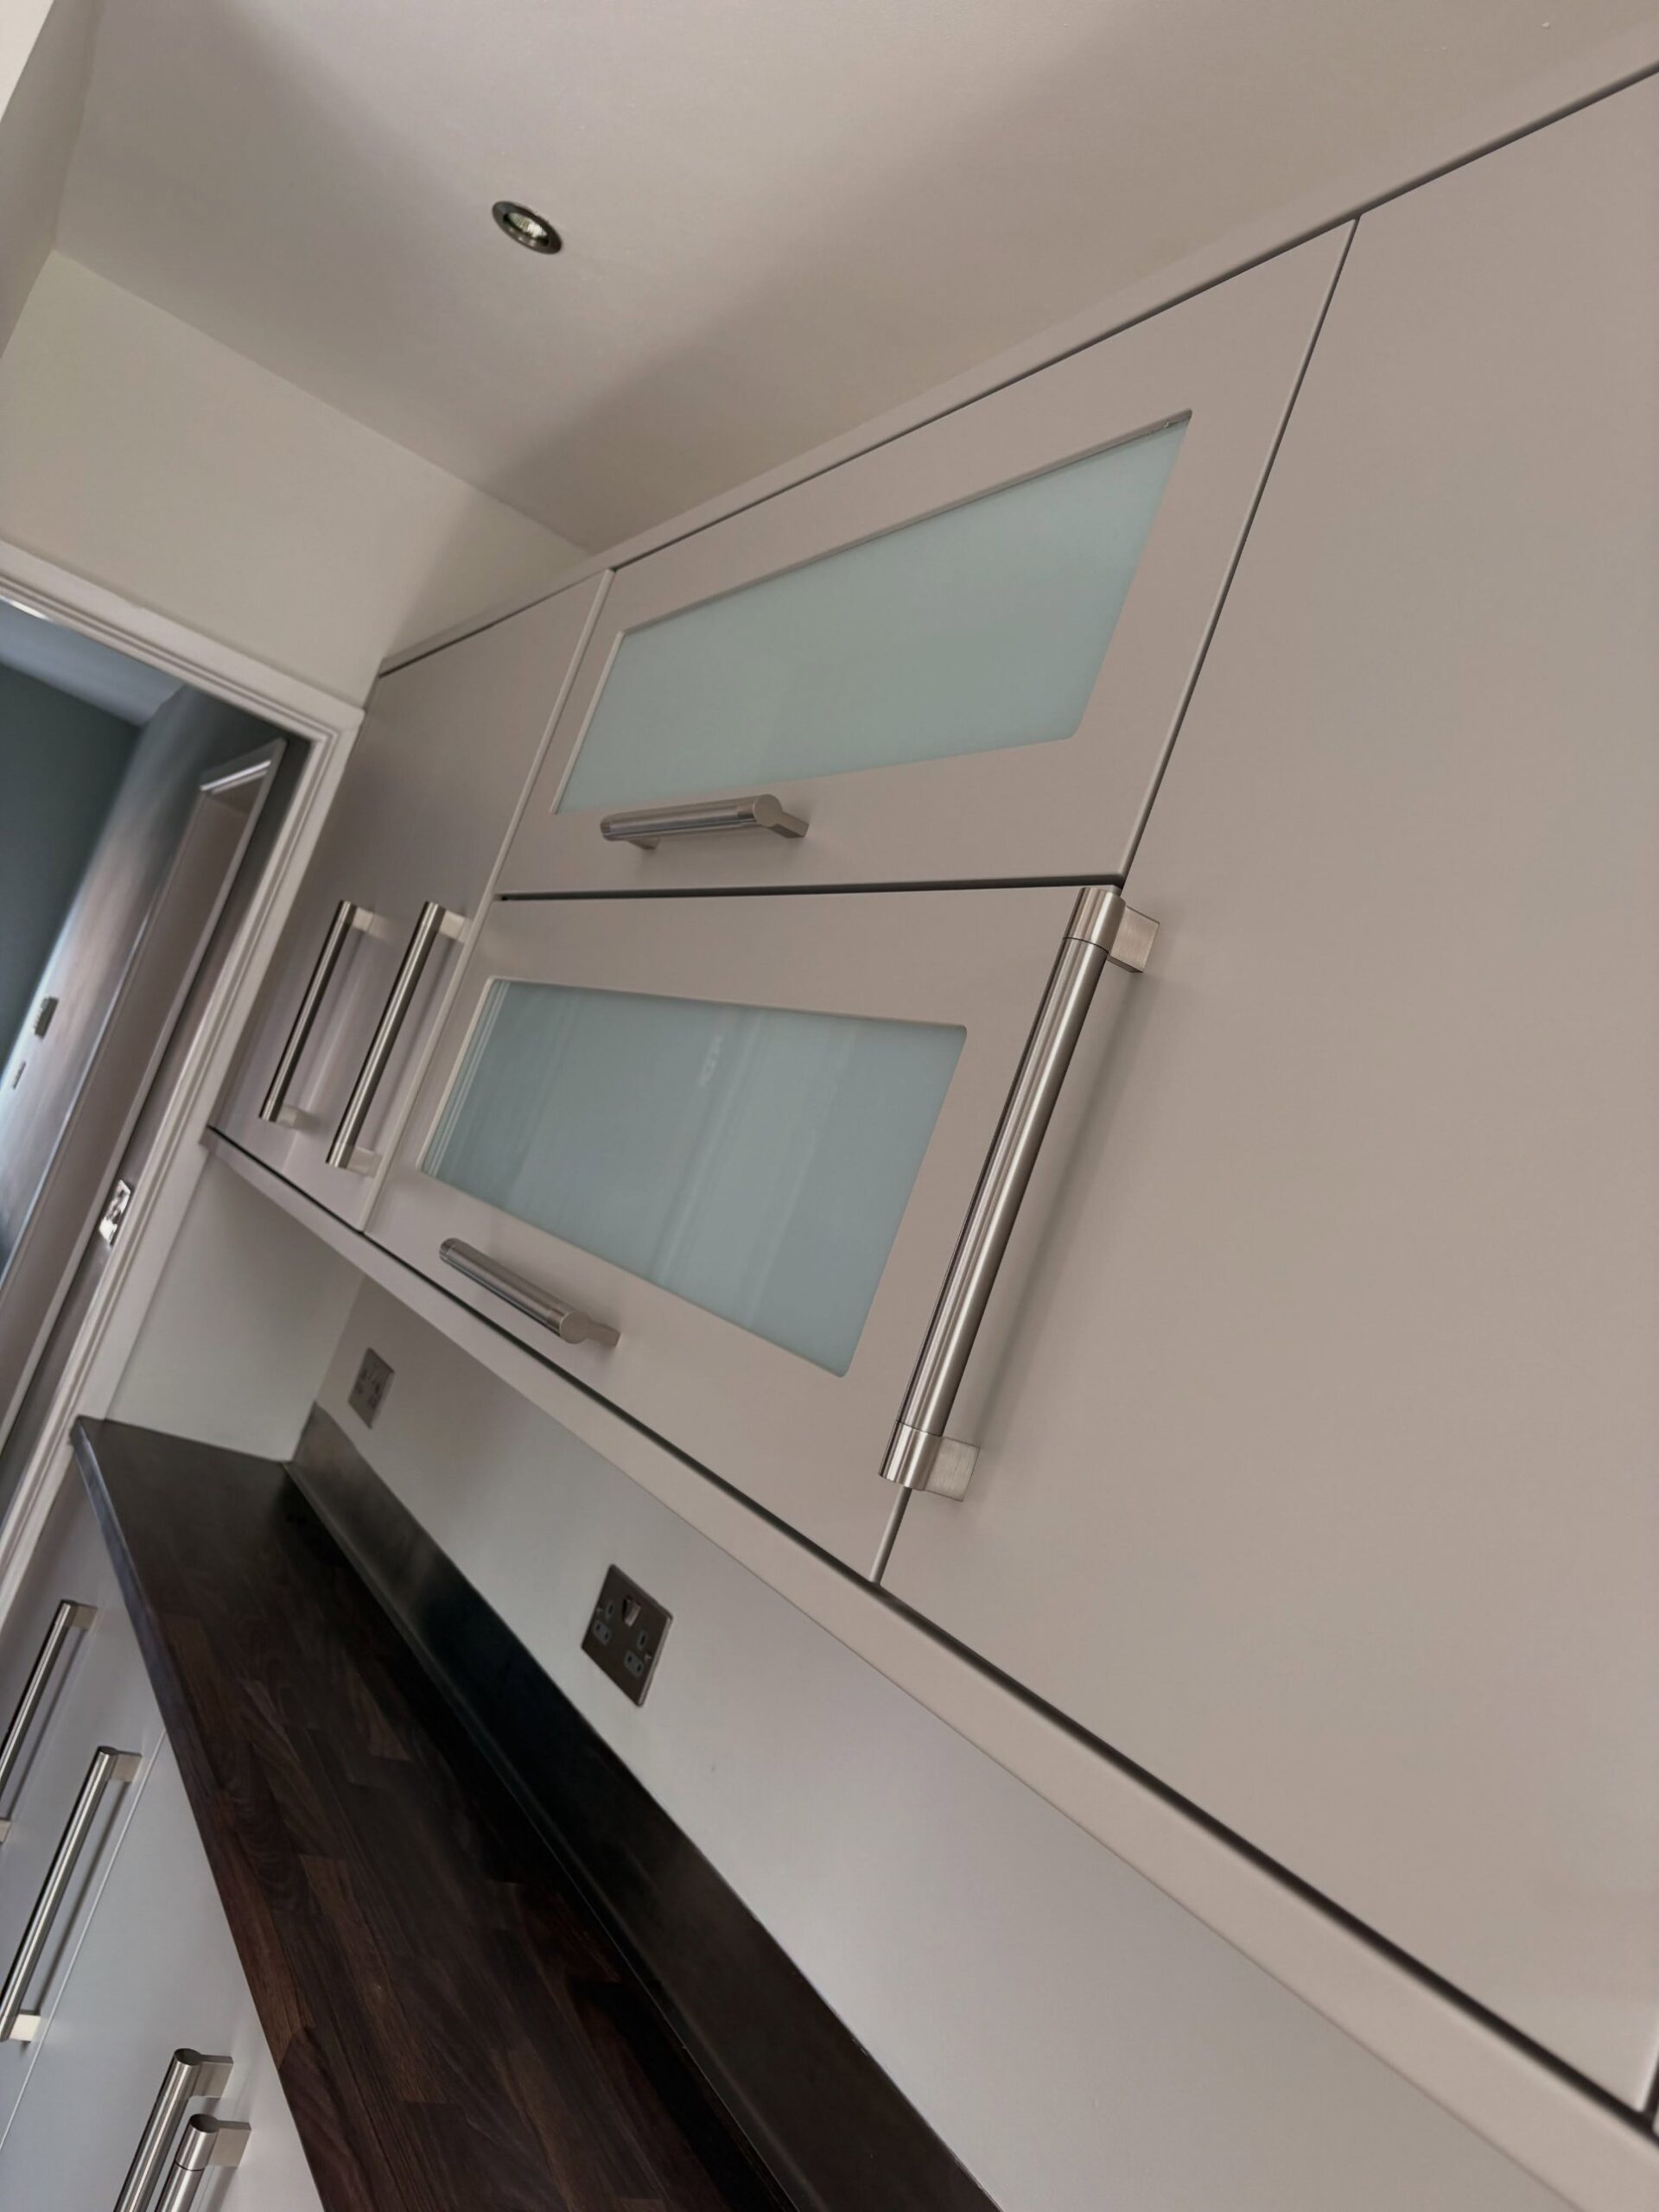
The paint was Farrow & Ball Purbeck Stone. It is a warm greige that reads cream in the morning and soft putty in the afternoon. It sits in the same family as the original cream the kitchen was built with, so the room still feels light. But it has a modern softness that the old finish never had, and it bonds properly to the primed door. It is not stuck on top like a sticker. It is paint on wood, the way the door was finished at the factory.

The small handle swap that quietly carries the whole look
She also made one more small change that quietly carries the whole look. The old handles were long brushed-metal bars that stretched almost the full height of each door. They had been fashionable in the early 2000s and they had aged the kitchen more than the color had. She swapped them out for shorter brushed-nickel handles that sit in a cleaner proportion to each door. Same metal family. Half the drama.
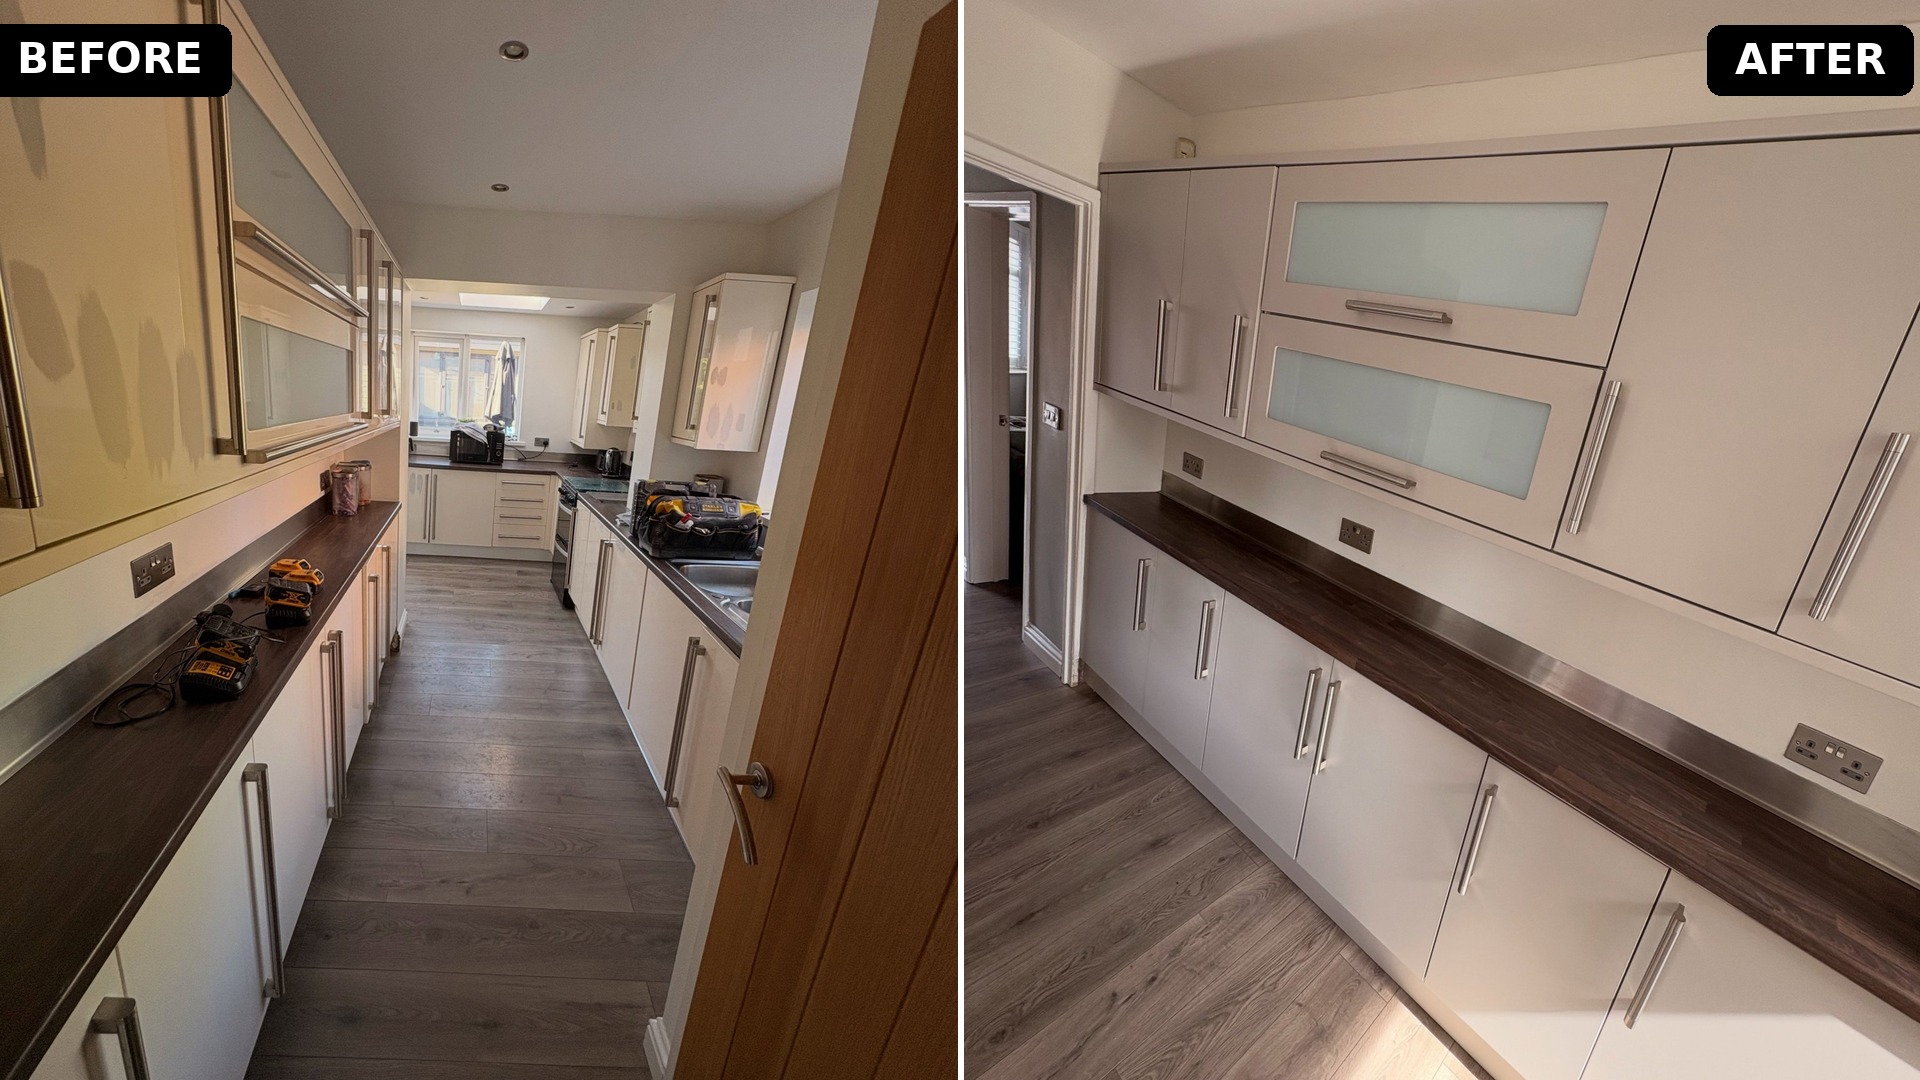
Same twenty-year-old bones, finished properly this time
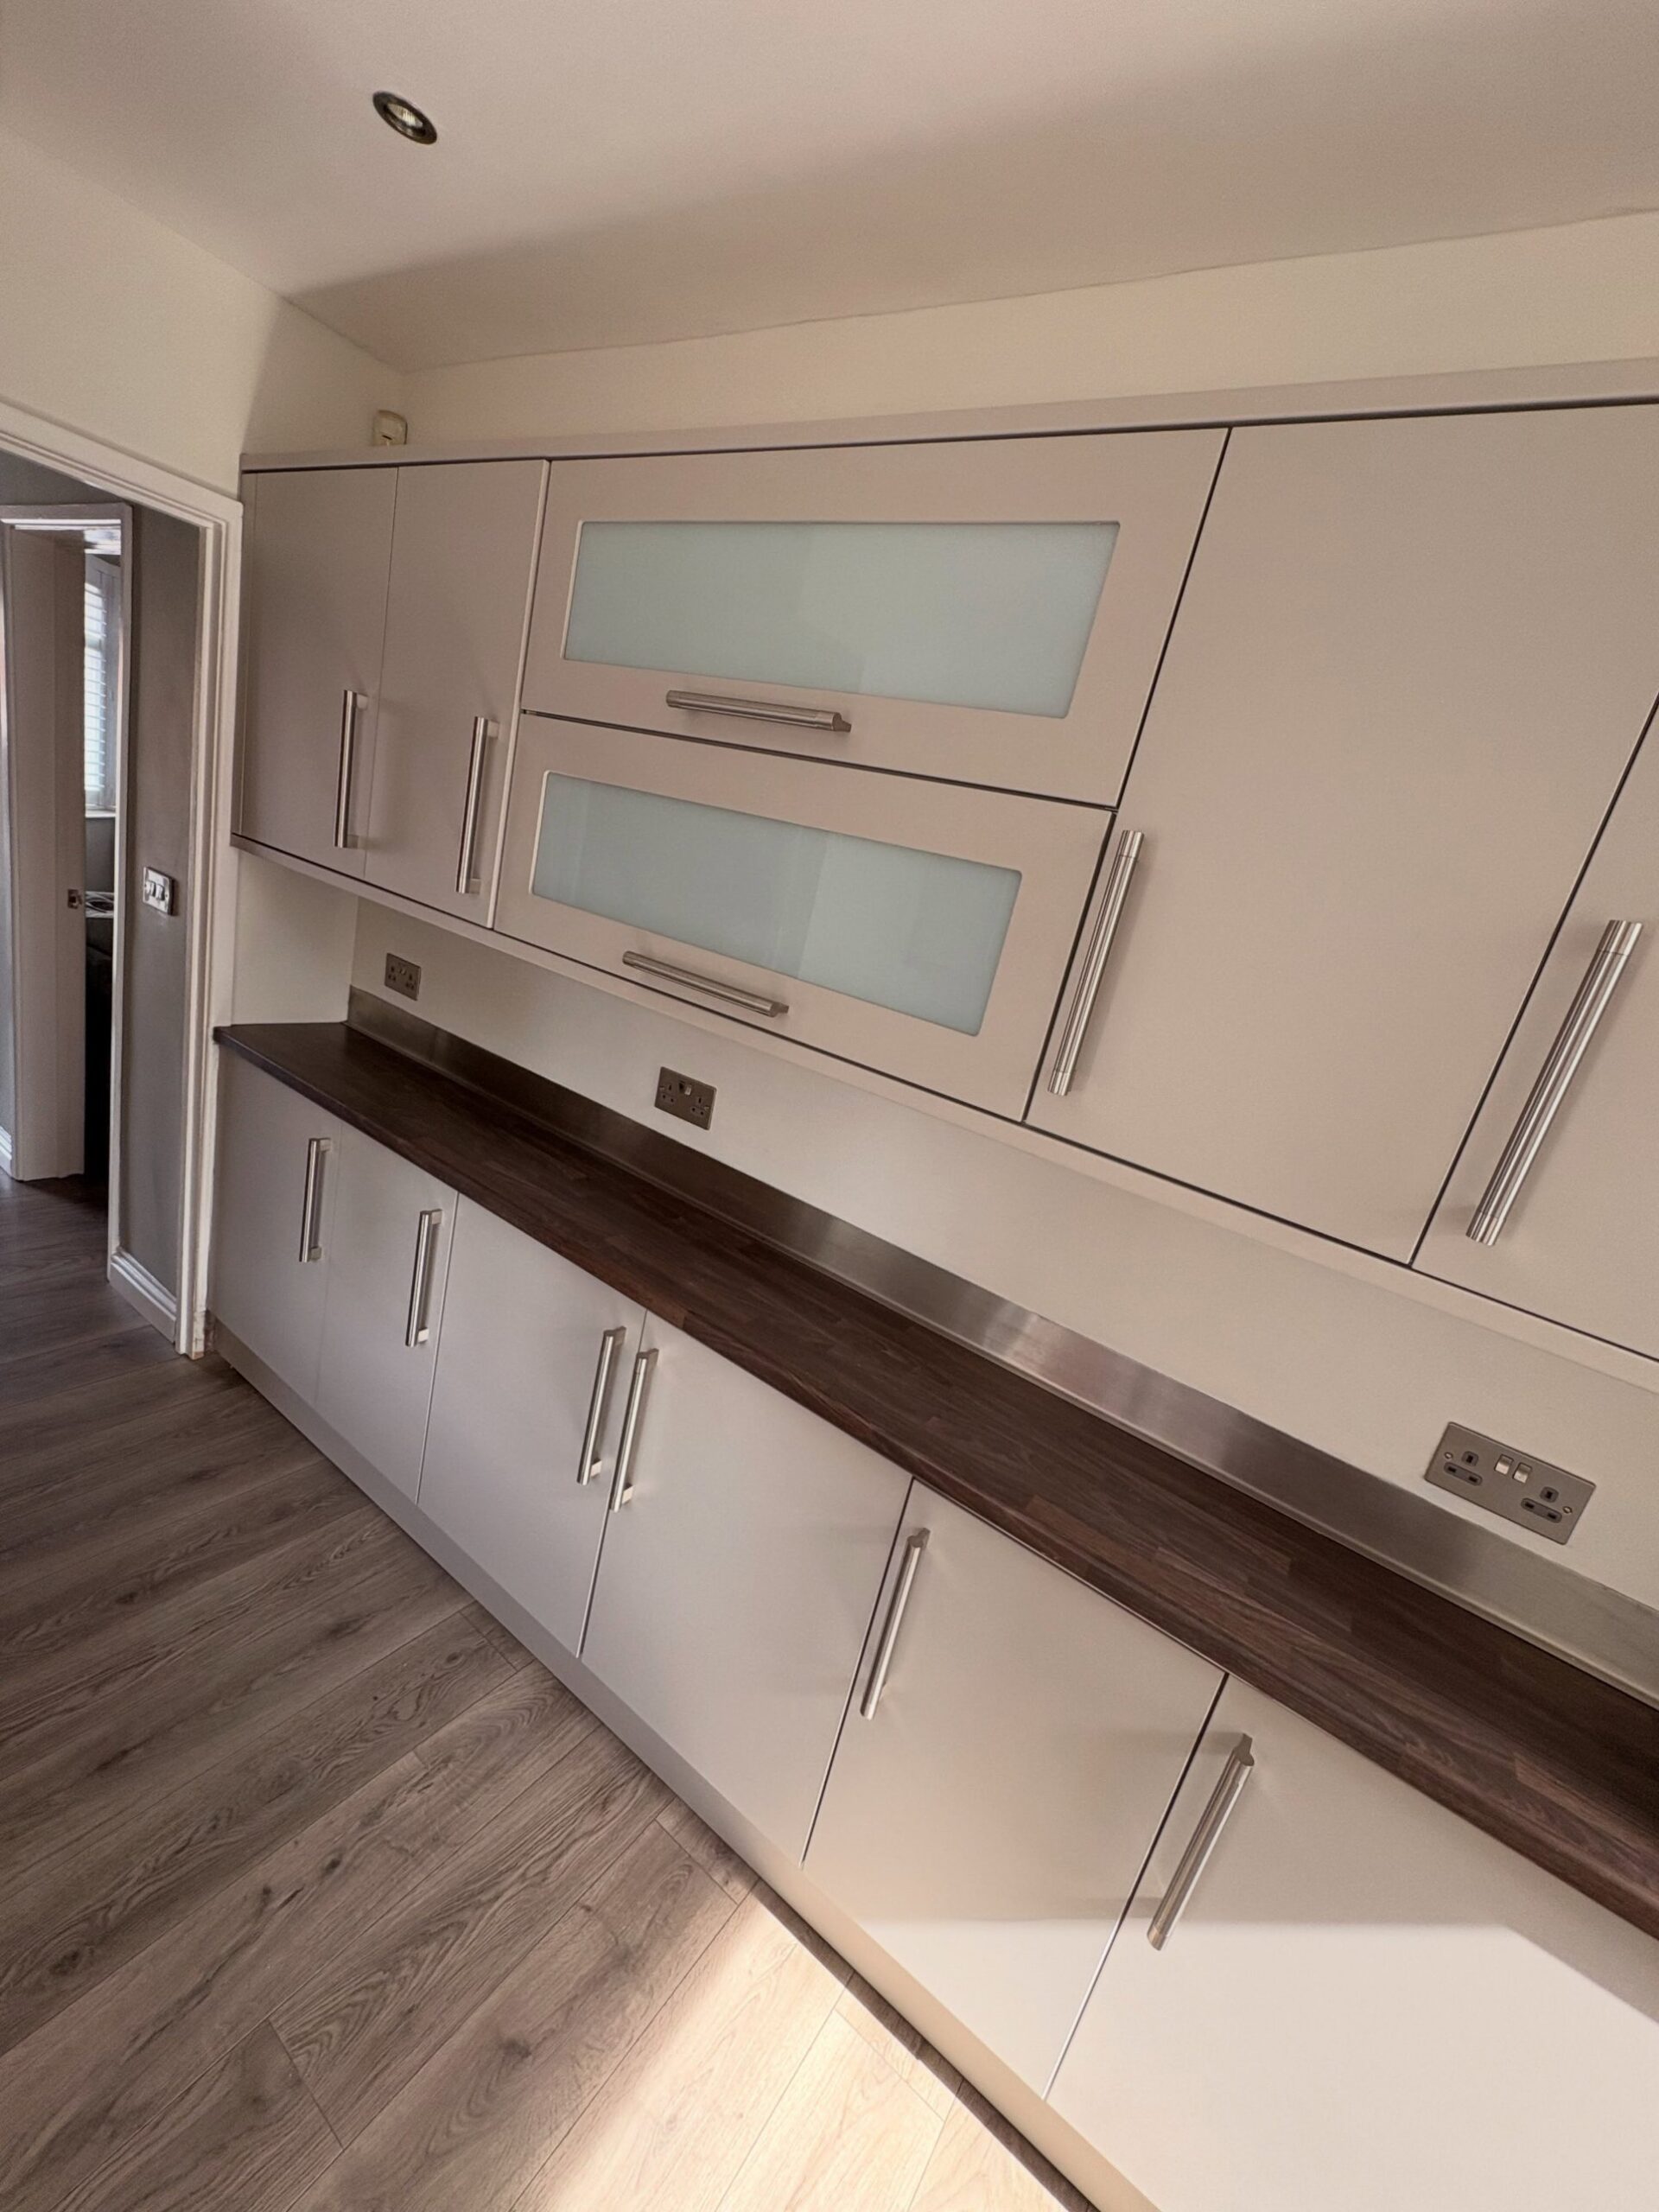
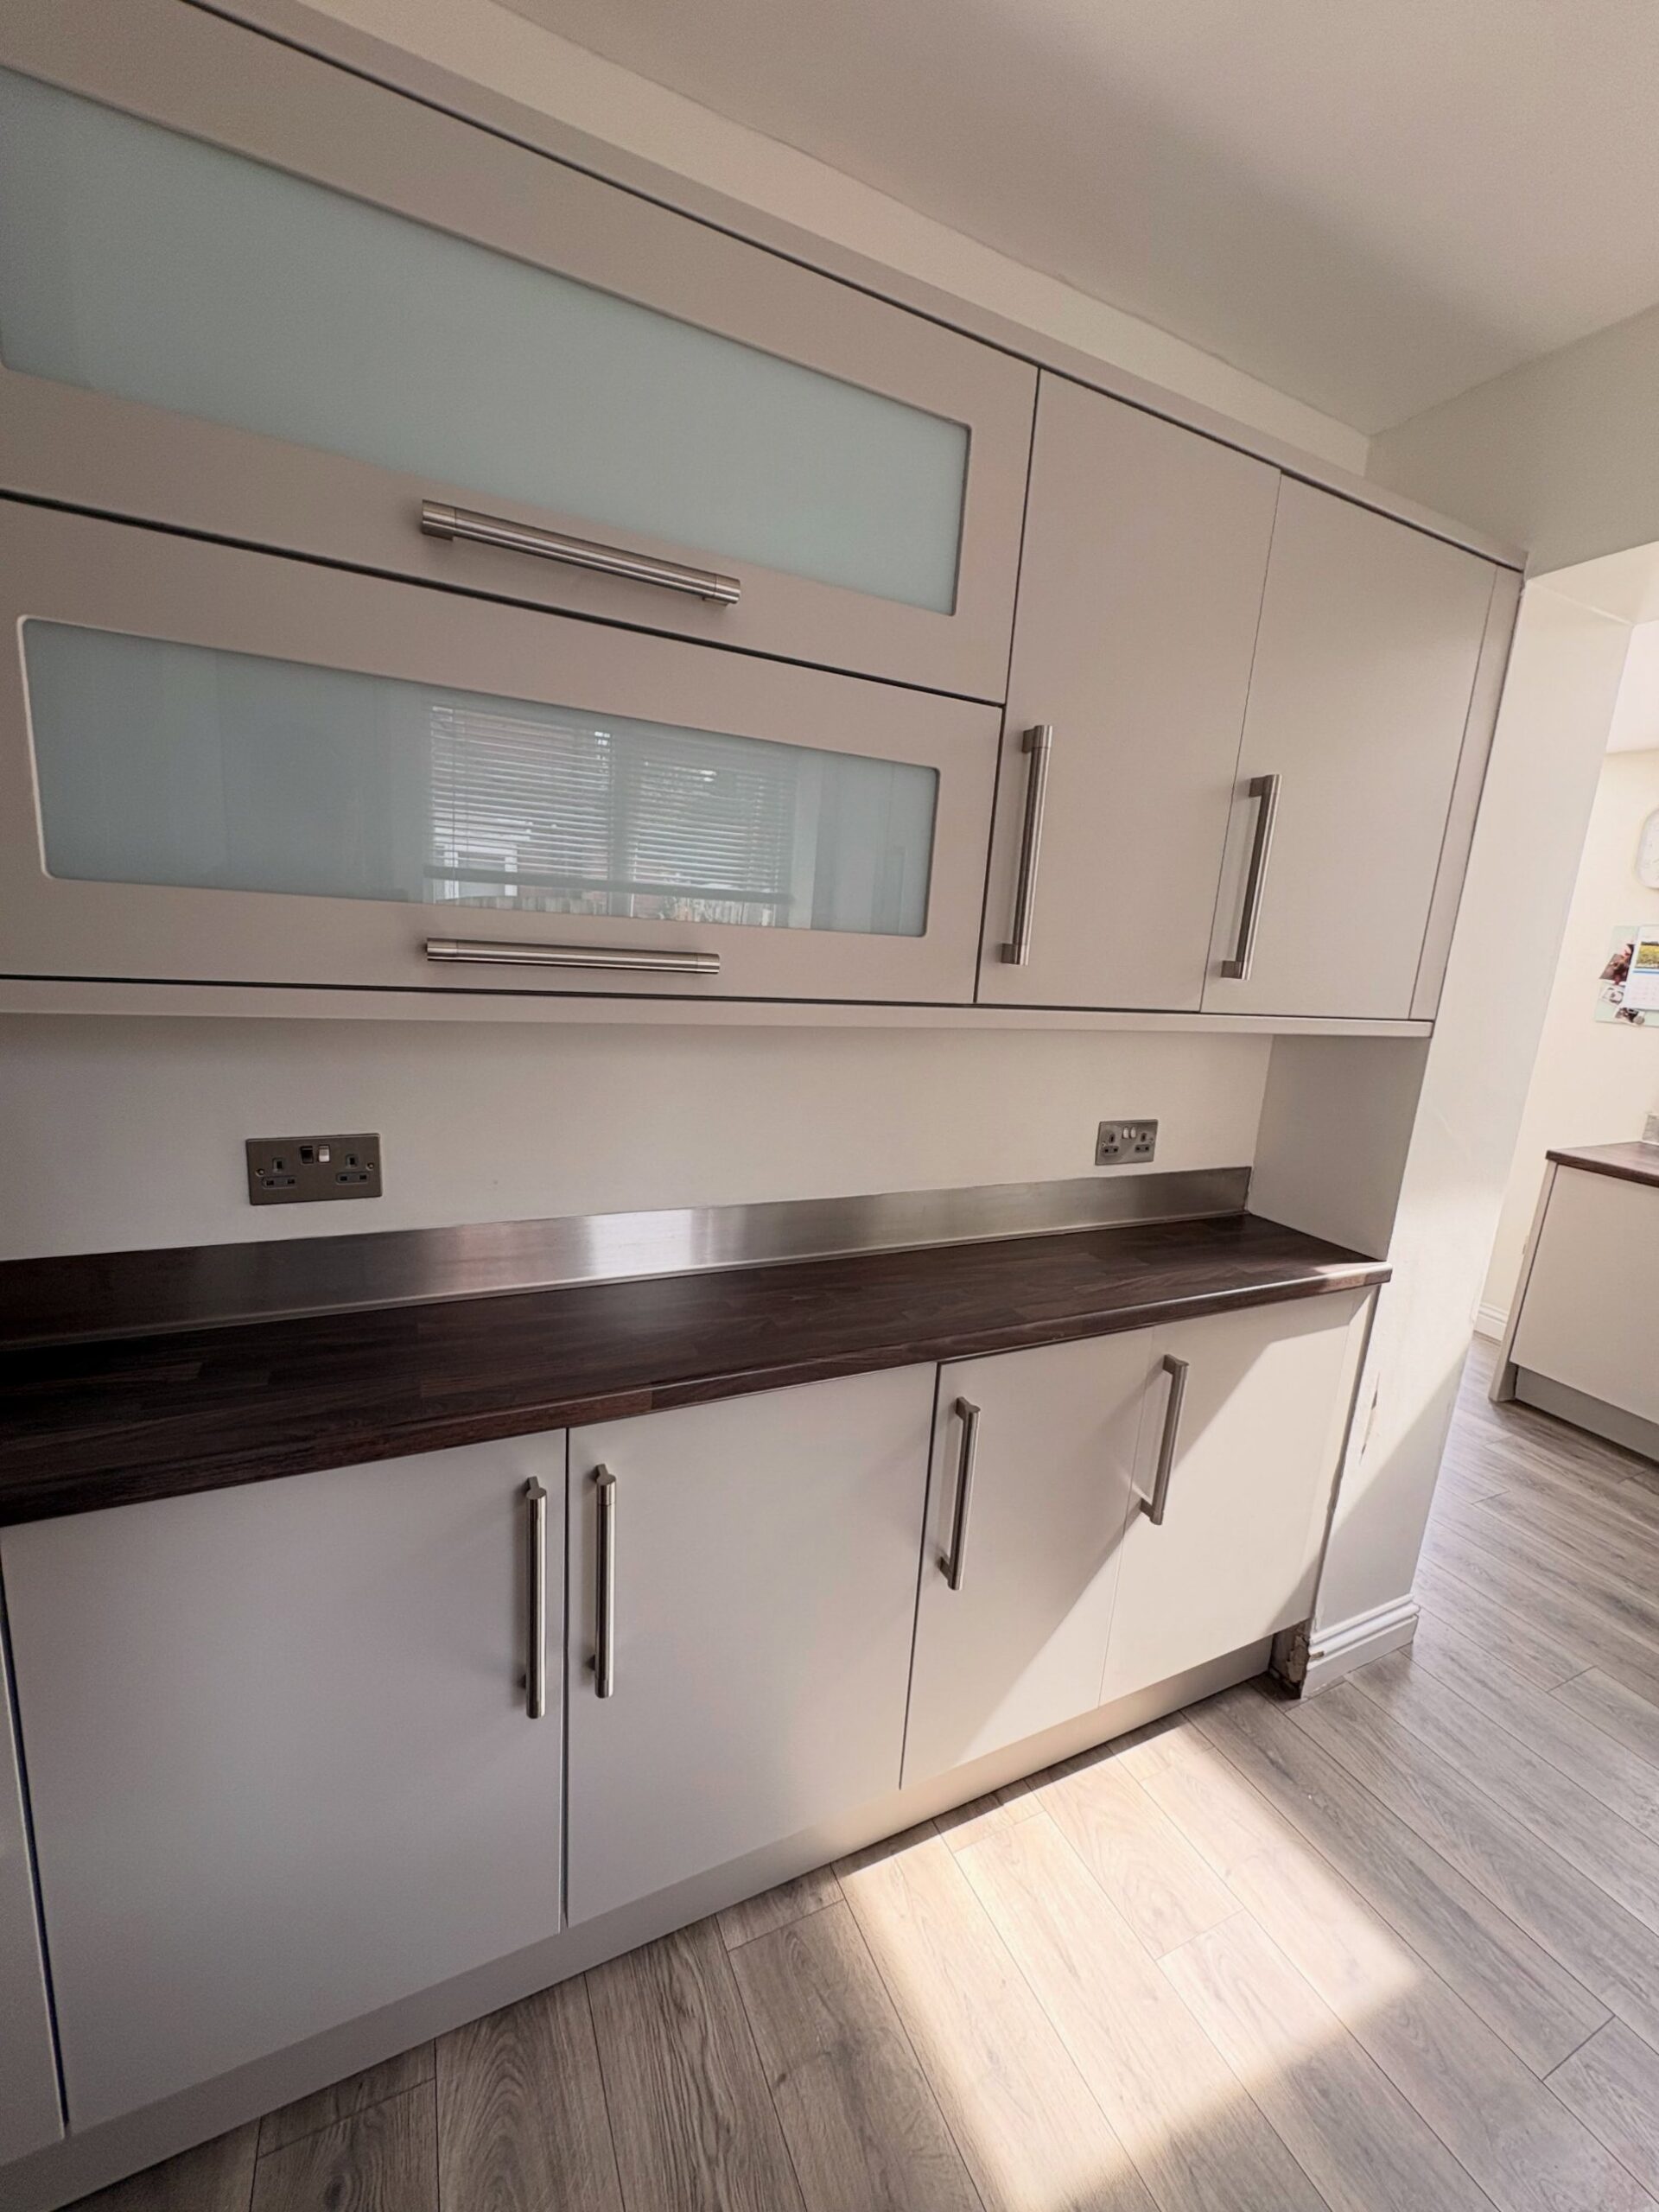
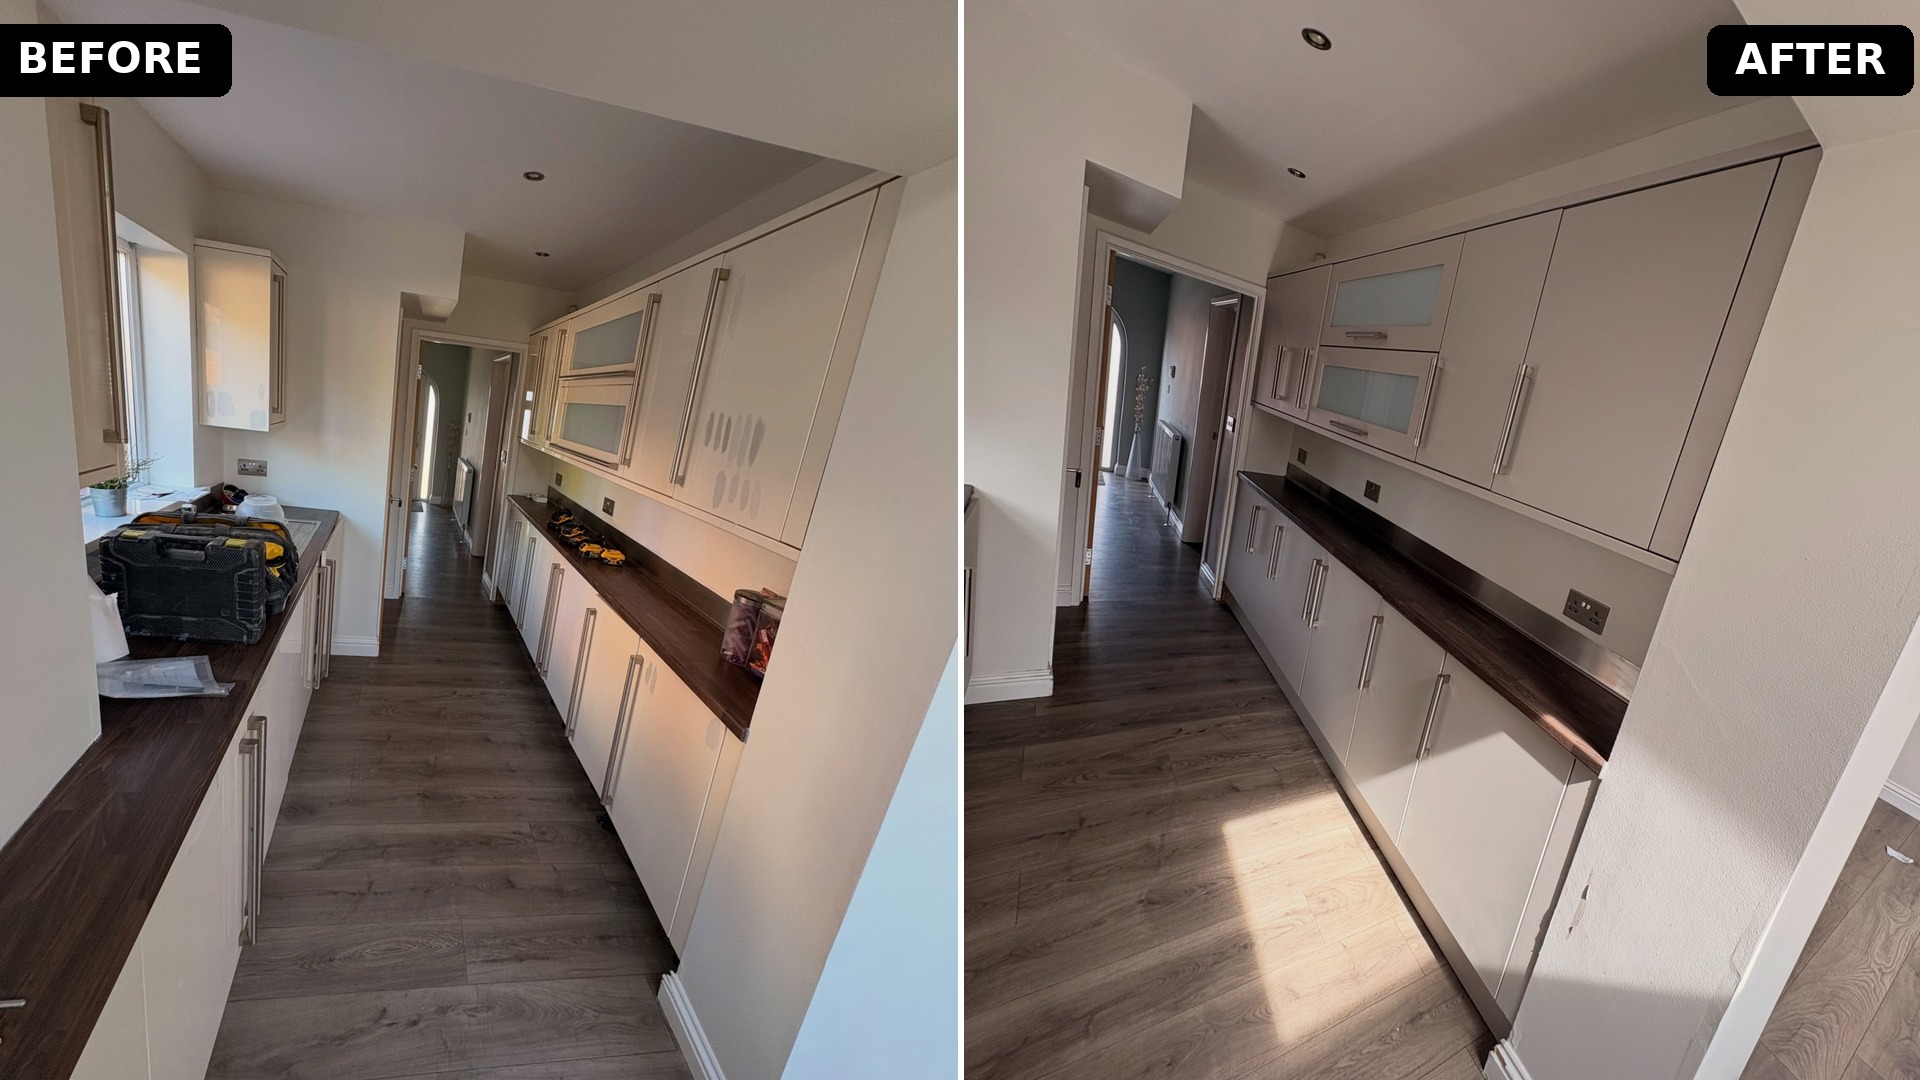
The result is a kitchen that looks installed this morning. Same carcasses. Same counters. Same floor. Same window. Same twenty-year-old bones. What changed was the finish, done properly instead of covered up.
Why a wrap is not actually the cheap option
Here is the part that matters for anyone still thinking a wrap is the smart money move. The sprayer put it plainly on the post, a twenty-year-old kitchen now looking like it was fitted this morning. A proper respray on prepped wood is paint doing what paint is built to do. A wrap on the same doors is a plastic film held on with glue in a room full of heat and steam. One of those lasts. The other is already quietly failing on the day you finish it.
What this means for your own tired kitchen
If the doors on your own kitchen are solid, the hinges still swing straight, and the carcasses are not blown out at the back, you almost certainly do not need a new kitchen. You need the right finish on the one you already own. A wrap buys you a photo. A proper respray buys you a kitchen you can live in.
Credit: Respray by @pezzottipainting (The Mobile Spray Painting Company). Original post