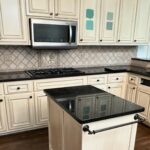
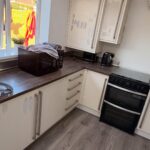
You’ve seen this kitchen before. Maybe you have one. Cherry-stained cabinets, black glossy tile running up the walls, a dark laminate counter soaking up the light. It’s the kitchen every UK new-build got between 2003 and 2012, and the US version with oak and black granite isn’t far off. A single window fights to keep the room from feeling like a cave.
Google how to fix it and you’ll get one answer: tear it out. New cabinets, new tile, new worktop, maybe new appliances too. Easily $10,000 to $18,000 (about €9,200 to €16,600). Weeks without a working kitchen. The painter behind this post took a different route.
What’s actually changing
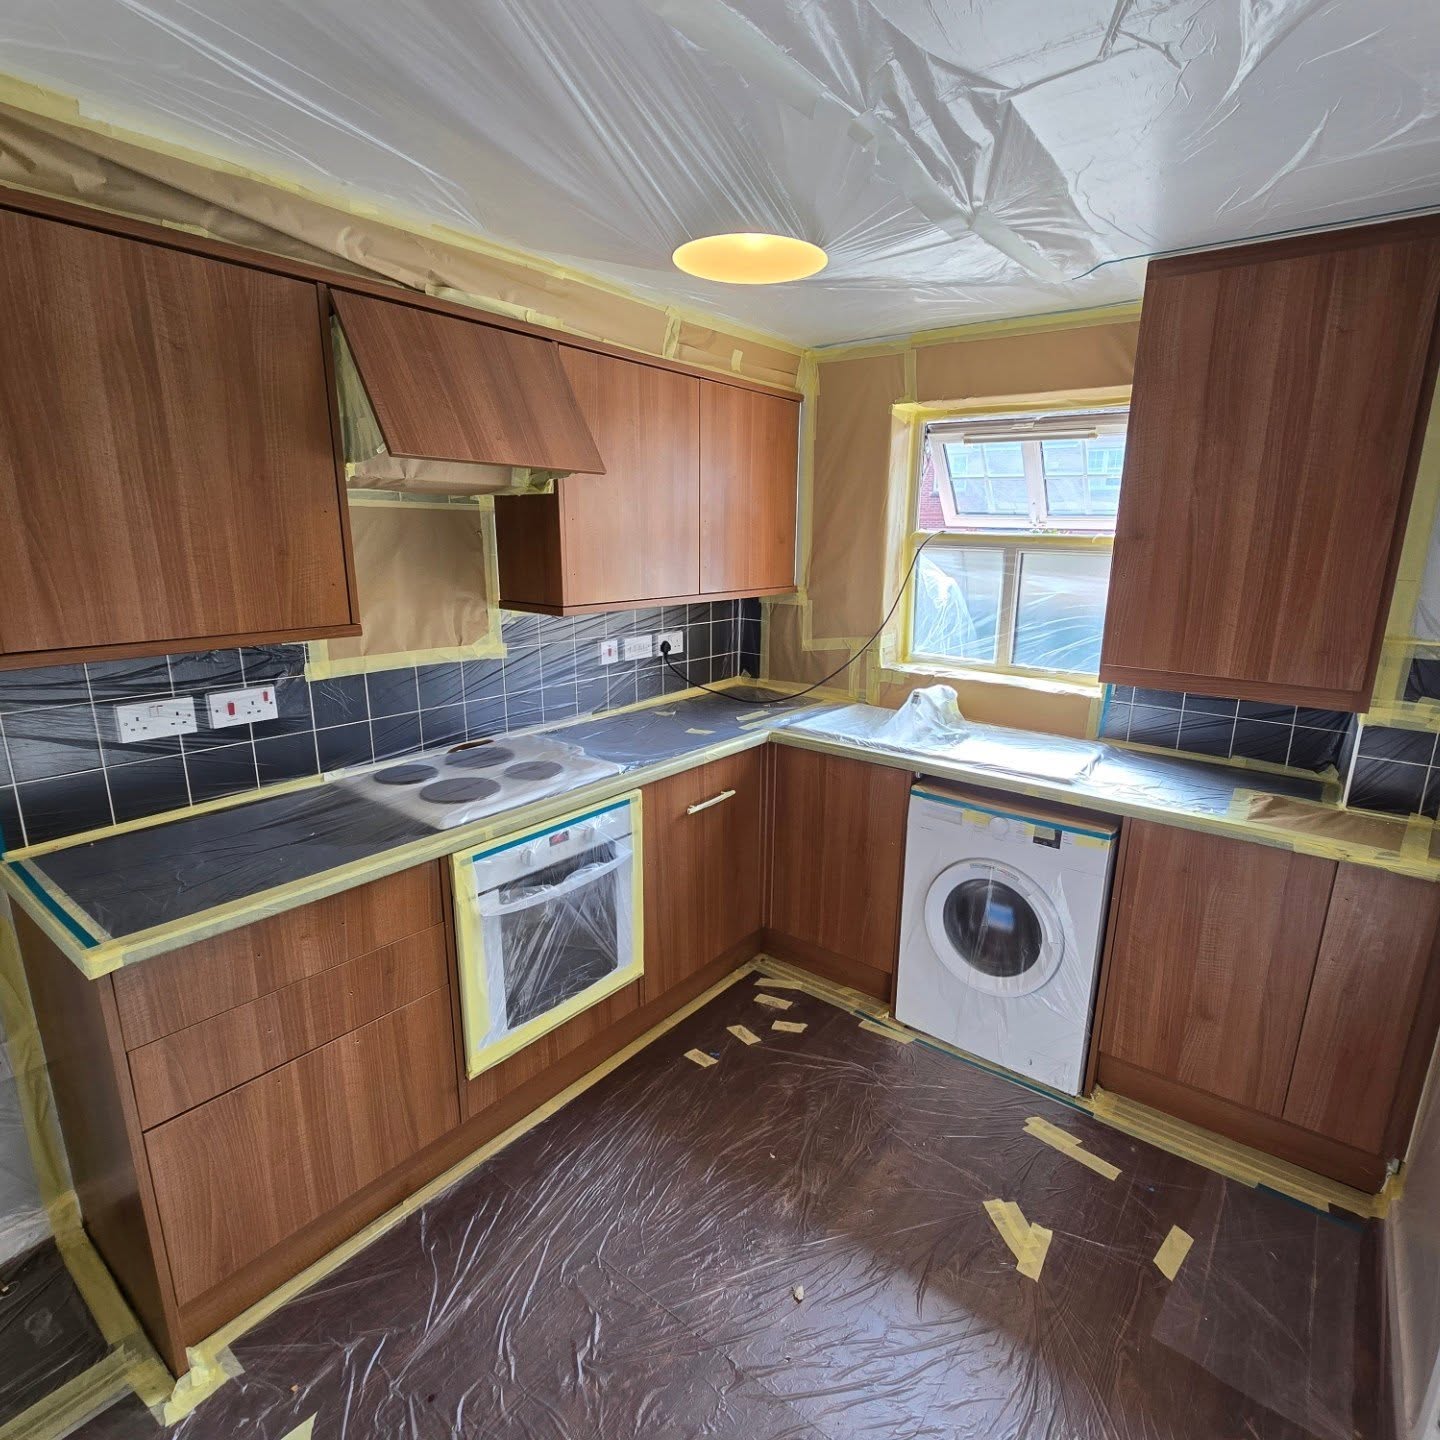
The yellow tape and plastic you see isn’t demo prep. It’s spray prep. Nothing’s coming out. The sink stays, the oven stays, the tiles stay, the floor stays. The only thing changing color is the cabinets.
The paint is Farrow and Ball Stirabout No. 300. It’s a warm off-white with a faint yellow and beige lean, not a cold builder’s white and not a blue-grey. Warm. That detail matters, and we’ll get to why.
Every door comes off. Every drawer, every side panel. They’re sanded, primed, and sprayed. Then everything goes back where it was. Two or three days of work.
Now the part everyone scrolls for.
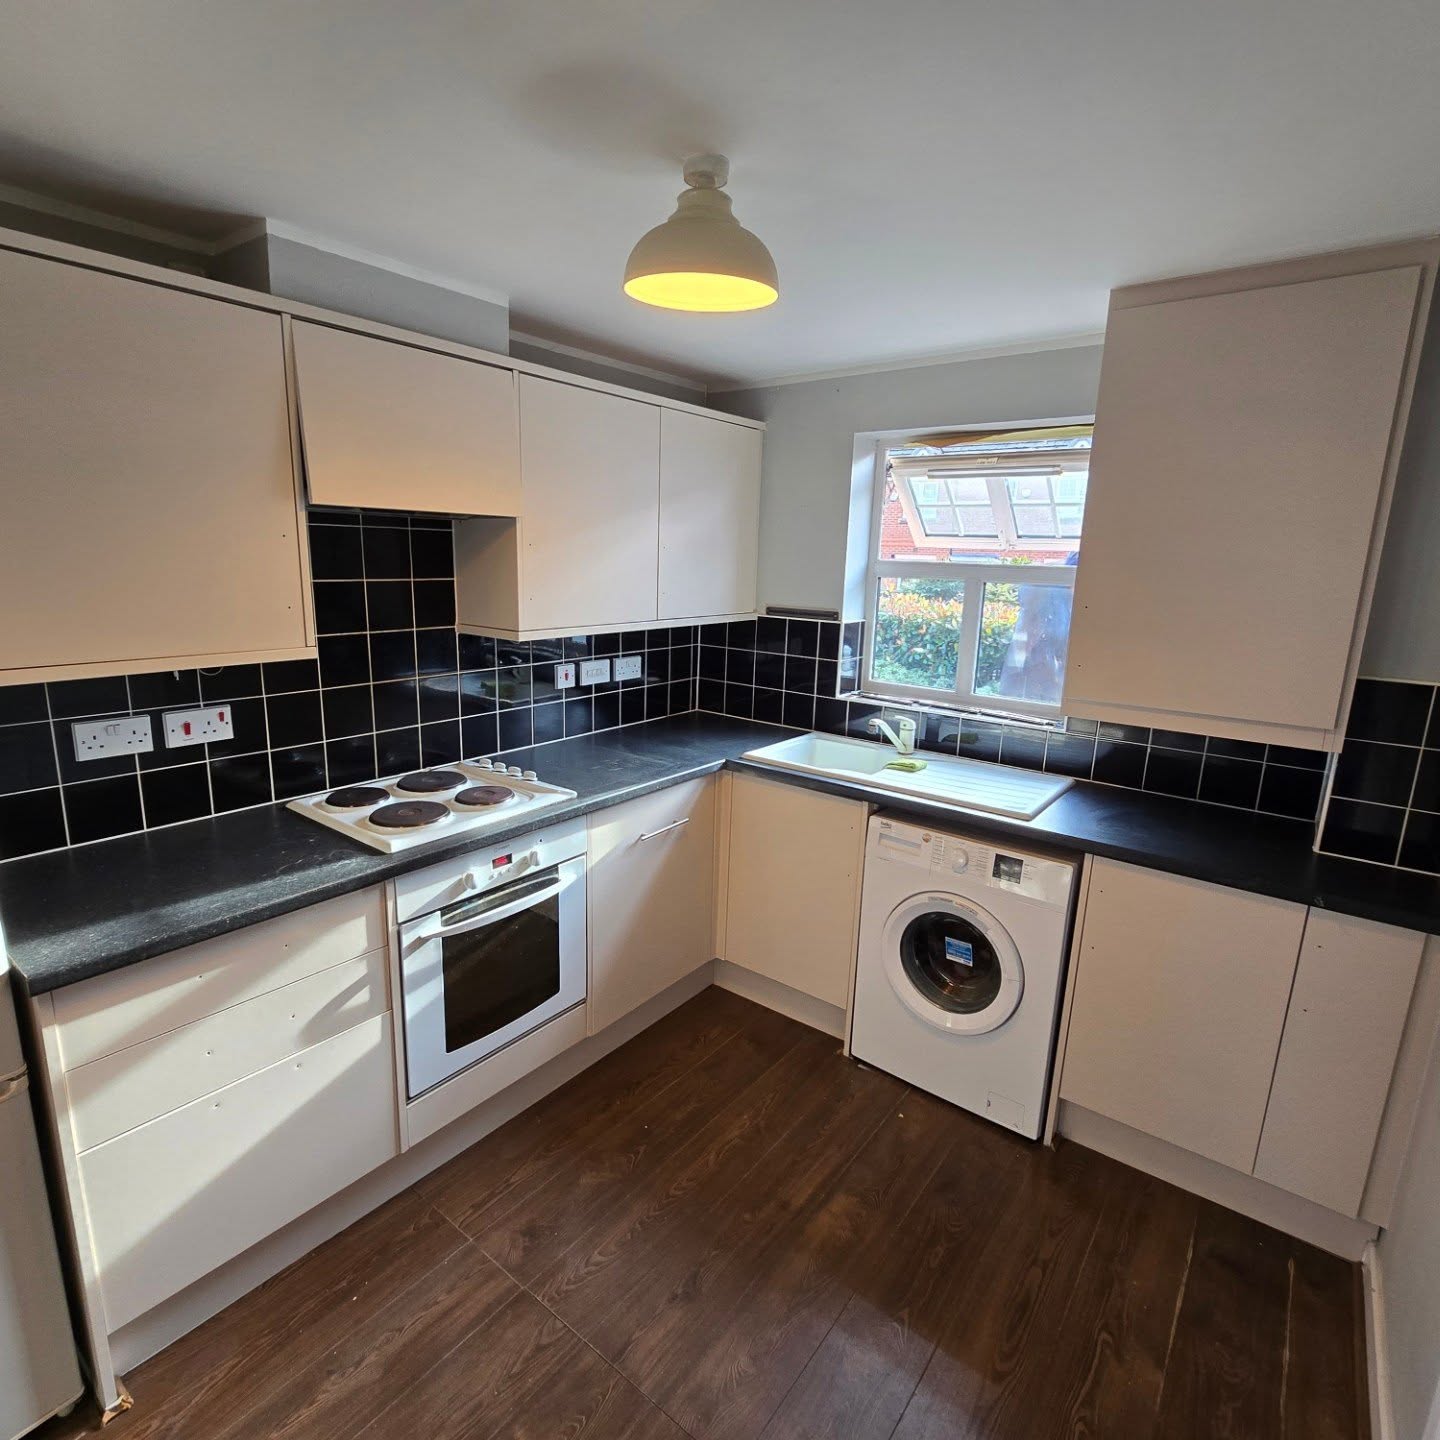
Same room. Same floor plan. Same window getting the same light. Same appliances. One color changed, and the kitchen reads brand new.
Why one color did so much
The problem with cherry kitchens isn’t the layout or the appliances. The wood drinks light. Every ray coming through that window gets soaked up by brown, and the room feels dim because physically, it is dim.
Warm off-white does the opposite. It bounces light around. Same window, same bulb, same gray afternoon outside, and the kitchen feels twice as bright. That isn’t a Pinterest filter. It’s physics.
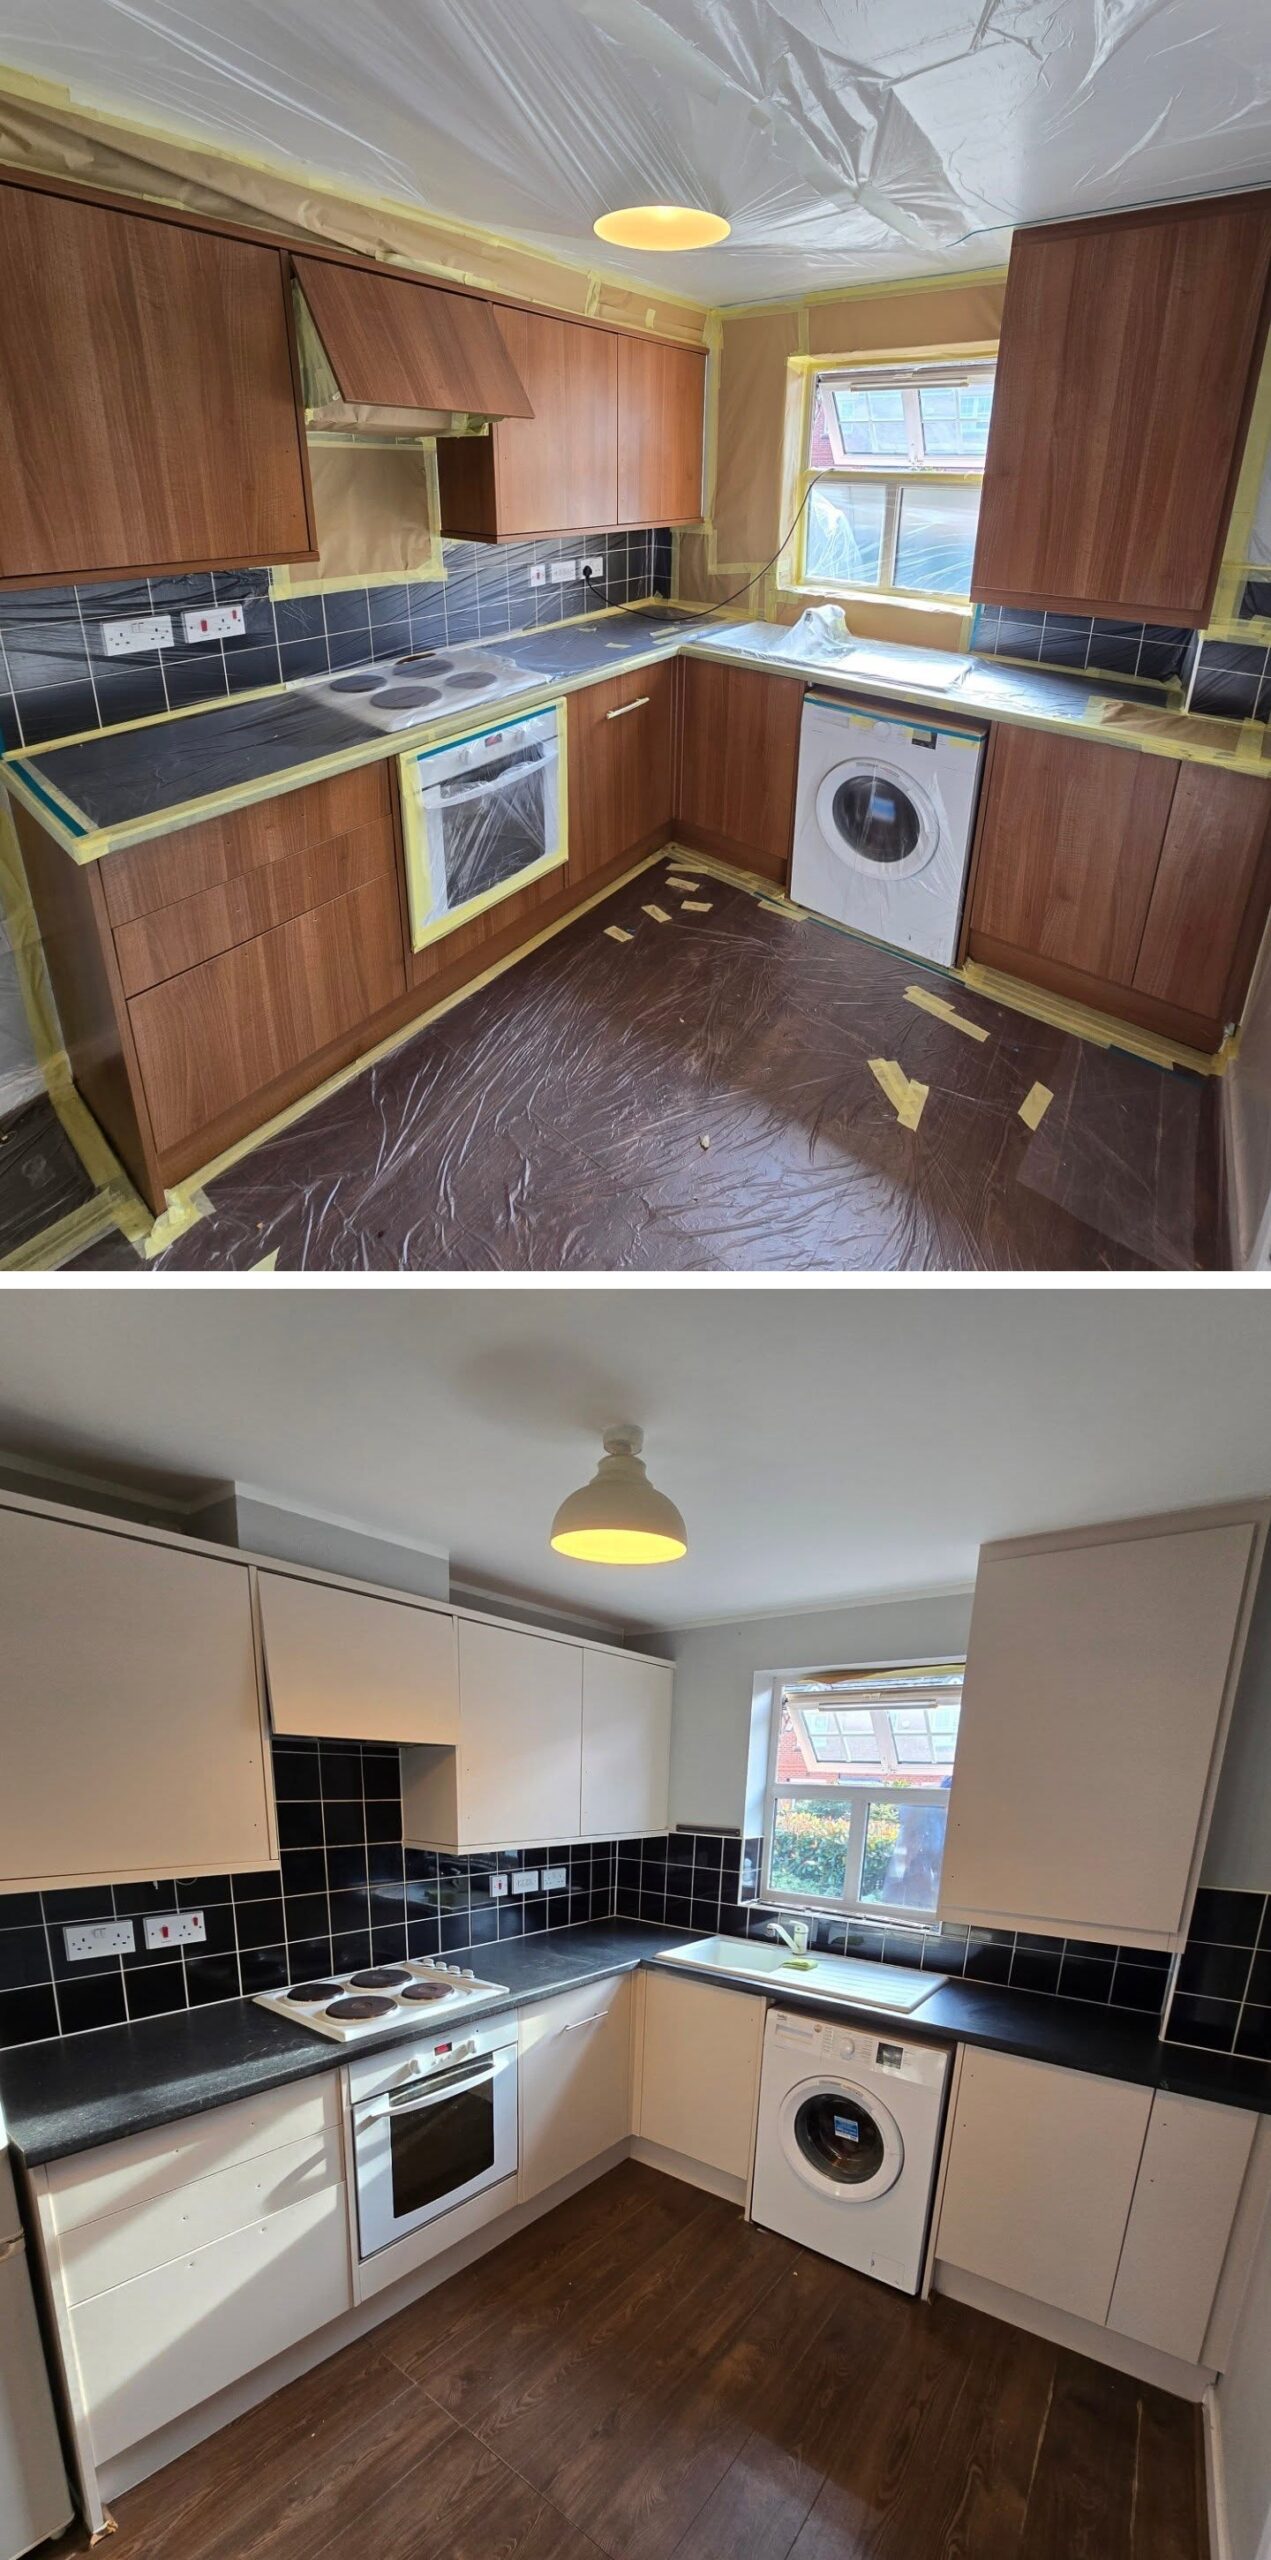
Same ceiling height. Same window. The after feels bigger because the walls stopped eating the light.
The black tile is the real plot twist
Look at the tile in both photos.
In the before, it reads cheap and dated, straight landlord special. In the after, the exact same tile reads moody and expensive, the kind of backsplash you’d see in a magazine. The tile didn’t change. What’s sitting next to it did.
Cherry plus black is a double dose of dark. Both absorb light, both fight each other. Cream plus black is contrast. Cream pulls back and lets the tile punch. Light cabinets with a dark backsplash is a move designers reach for on purpose. It just never worked when the cabinets were cherry.
Every refresh article tells you to rip the black tile out first. They’re wrong. The tile wasn’t the problem. The brown around it was.
The window wall
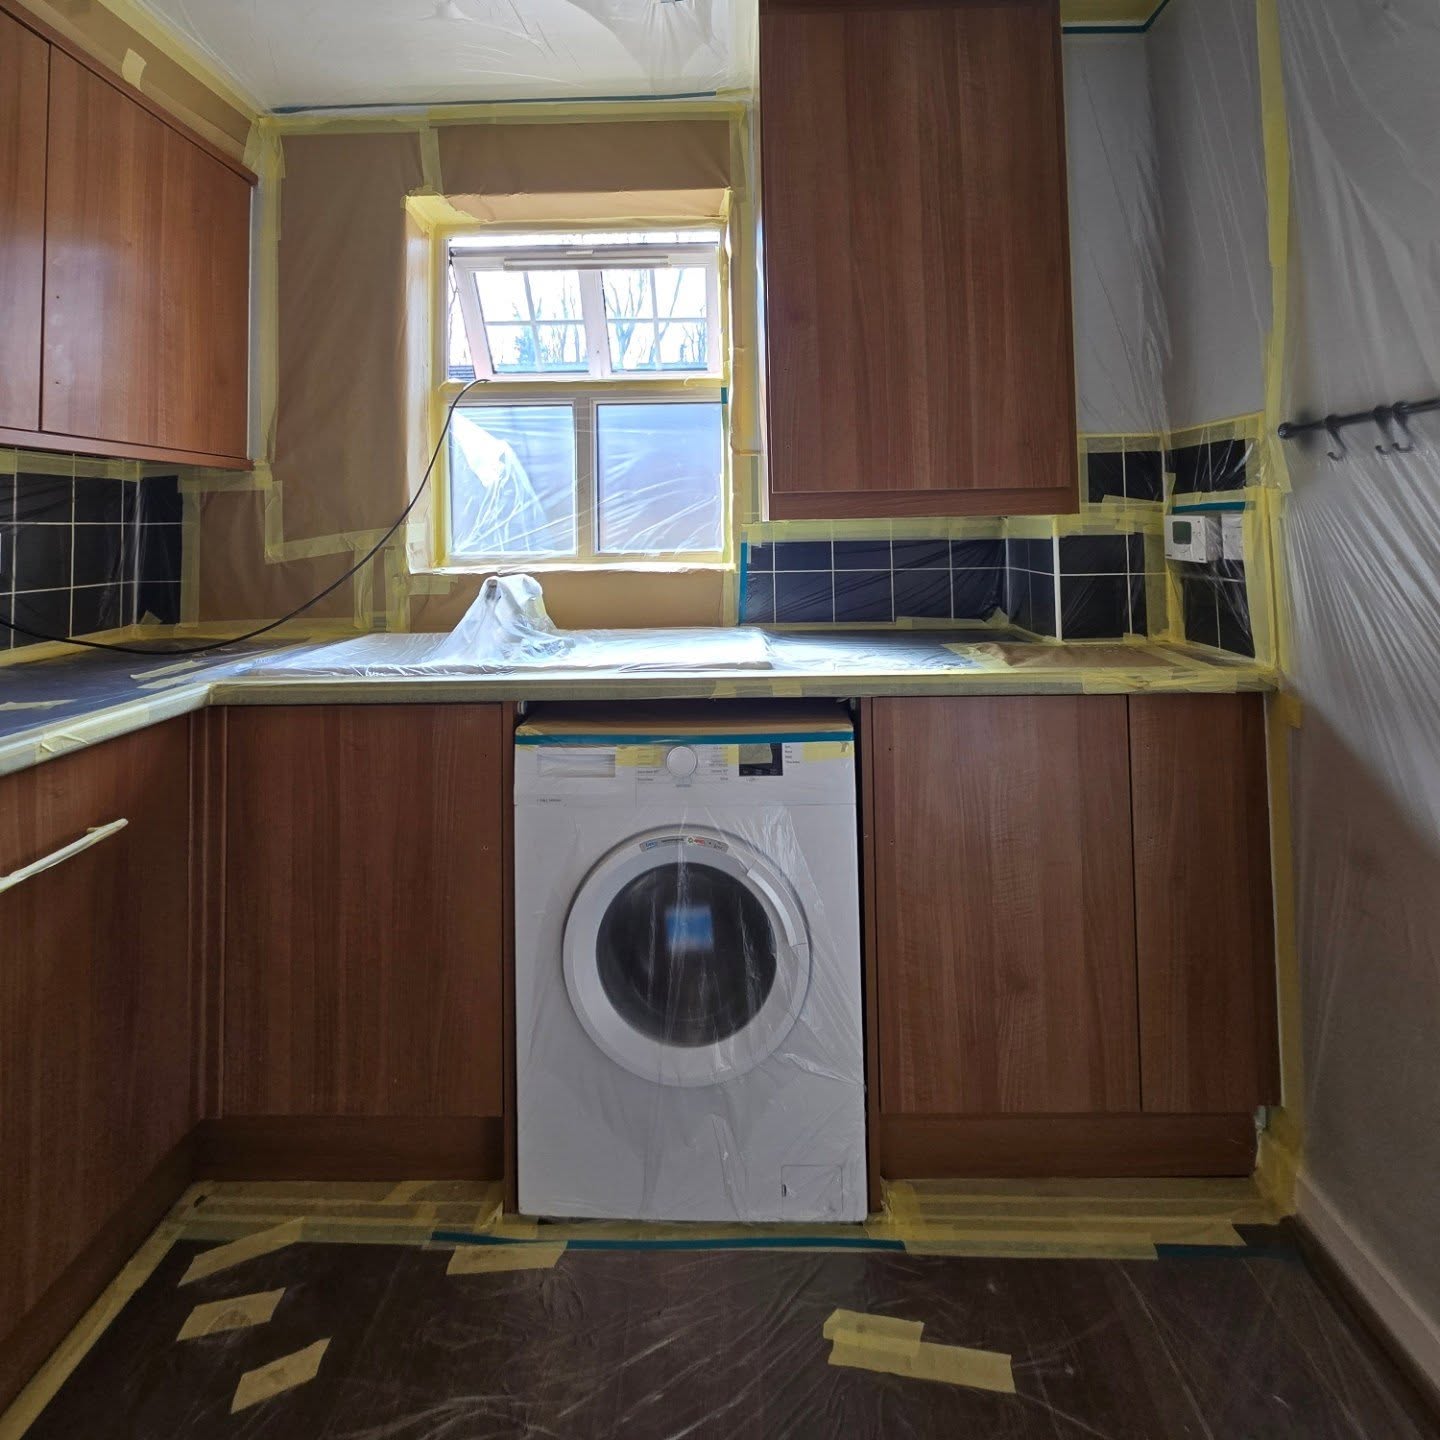
The window’s doing its best here, but it’s losing. Cherry wraps it on three sides. The dark counter below piles on the weight. The one bright thing on this wall is the washing machine, and against the brown it almost looks out of place, like a new appliance someone dropped into an old kitchen.
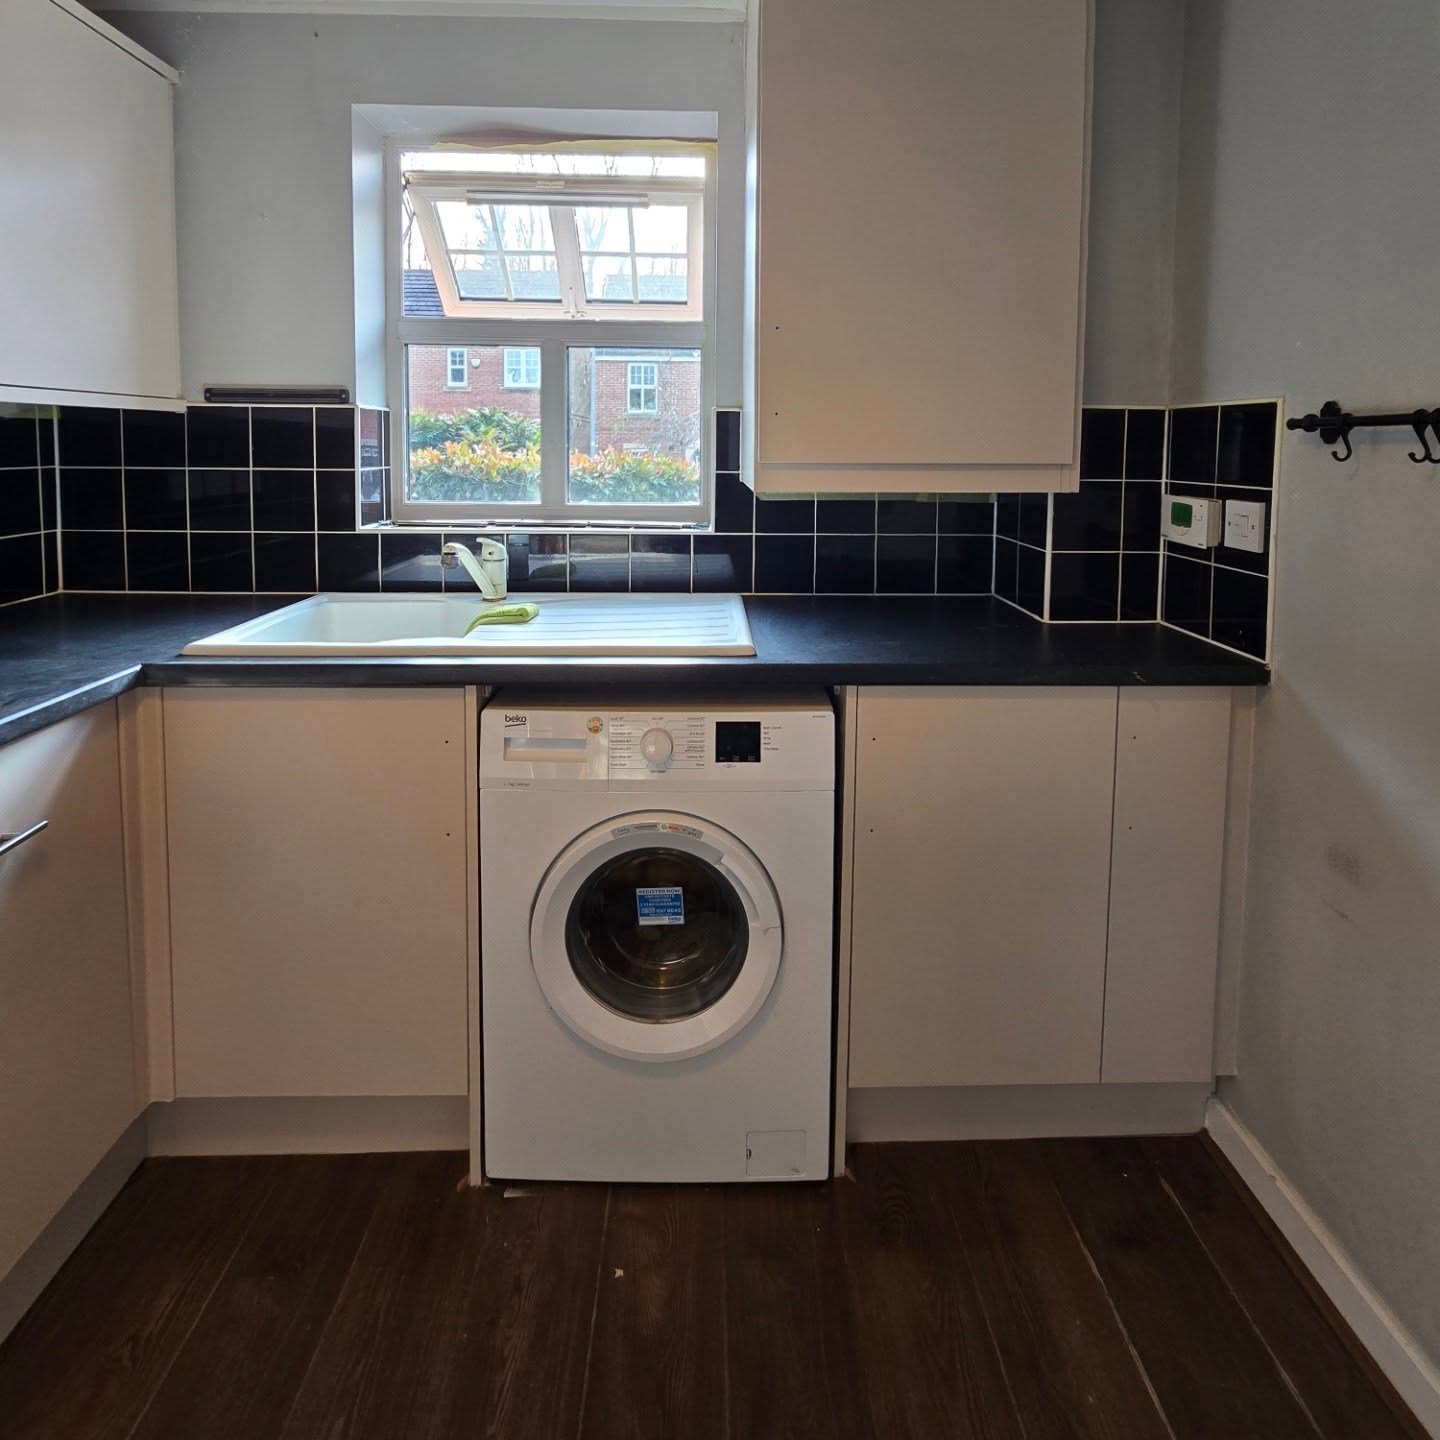
Same corner after. The window gets to breathe. Light hits the cream cabinets and actually goes somewhere. The sink and drainer that disappeared against the dark now sit cleanly against the backsplash. Even those little black hooks on the right wall, lost in the before shot, look styled instead of forgotten.
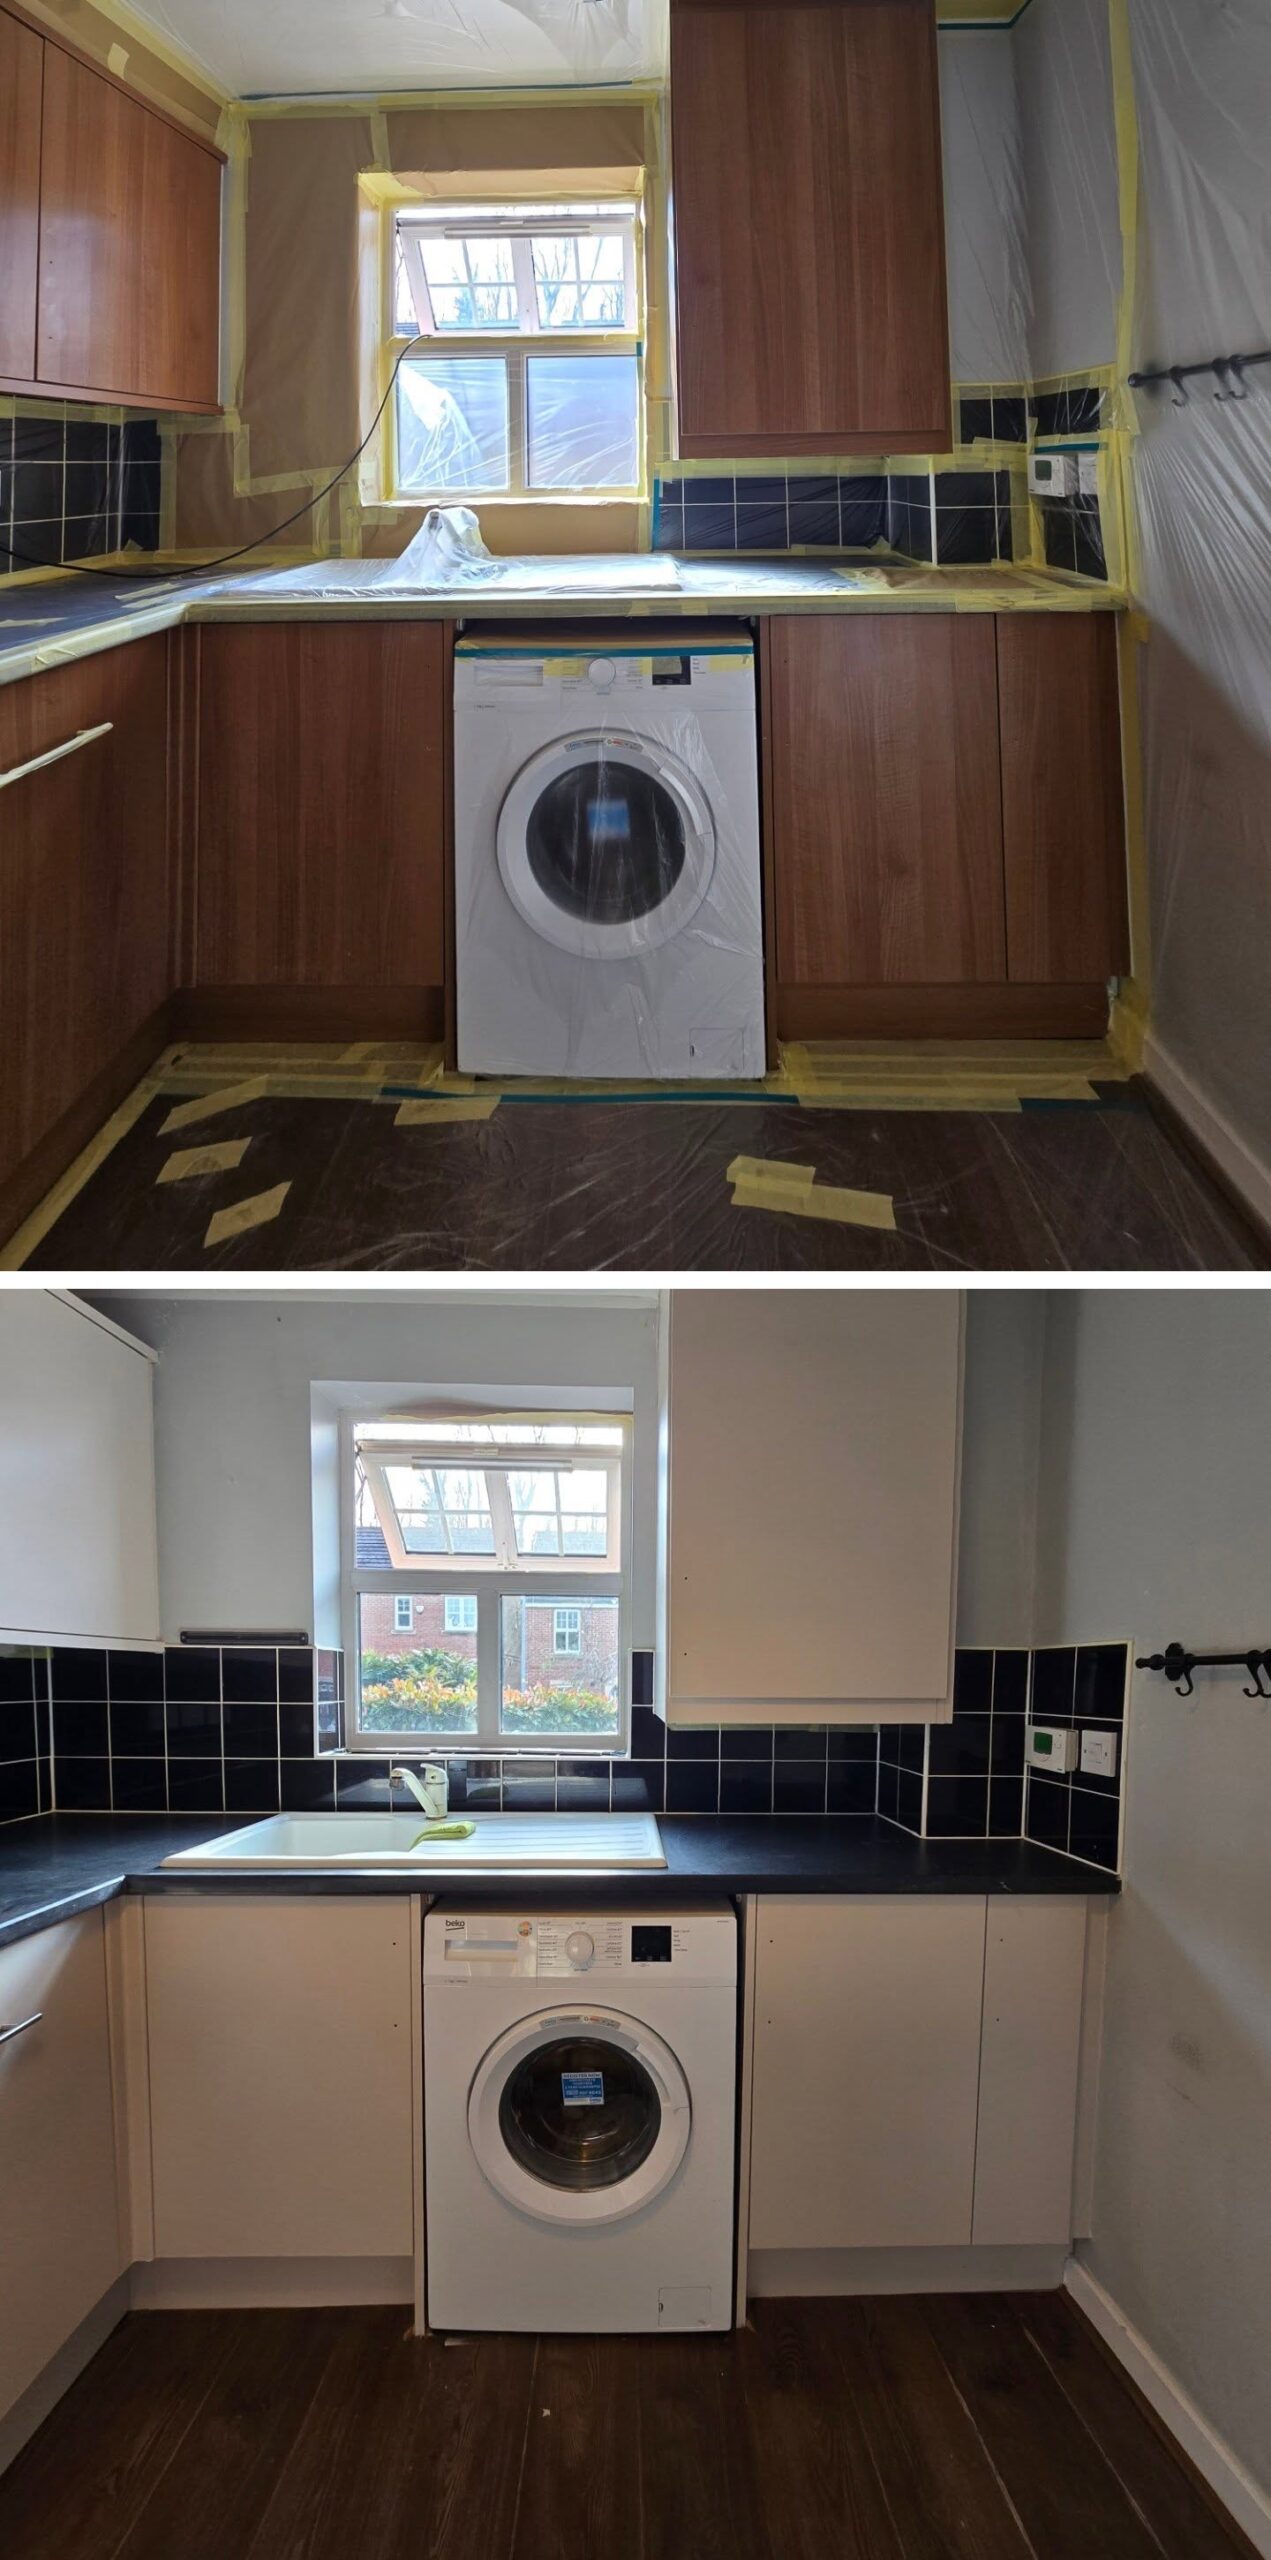
Same window. Same wall. Same sink, same washing machine, same hooks. Just color.
The stove wall
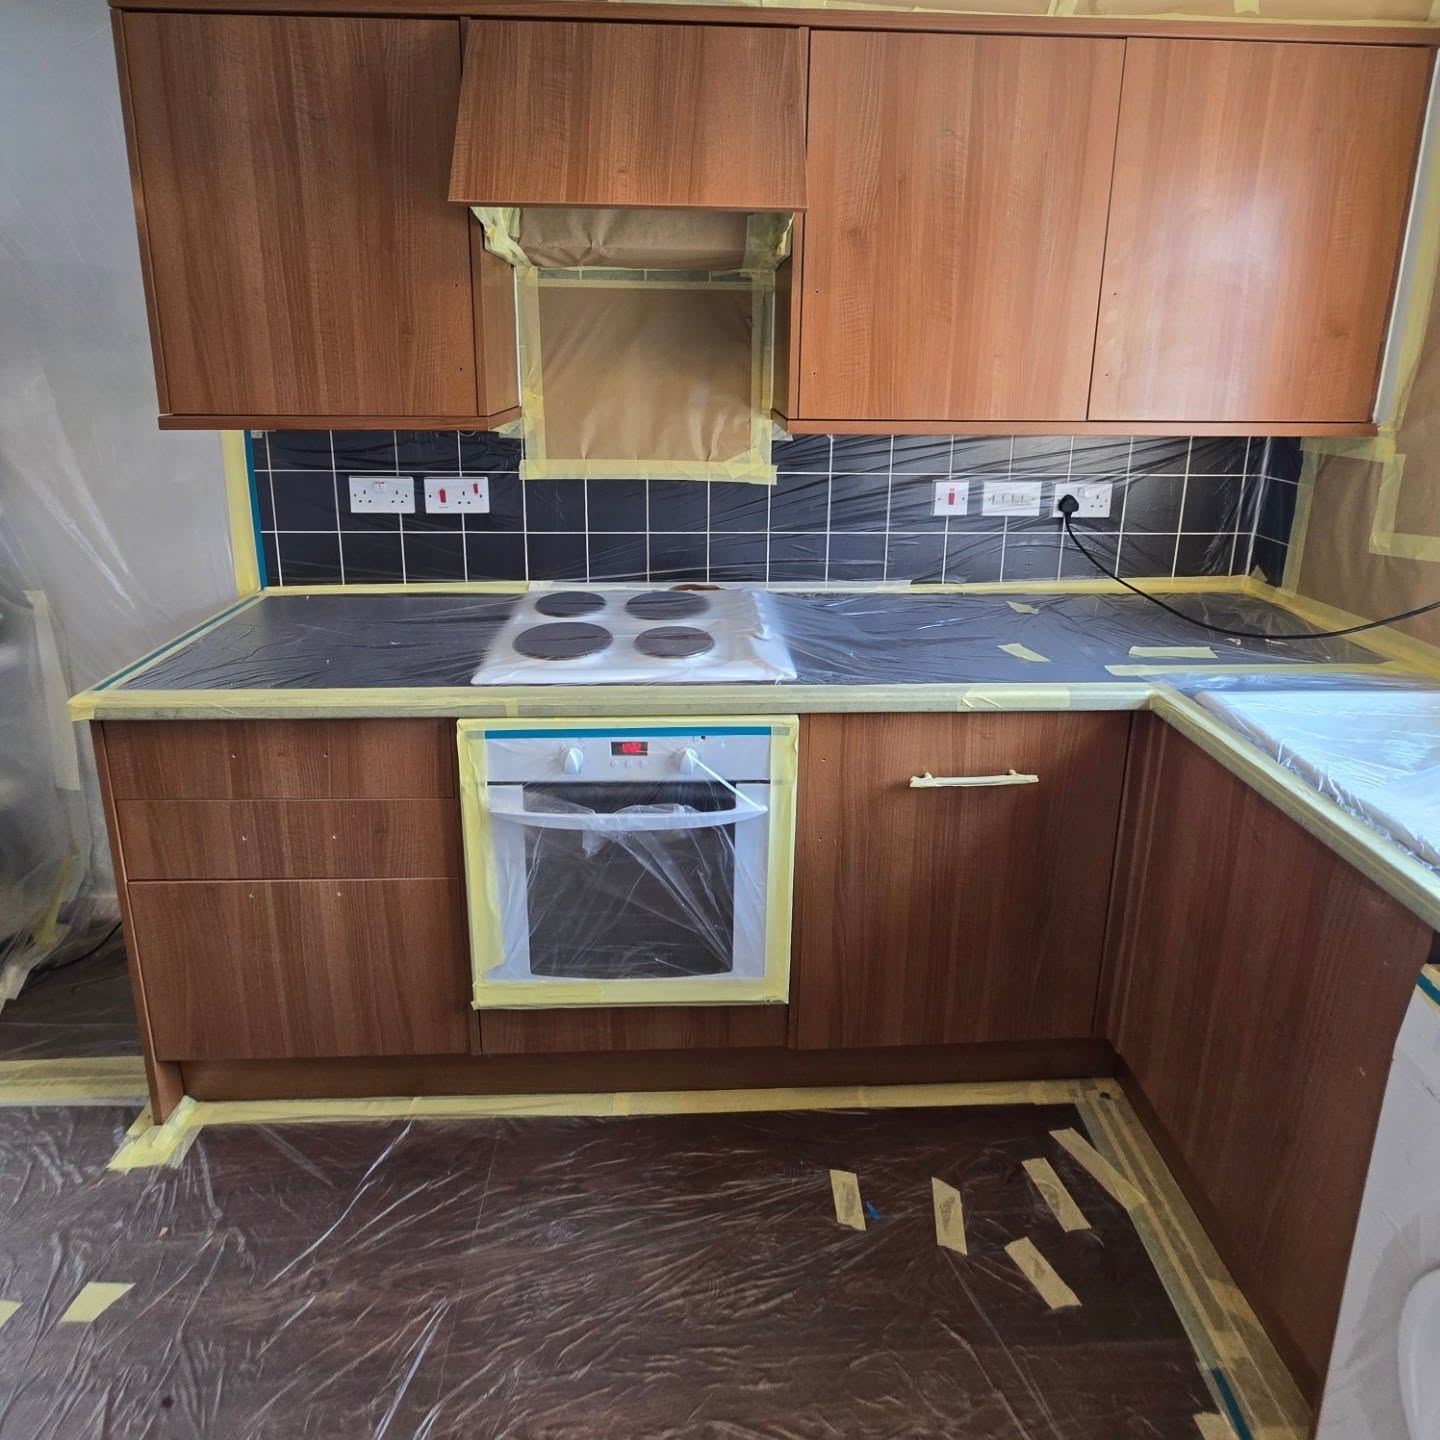
This wall was carrying the most weight. Cherry above, cherry below, a chunky cherry vent hood sticking out of the middle, and a white oven and cooktop stuck right in the thick of it. Those appliances look cheap in this photo, and it isn’t because they are. They look cheap because they’re clashing with everything around them.
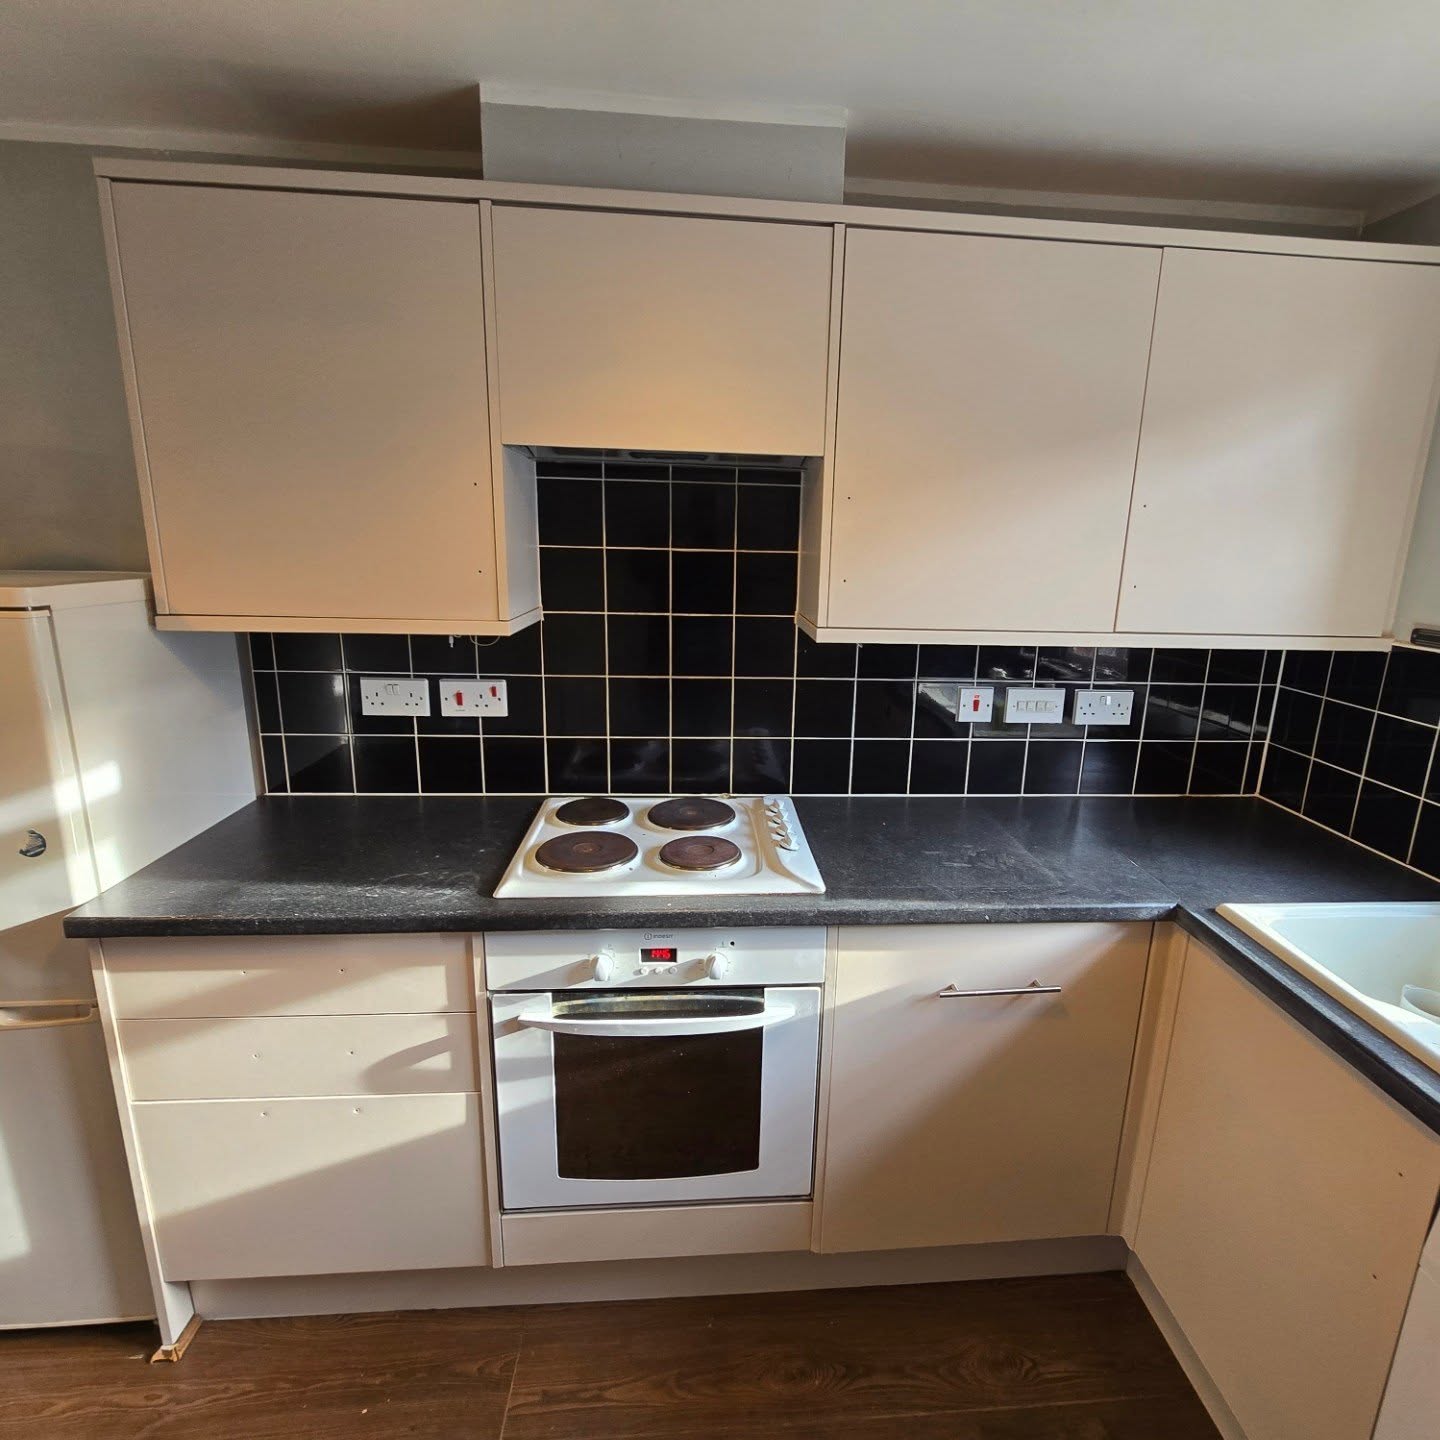
Two things happened on this wall. The cabinets got the Stirabout treatment, and the bulky old vent hood came out. Where the cherry hood used to jut forward, there’s now a clean recessed nook of black tile framed by cream cabinets. The same white oven and the same cooktop suddenly look like they were chosen on purpose. The appliances didn’t change, but they finally match.
If you’re thinking of doing the paint alone, you can. The hood decision is separate. Pulling it opens up the look even more, but the paint is what carries this transformation.
What this means for you
If you’ve got this kitchen, you’ve been told your only two options are “live with it” or “spend $10,000 (about €9,200).” There’s a third option almost nobody writes about.
Paint the cabinets. Pick a warm off-white, not a cold one. Leave the tile alone. Leave the counter alone. Leave the appliances alone. Brave with a sprayer and a weekend? You can do it yourself for the price of a few tins of paint, sandpaper, and a decent primer. Call in a pro and you’re still miles under what a new kitchen would cost.
The lesson underneath all this is bigger than paint. The feature you want to rip out first is often the one waiting for the rest of the room to catch up. Context changes perception more than replacement does. Black tile looks dated next to brown. The same tile looks designer next to cream. Same tile, different frame.
Farrow and Ball Stirabout No. 300 did almost all of the work. One color, one surface, one weekend. A kitchen that would cost ten grand to buy, that didn’t cost ten grand to make.