White pebbles scattered along a foundation look clean and low-maintenance, the kind of weekend project that solves the endless cycle of trimming weeds right against your siding. Until the first real rain arrives and reveals what those stones are actually doing to your walls. The problem isn’t the pebbles themselves.
Spreading a layer of white stones at the base of your exterior walls feels like a smart move. The bare dirt disappears, the weeds stop creeping up against the house, and you can finally put away the trimmer. But when autumn rain settles in, those decorative stones begin working against the structure in ways that won’t show up for weeks.
What happens when stones sit directly against your foundation
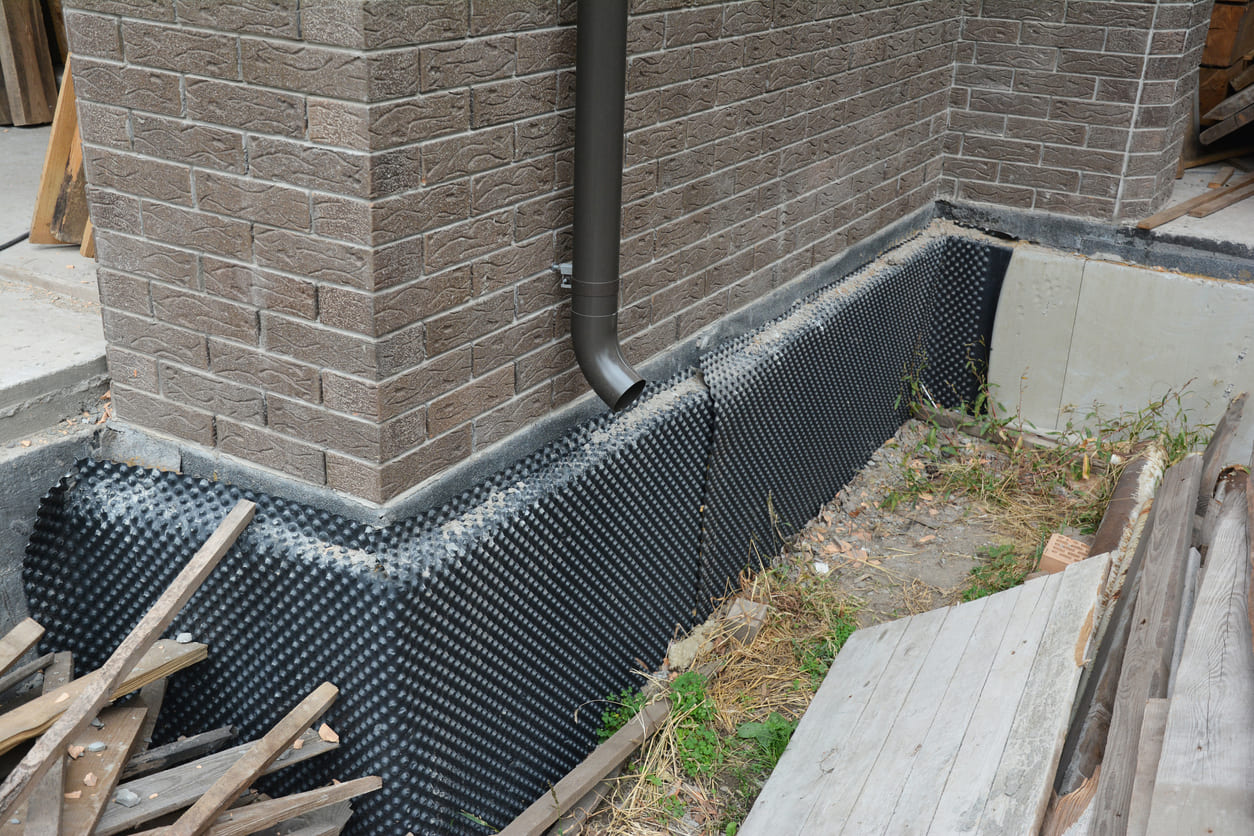
The original idea was simple enough: cover the strip of bare soil at the base of the façade with a clean layer of light-colored pebbles. Cleaner, brighter, and far easier to maintain than packed earth constantly invaded by wild grass.
But mineral mulch placed directly against the wall transforms a simple landscaping chore into a serious moisture problem. Rain that infiltrates between the pebbles no longer drains the way it did before.
On bare soil, rainwater runs off, penetrates deep into the ground, and the sun dries the surface within a few hours. With pebbles piled against the coating, that natural drying process almost completely disappears. Moisture becomes trapped between the stones and the bottom of the wall, never truly evaporating.
When humidity penetrates the layers of coating, it can cause blisters or peeling. The wall acts like a sponge sitting permanently in a saucer of water.
Why masonry professionals recommend a clear buffer zone
Capillary rise, where water climbs from the ground up through walls, becomes particularly problematic in this setup. It creates an environment that encourages peeling and deterioration.
Masonry professionals are firm on this point: the lower band of a façade must always remain visible and uncovered. Current construction standards support exactly that approach.
Unified technical documents require capillary breaks at 15 cm above the highest ground level, using an anti-capillary barrier or specific mortar. That margin allows the wall to breathe and dry normally after each rain.
In practice, it’s better to leave a clearance of at least 20 to 30 centimeters between the top of the mulch and the bottom of the coating. This buffer zone makes all the difference between a healthy wall and one that constantly soaks.
Some homeowners place their pebbles directly on the dirt, while others install geotextile fabric or perforated plastic sheeting first. The result is nothing alike in terms of residual moisture. Pebbles laid over fabric limit moisture rise from the soil, since the material partially drains water to the sides. Without that barrier, the stones rest directly on soil that remains waterlogged for weeks after a storm, pressed against the wall permanently.
The worst scenario remains mulch packed directly on bare earth, pressed tight against the base of the coating with no separation. That exact configuration transformed a decorative upgrade into a moisture trap.
The visible signs that something went wrong
One October morning, a grayish halo appeared at the base of the living room wall, on the side where the façade was covered with pebbles. That kind of low, diffuse stain is a signal you should never ignore.
Visible capillarity shows up as a wave of moisture running along the base of walls, at a height between 40 and 80 cm on both faces. That’s precisely the zone where the mulch prevented the exterior wall from drying.
If nothing is done, the situation worsens over time. Capillary rise then easily reaches 1.5 meters, or even higher if the phenomenon is old, degrading the façade further.
The moisture problem isn’t the only side effect of this mineral mulch. As soon as the first autumn chill arrived, the pebbles became an ideal refuge for all kinds of unwanted creatures. Slugs find a damp, dark shelter under the stones, perfect for surviving dry conditions during the day. Voles readily dig their tunnels just underneath, taking advantage of the heat stored by the mineral and the immediate proximity to the wall.
The result: damage to nearby plantings multiplied, and active tunnels appeared against the foundation while digging to understand the source of the problem.
How to fix the problem without starting over
The good news: you don’t need to remove all the mulch to solve the issue. Simply clear a band of 20 to 30 centimeters all along the base of the wall, pushing the pebbles toward the outer edge of the bed.
That cleared zone can then receive a layer of coarser gravel, which drains better without clinging to the coating, or simply remain bare and be raked regularly. The essential thing is to recreate a space where air circulates and where the wall can dry after each rain.
A professional diagnosis remains recommended if stains have already reached the interior of the house. If you observe moisture traces at the base of your walls, mold appearing, paint blistering, wallpaper peeling, coating blackening, or even crumbling, a professional can confirm whether more intensive treatment, like peripheral drainage, is necessary in addition to simply clearing the mulch.
That clearance does the work. Leave space at the foundation, and the wall reads healthy instead of saturated.