The fridge hums more than it used to, the butter is oddly soft, and last week’s leftovers turned faster than they should have. Before a repair tech even opens a panel, there’s one thing they check, because it’s the cheapest part of the machine and the one that fails most quietly. The test they run takes ten seconds, costs nothing, and you can do it tonight with a sheet of paper from the printer.
The target is the door gasket, the flexible magnetic seal running around the door’s edge. It’s the only thing standing between the cold you pay for and the warm kitchen air, and when it weakens, nothing dramatic happens: no noise, no light, no error code. Just a fridge that works harder, spends more, and keeps food less safe, which is why the paper test is the standard first check for a suspected seal leak.
The ten-second test
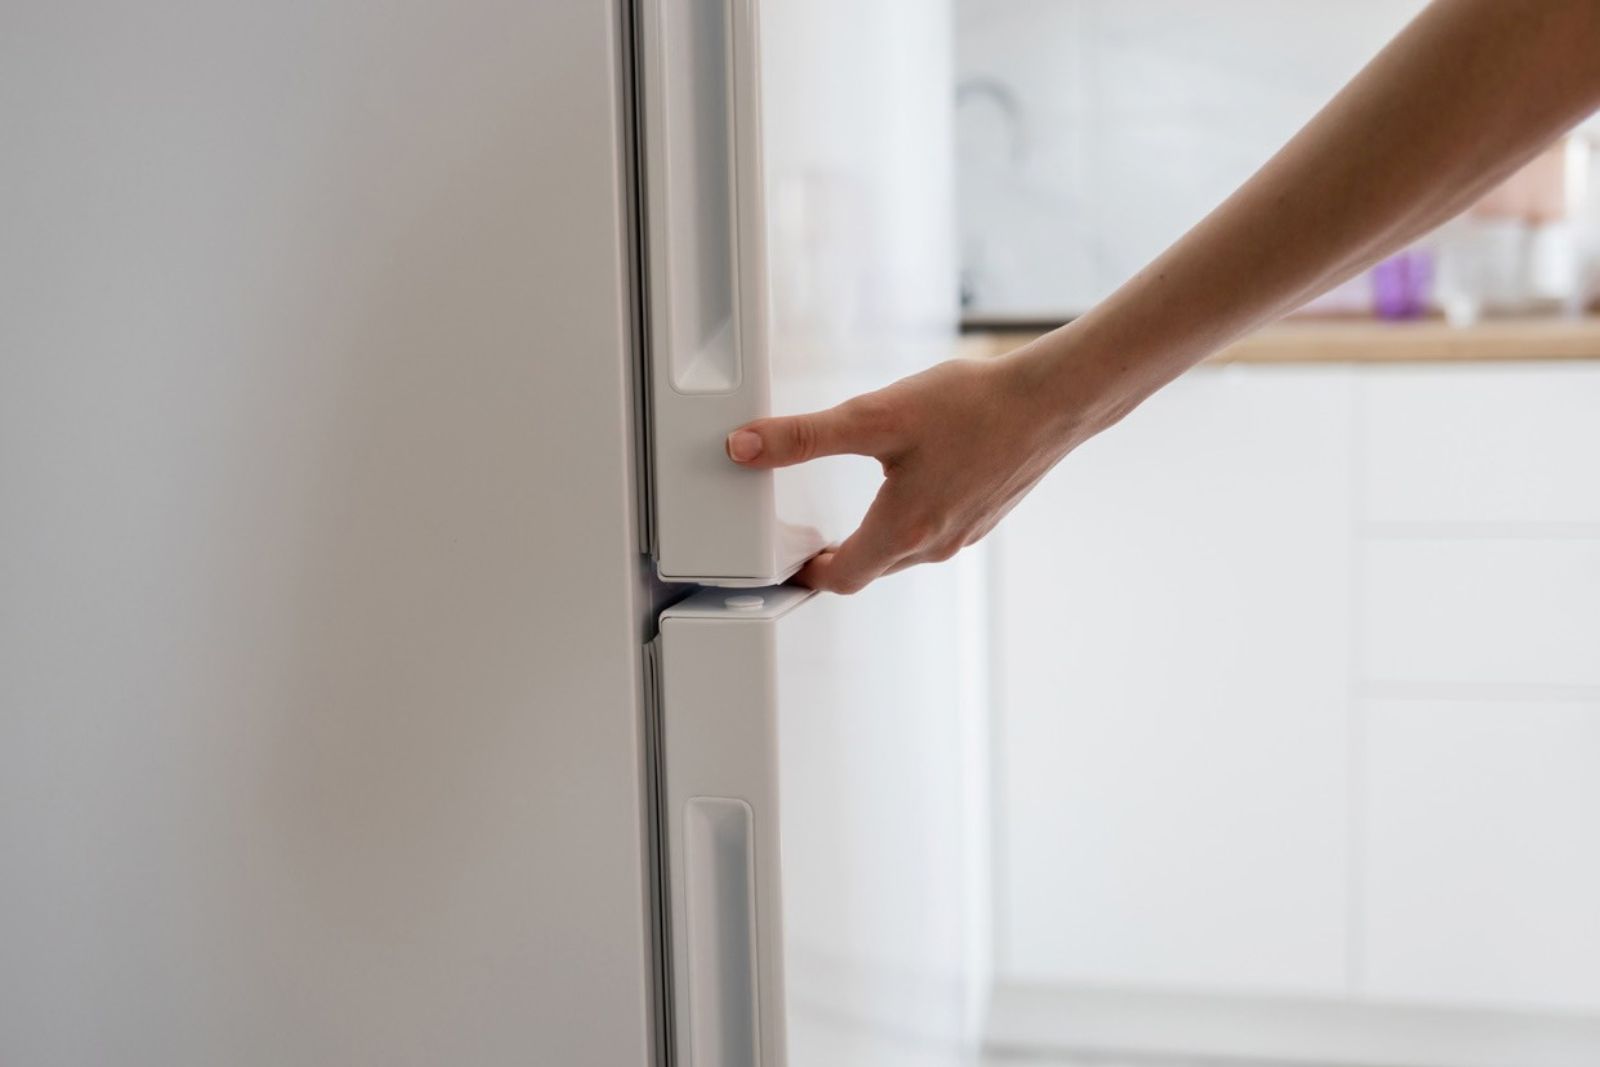
Open the fridge, lay a sheet of paper (a dollar bill works just as well) across the seal, and close the door on it, half in, half out. Now pull.
- The paper resists, coming out with firm friction: the gasket grips at that spot. Good seal.
- The paper slides out effortlessly: the gasket isn’t making contact there. That’s a leak.
- Repeat around the whole perimeter, top, bottom, both sides and all four corners, because a gasket usually fails in one stretch, not everywhere at once. Test the freezer door the same way.
For a second opinion on a borderline result, put a lit flashlight inside facing the door, close it, and darken the kitchen: any light escaping along the edge marks the gap.
Why a lazy seal costs real money
Every gap is a 24-hour leak: cold air drains out, humid air seeps in, and the compressor, the component that actually costs money to run and to replace, cycles far more than designed; appliance technicians put the extra compressor run time at 20 to 30 percent for a leaking gasket. The humid air also becomes frost in the freezer and condensation droplets inside the fridge, two classic symptoms people blame on the thermostat. Meanwhile the warm edge zones quietly shorten the life of whatever’s stored by the door.
The fix, in escalating order
A failed paper test rarely means a dead gasket. Start with a wash: wipe the whole seal and the cabinet surface it meets with warm soapy water, working into the pleats, where crumbs and syrup film keep the rubber from seating. Dry it, and retest: cleaning alone revives a surprising share of seals. If a section is clean but limp, rub a thin film of petroleum jelly along it to soften the rubber and improve contact. Check the door itself too: a fridge that isn’t level, or hinges that have sagged, can hold a perfect gasket slightly open. Only when the rubber is visibly cracked, torn or permanently flattened does replacement enter the picture, and even that is a push-in part on most models, no technician required, that typically pays for itself in energy within months. While you’re in diagnostic mode, the door seal has cousins all over the house, starting with the outlet your fridge should have to itself.
One sheet of paper, one lap of the door, once a season. It’s the first test the technician would have billed you for, and now it’s yours. That’s the trick.