The last square is gone, and the cardboard tube is already pinched for the recycling bin. Before you crush it, pause. One simple cut gives that bathroom leftover a second job by spring.
Two Tiny Pots Hiding In One Roll
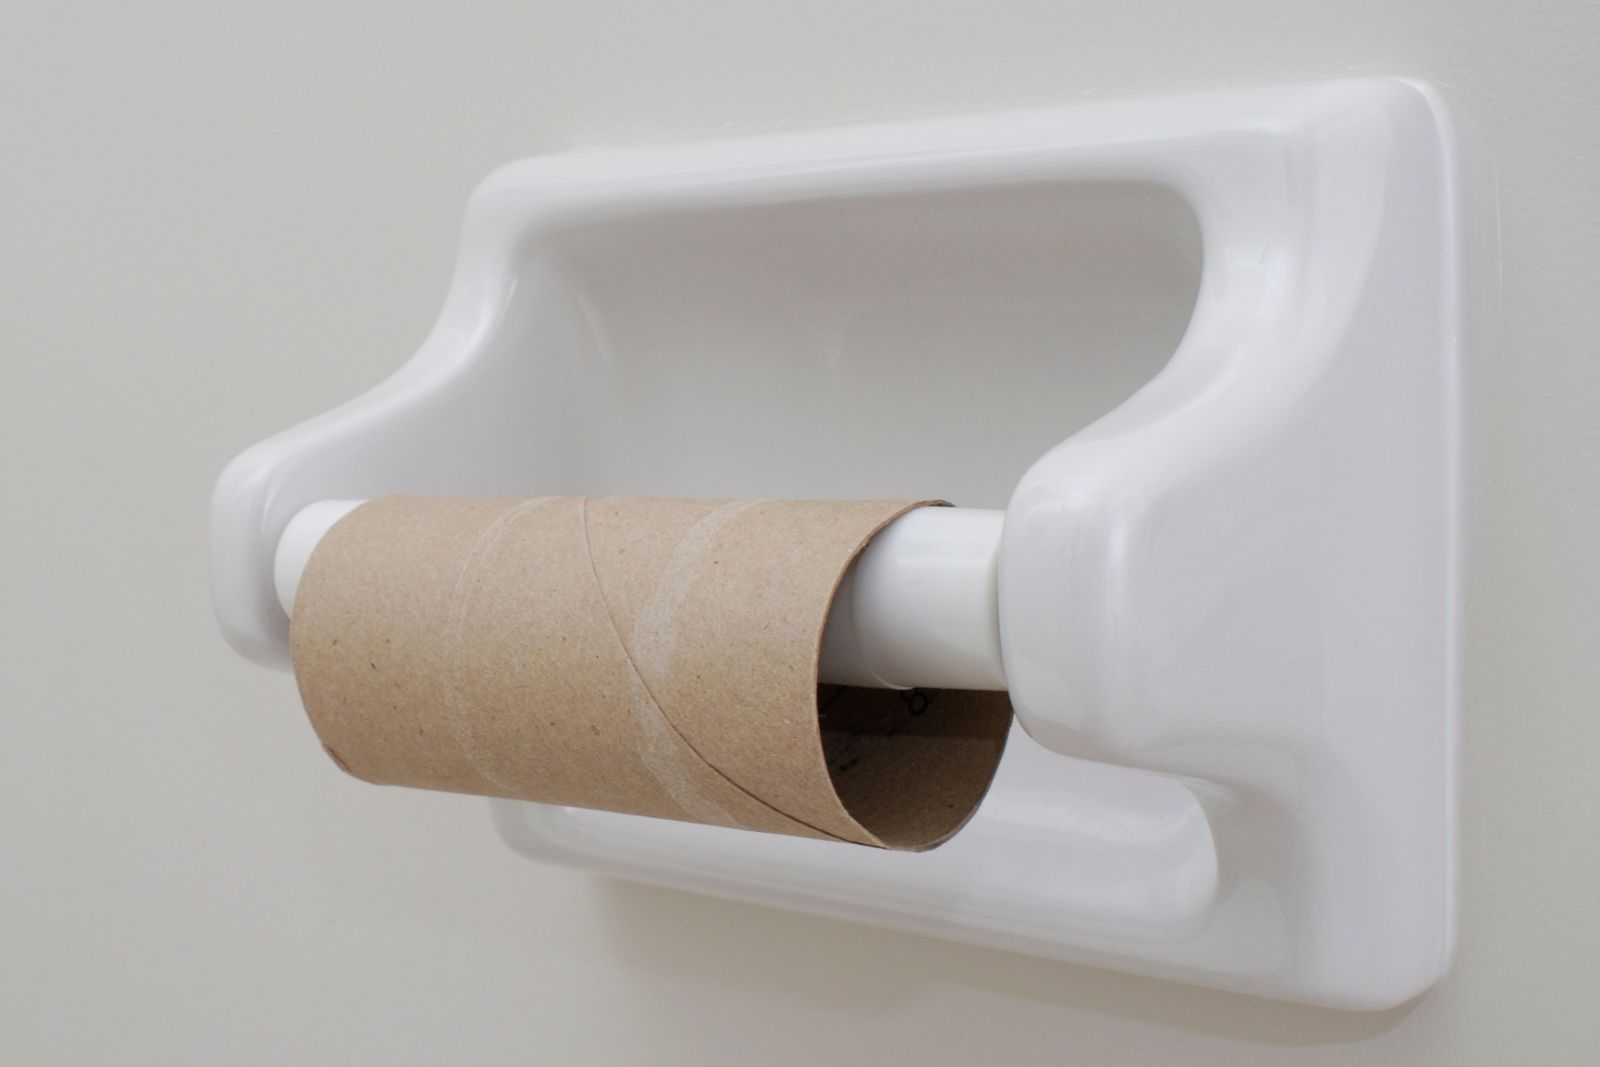
Cut the tube straight across the middle, and you’re holding two short cardboard cylinders. Gardeners can turn each half into a little pot for starting seeds, with enough growing mix to support a seedling during its earliest days.
The University of Georgia Cooperative Extension recommends this reuse technique for larger seeds like beans, corn and cucumbers. These crops can be sensitive to root disturbance, so a biodegradable container may make transplanting easier.
There is one important limitation: a half-roll is very shallow. Fast-growing seedlings, especially corn and beans, may need more root space sooner than this little container can provide. For those crops, a full-length tube or a larger seed-starting pot may be more practical.
The appeal is easy to see. The tube costs nothing, each roll can make two small pots, and plain cardboard can gradually break down in moist soil. Line a few up in a tray, and they take up little room on a shelf or under a grow light.
So why cut the tube in half rather than use it whole?
Why Half A Roll Is Just Right
A newly germinating seed doesn’t always need a large container. A small pot uses less seed-starting mix and can be convenient when you’re growing several seedlings at once.
But smaller isn’t automatically better. A shallow container dries out quickly and gives roots limited room to develop. The right size depends on the crop and how long the seedling will remain indoors.
For short-term seed starting, a half-roll can be useful. Its folded cardboard tabs create a temporary bottom, and placing several pots close together in a tray helps keep them upright.
Over time, the cardboard absorbs moisture and begins to soften. That makes the pots biodegradable, but also less durable than plastic cells.
The idea is related to the use of cardboard over garden beds, where gardeners use paper-based material to cover soil. The two methods have different purposes, however: a seed pot must hold together long enough to protect a growing root system.
Getting started takes little more than scissors, a tray and some seed-starting mix.
Four Snips, One Tray, A Few Seeds
Flatten the empty toilet paper roll lightly and cut straight across the middle. Open both halves, then make four evenly spaced cuts into one end of each cylinder. Keep the cuts short enough that the folded tabs can form a base without leaving the pot unstable.
Fold the four tabs inward so they overlap, like the bottom of a small cardboard box.
Stand the pots close together in a waterproof tray to support their sides and catch excess water. Fill each with premoistened seed-starting mix, stopping about 1/4 inch below the rim.
Follow the seed packet for sowing depth and the number of seeds per pot. Label each container with the crop, variety and planting date.
Water gently and keep the growing mix evenly moist rather than saturated. The cardboard can dry out or weaken quickly, so check the pots daily.
According to Utah State University Extension, many vegetable seeds germinate readily when soil temperatures are between 65°F and 75°F. Some cool-season crops prefer lower temperatures, while others need more warmth.
If you use a clear humidity dome or plastic cover, remove it once the seedlings emerge. Keep covered trays out of direct sunlight to avoid excessive heat buildup.
When the seedlings are ready for outdoor conditions, gradually acclimate them through a process called hardening off. Follow the recommendations for the specific crop and wait until outdoor temperatures are suitable.
Before transplanting, check the roots and the cardboard. If the pot is soft and roots can grow through it, the container may be planted with the seedling. Bury the cardboard completely and remove any rim that would otherwise stick above the soil.
When The Little Tube Starts To Slump
Use plain, clean cardboard without plastic coatings, adhesives or decorative finishes. Handle scissors carefully, especially when making the small cuts for the folded base.
Drainage is the weak spot. These homemade pots don’t have the reliable drainage or durability of purpose-made seed trays. If a cup stays soggy, collapses or develops visible mold, move the seedling into a clean container with drainage holes and fresh growing mix.
Don’t leave cardboard sticking above the garden soil. The University of Georgia Cooperative Extension warns that an exposed rim can wick moisture away from the roots.
And don’t assume the cardboard will disappear immediately after planting. If it remains firm, slit or carefully peel away the sides before transplanting, disturbing the roots as little as possible.
For crops with vigorous roots or a long indoor growing period, choose a deeper container from the start. The half-roll trick works best as a short-term, low-cost option, not a replacement for every kind of seedling pot.