
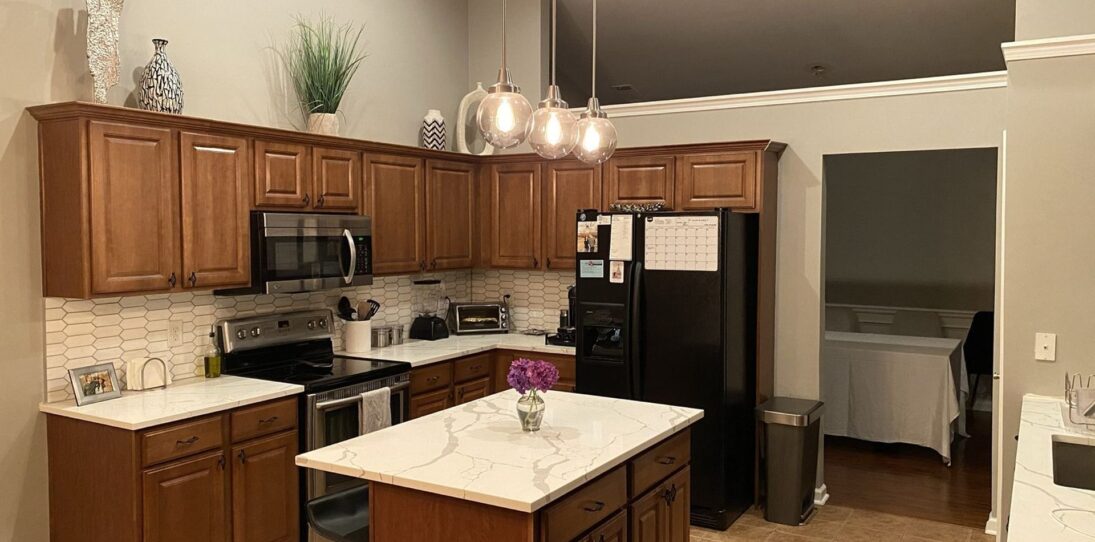
If a cream-painted kitchen with subway tile and granite is the dream, this couple in Georgia was already living it. They had the tile, the stone, the farmhouse sconce, the whole “finished” look Pinterest keeps selling.
And then they called a painter.
Not because anything was broken. The cabinets were in good shape and the granite still looked like money. The owners just walked in one too many times and felt nothing. You can do everything “right” and still be bored by your own house.
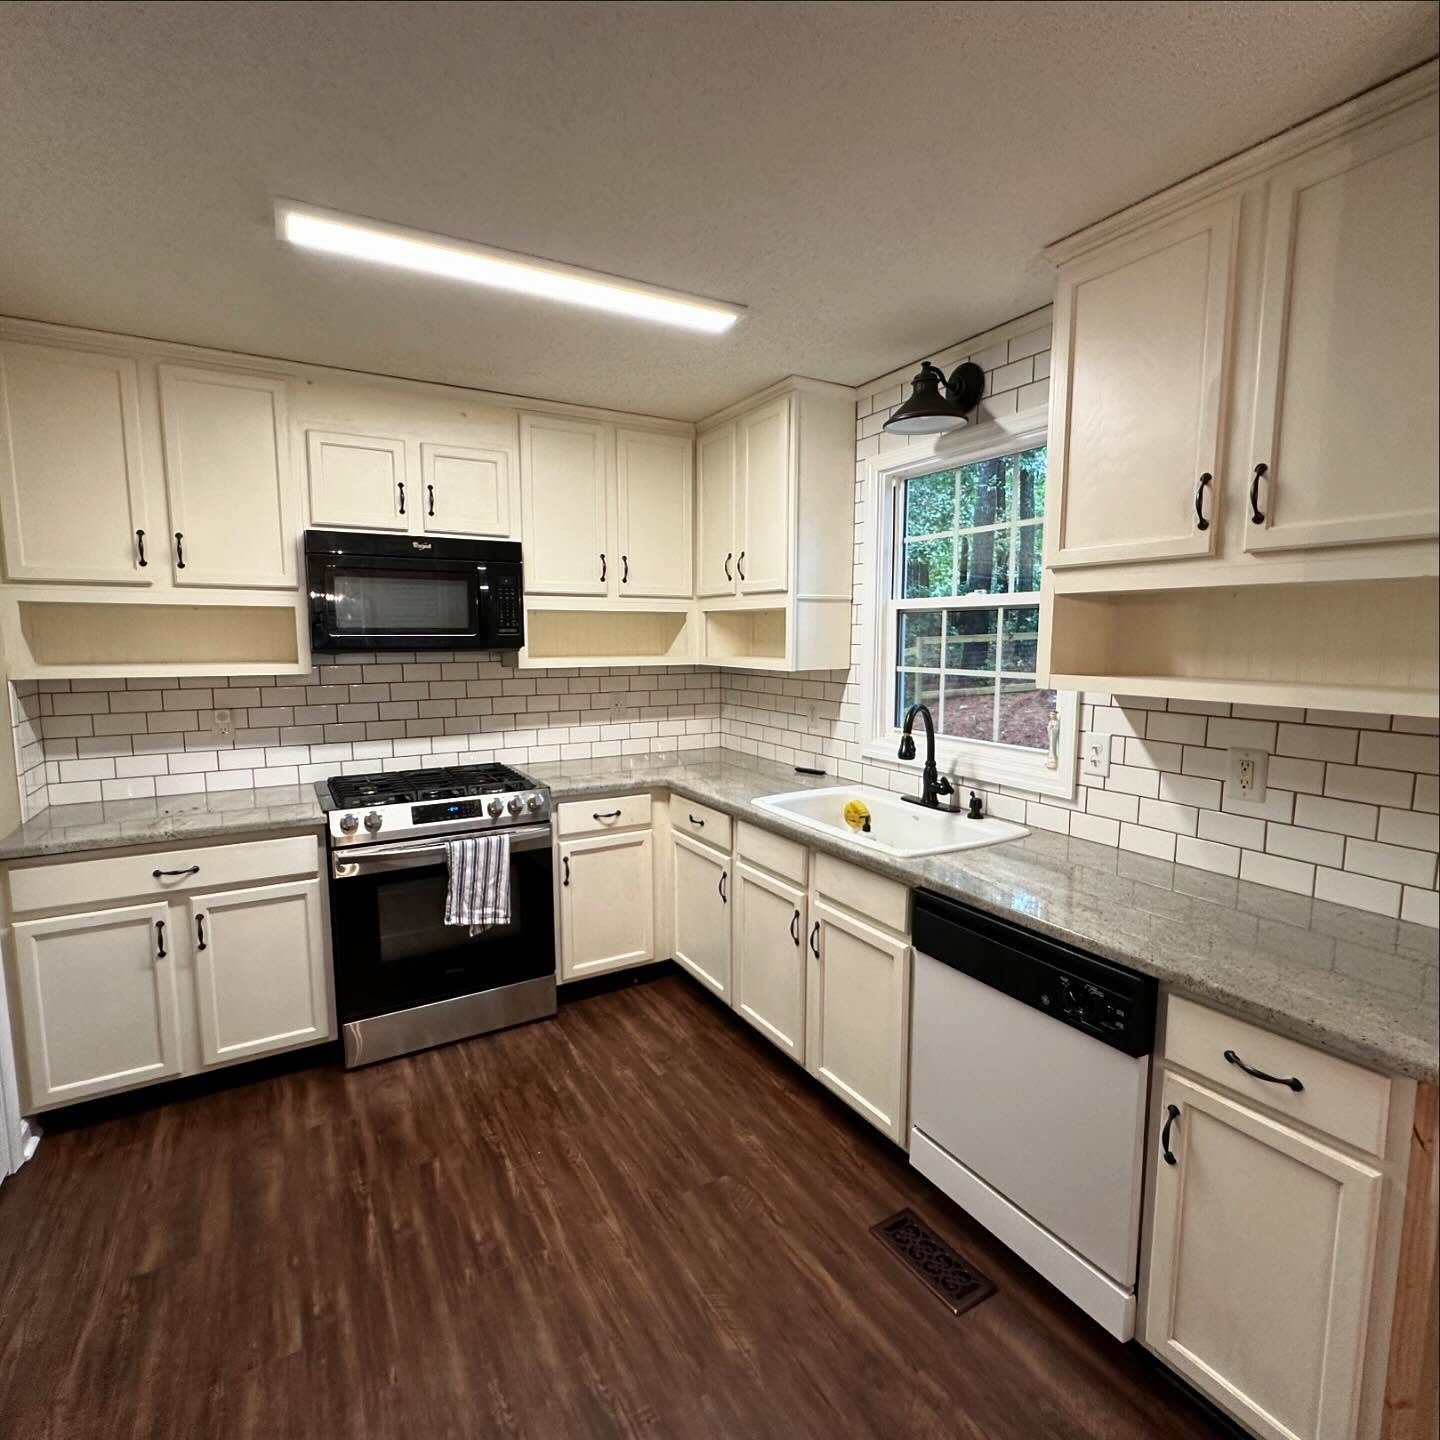
Their fix was smaller than a remodel and bigger than most repaints. The bones stayed, the surfaces that worked stayed, and the result still reads like a custom build.
What they actually changed (it’s more than just paint)
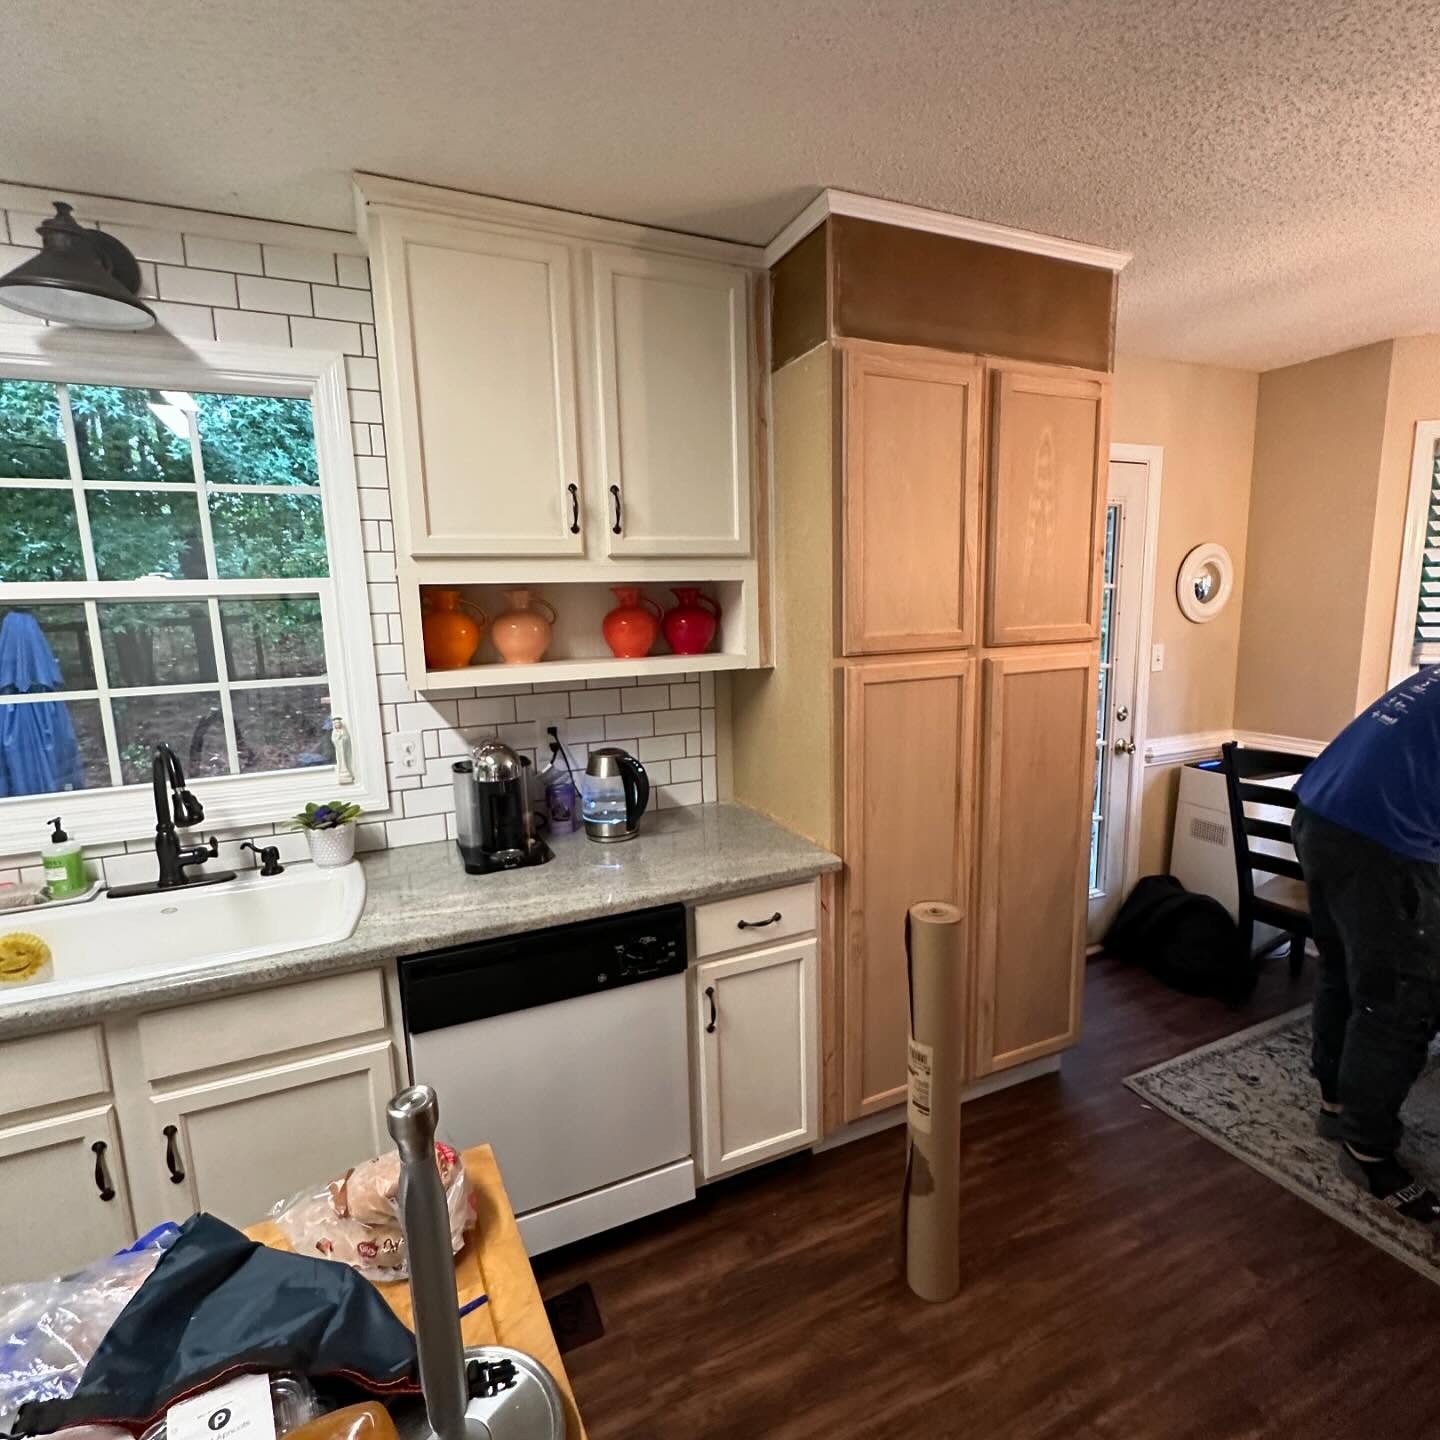
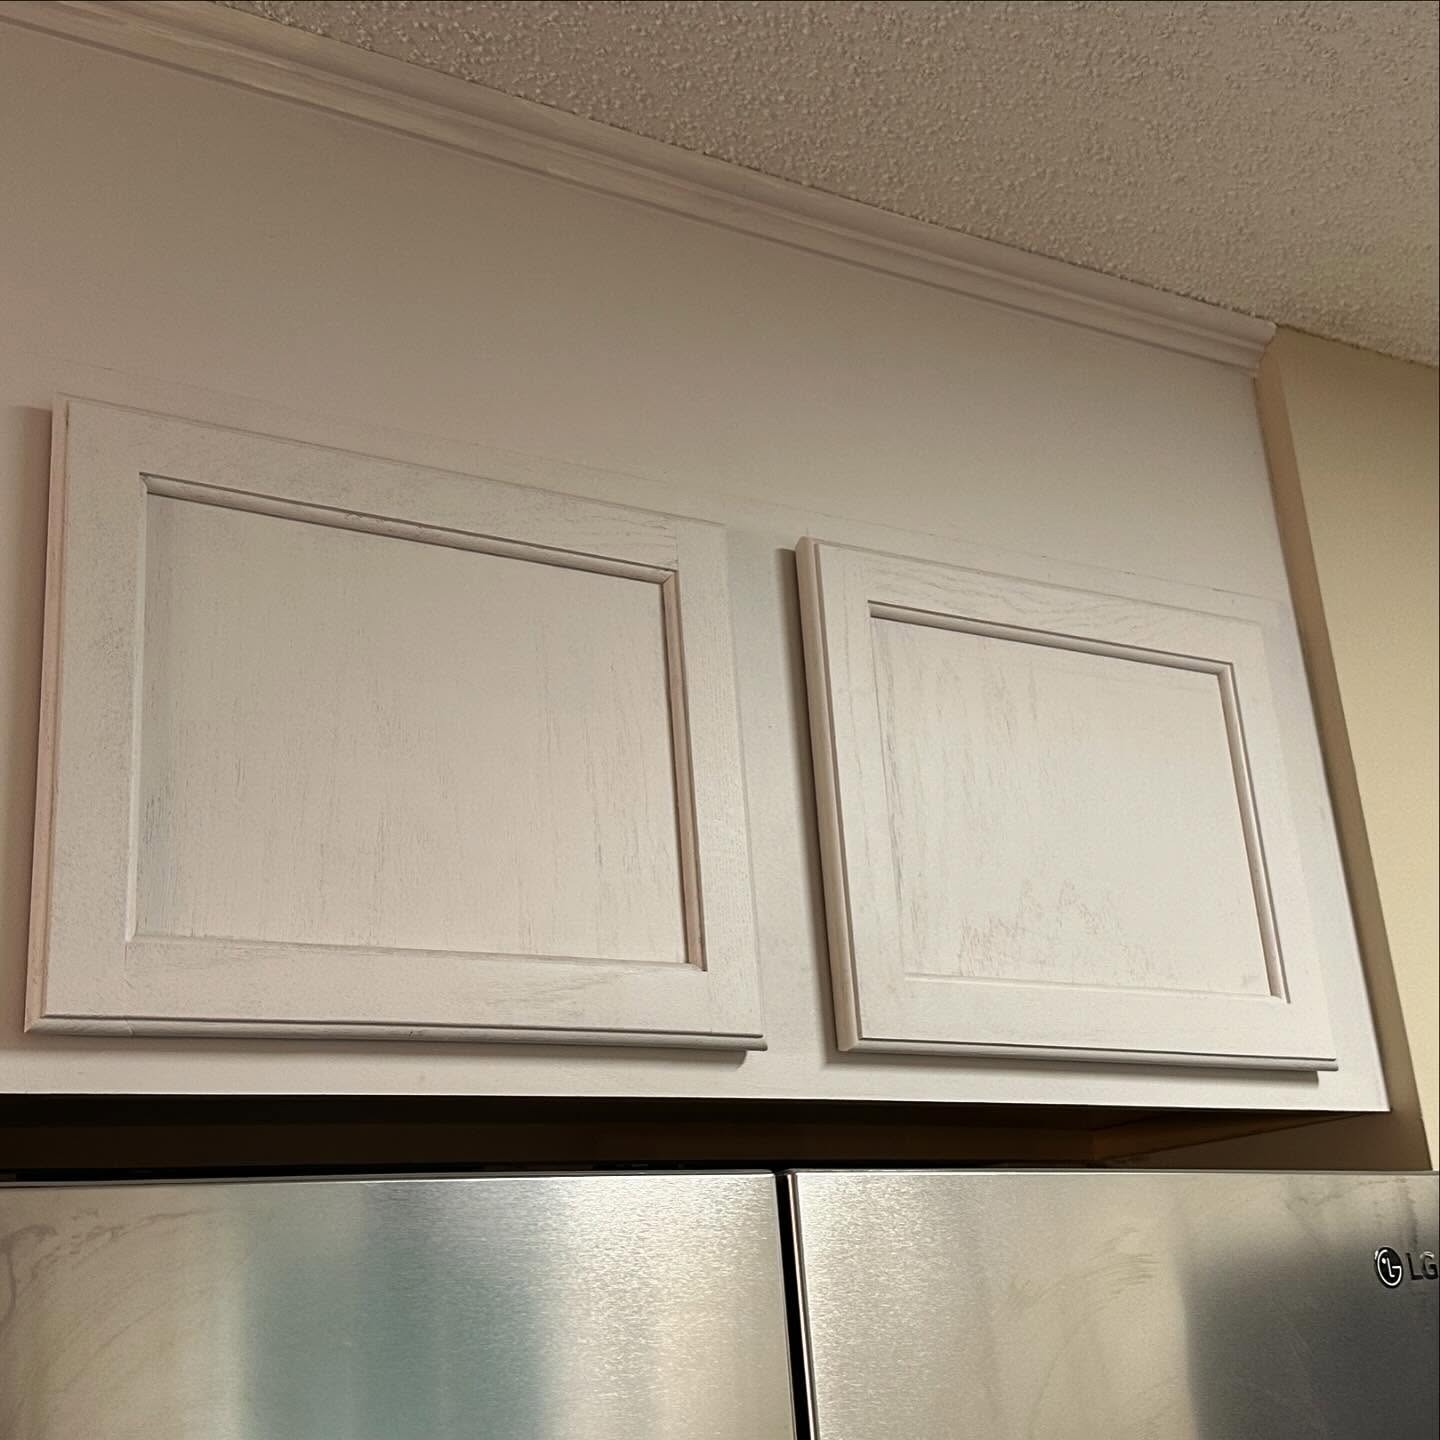
Before I talk color, the honest part: this was not only a repaint. Three things happened at once. Every cabinet box and door got painted. A tall pantry column was framed in beside the back door, which you can see in raw wood below. And a mudroom bench with coat hooks was built into the wall beside the fridge. Everything else, the tile, counters, floor, sconce, sink, and black pulls, stayed.
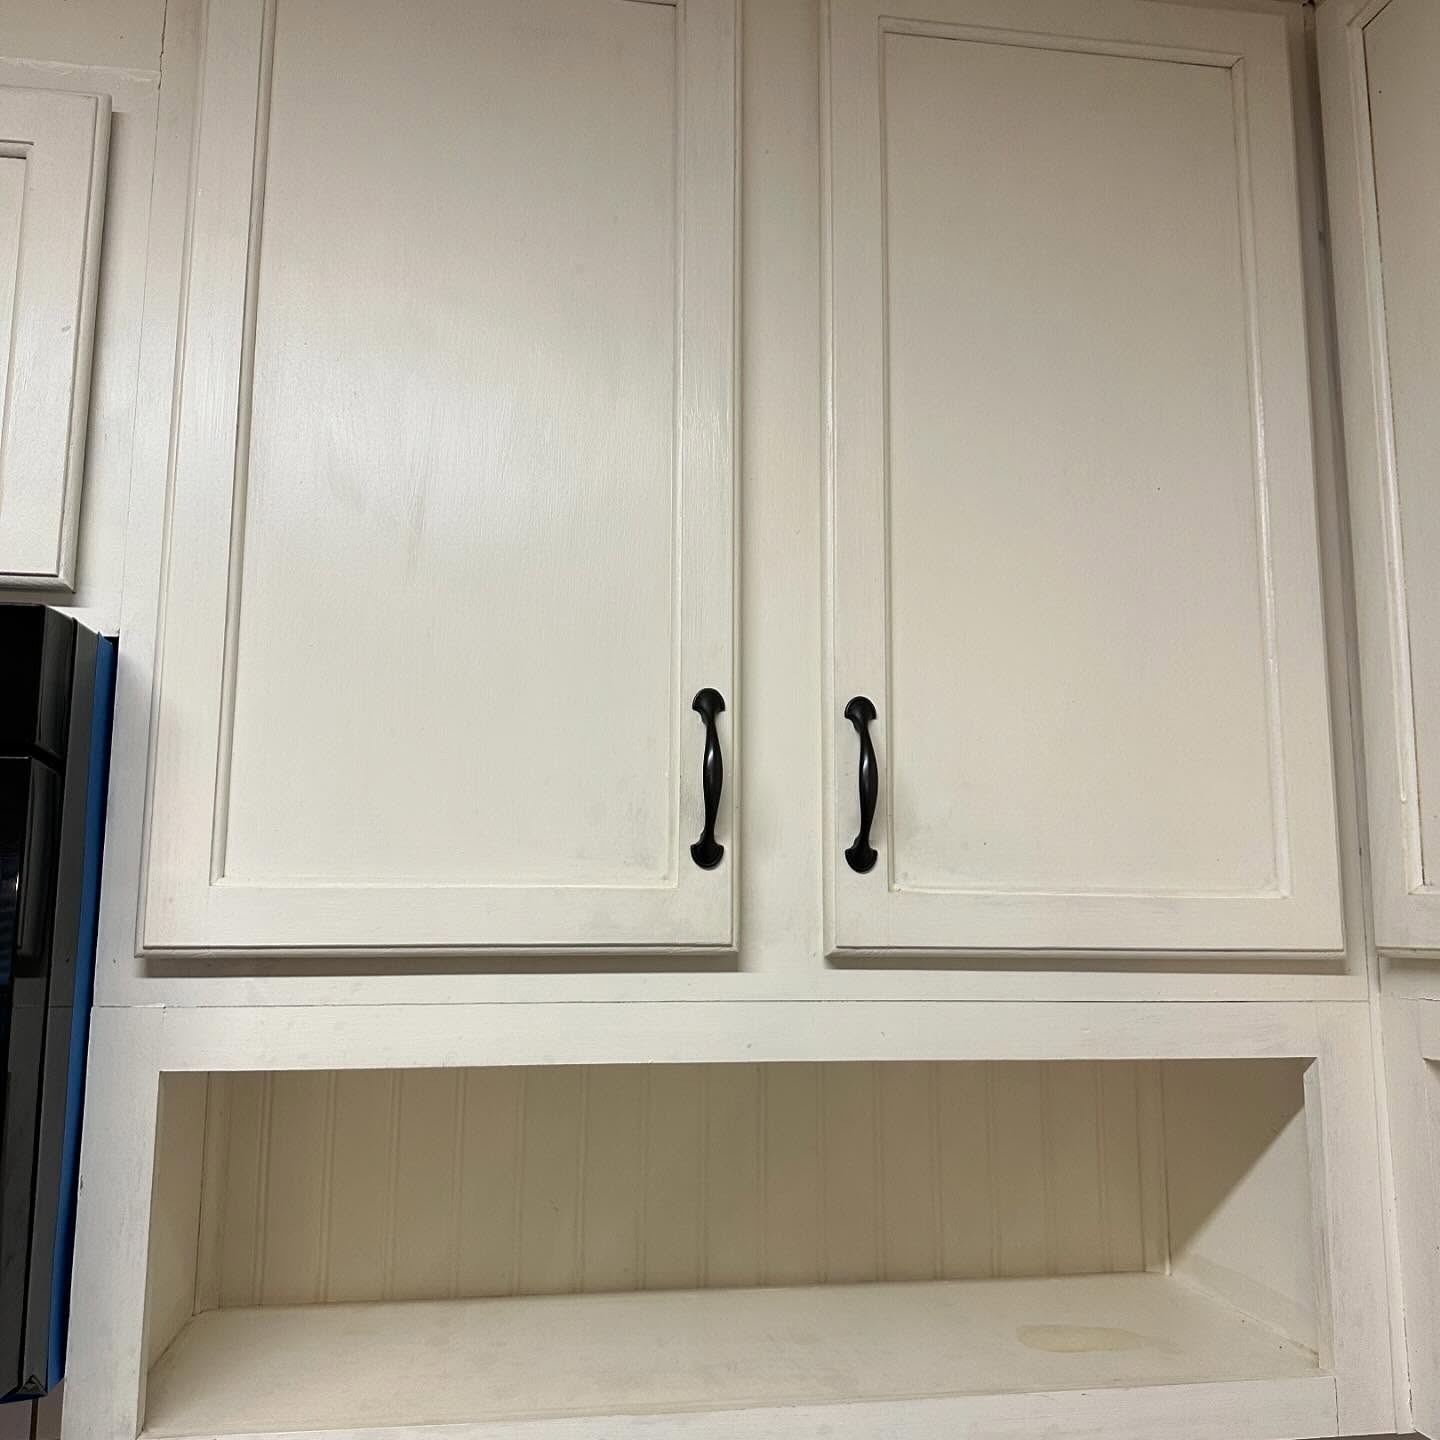
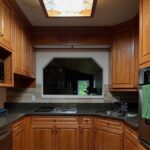
Up close you could tell this was a well-loved kitchen, not a sad one. The upper cabinets had a vintage beadboard shelf tucked underneath, and the hardware was already right.
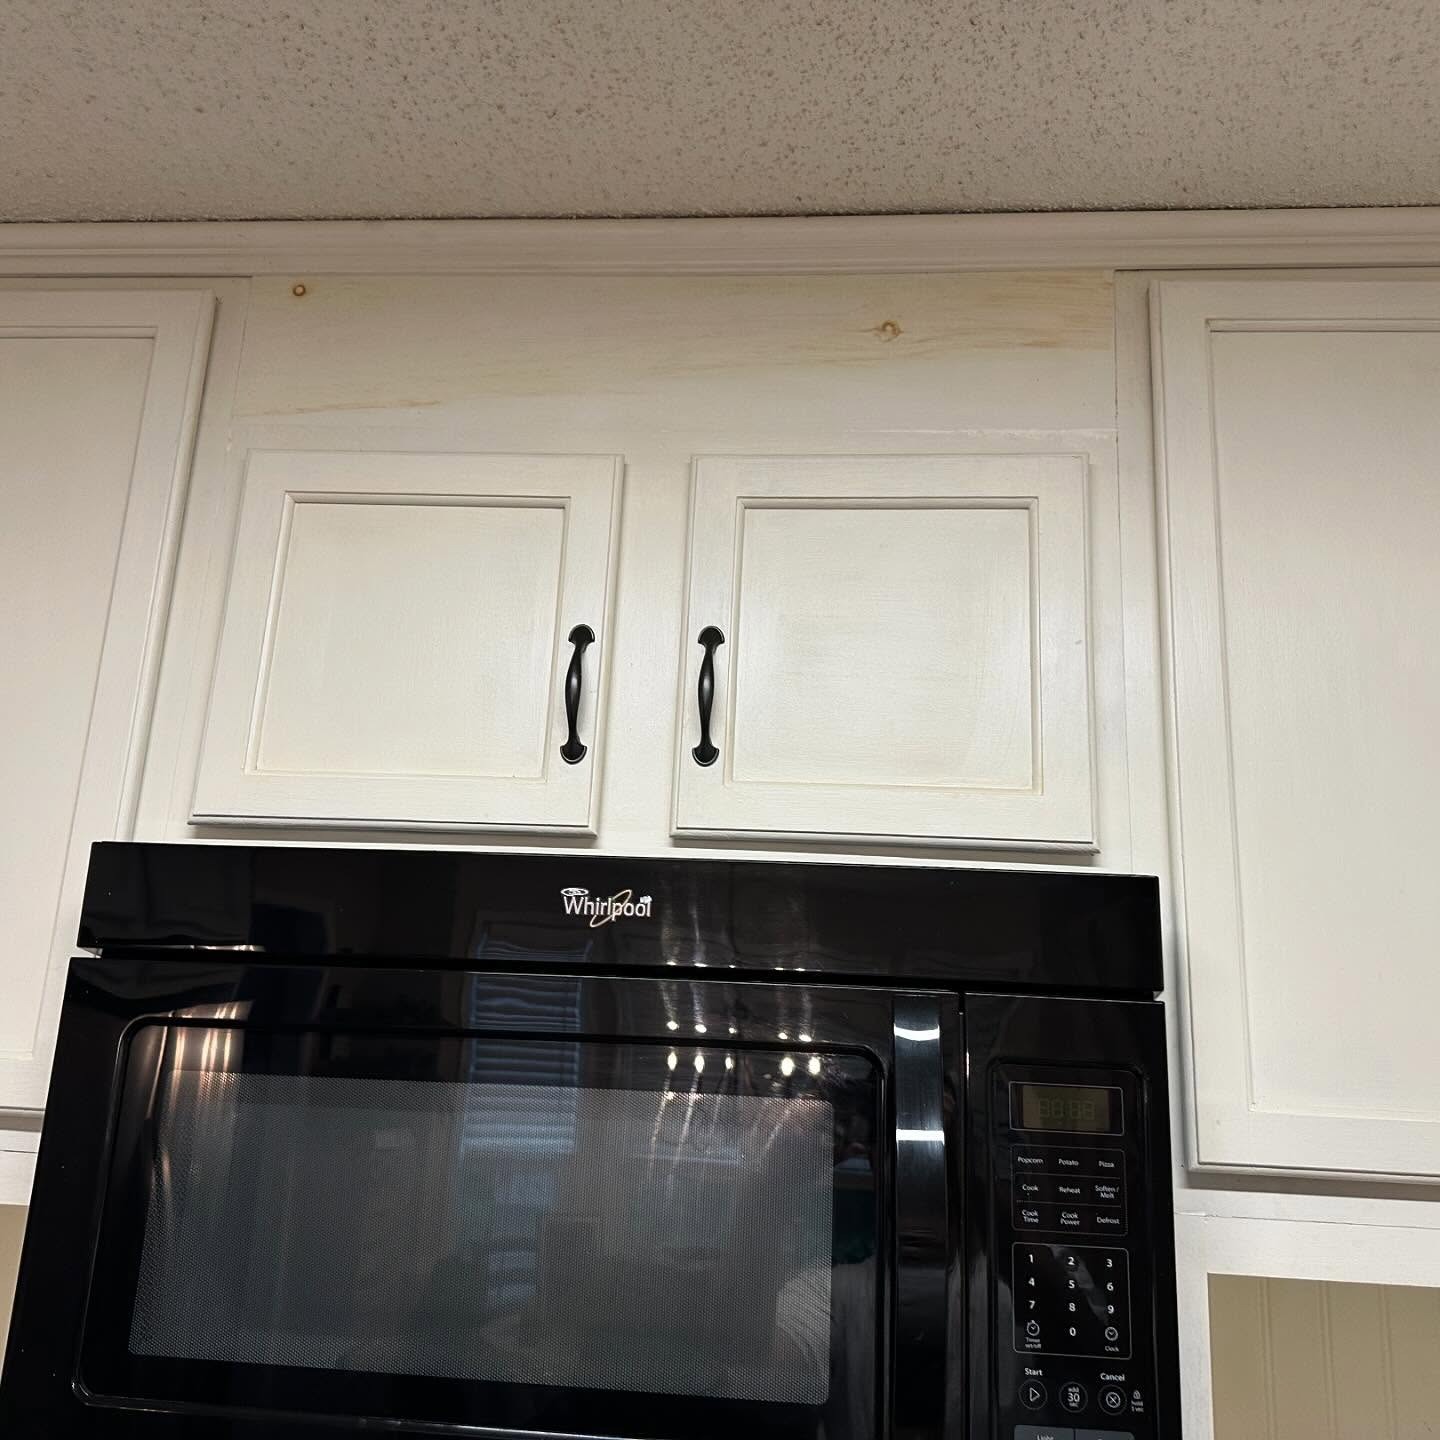
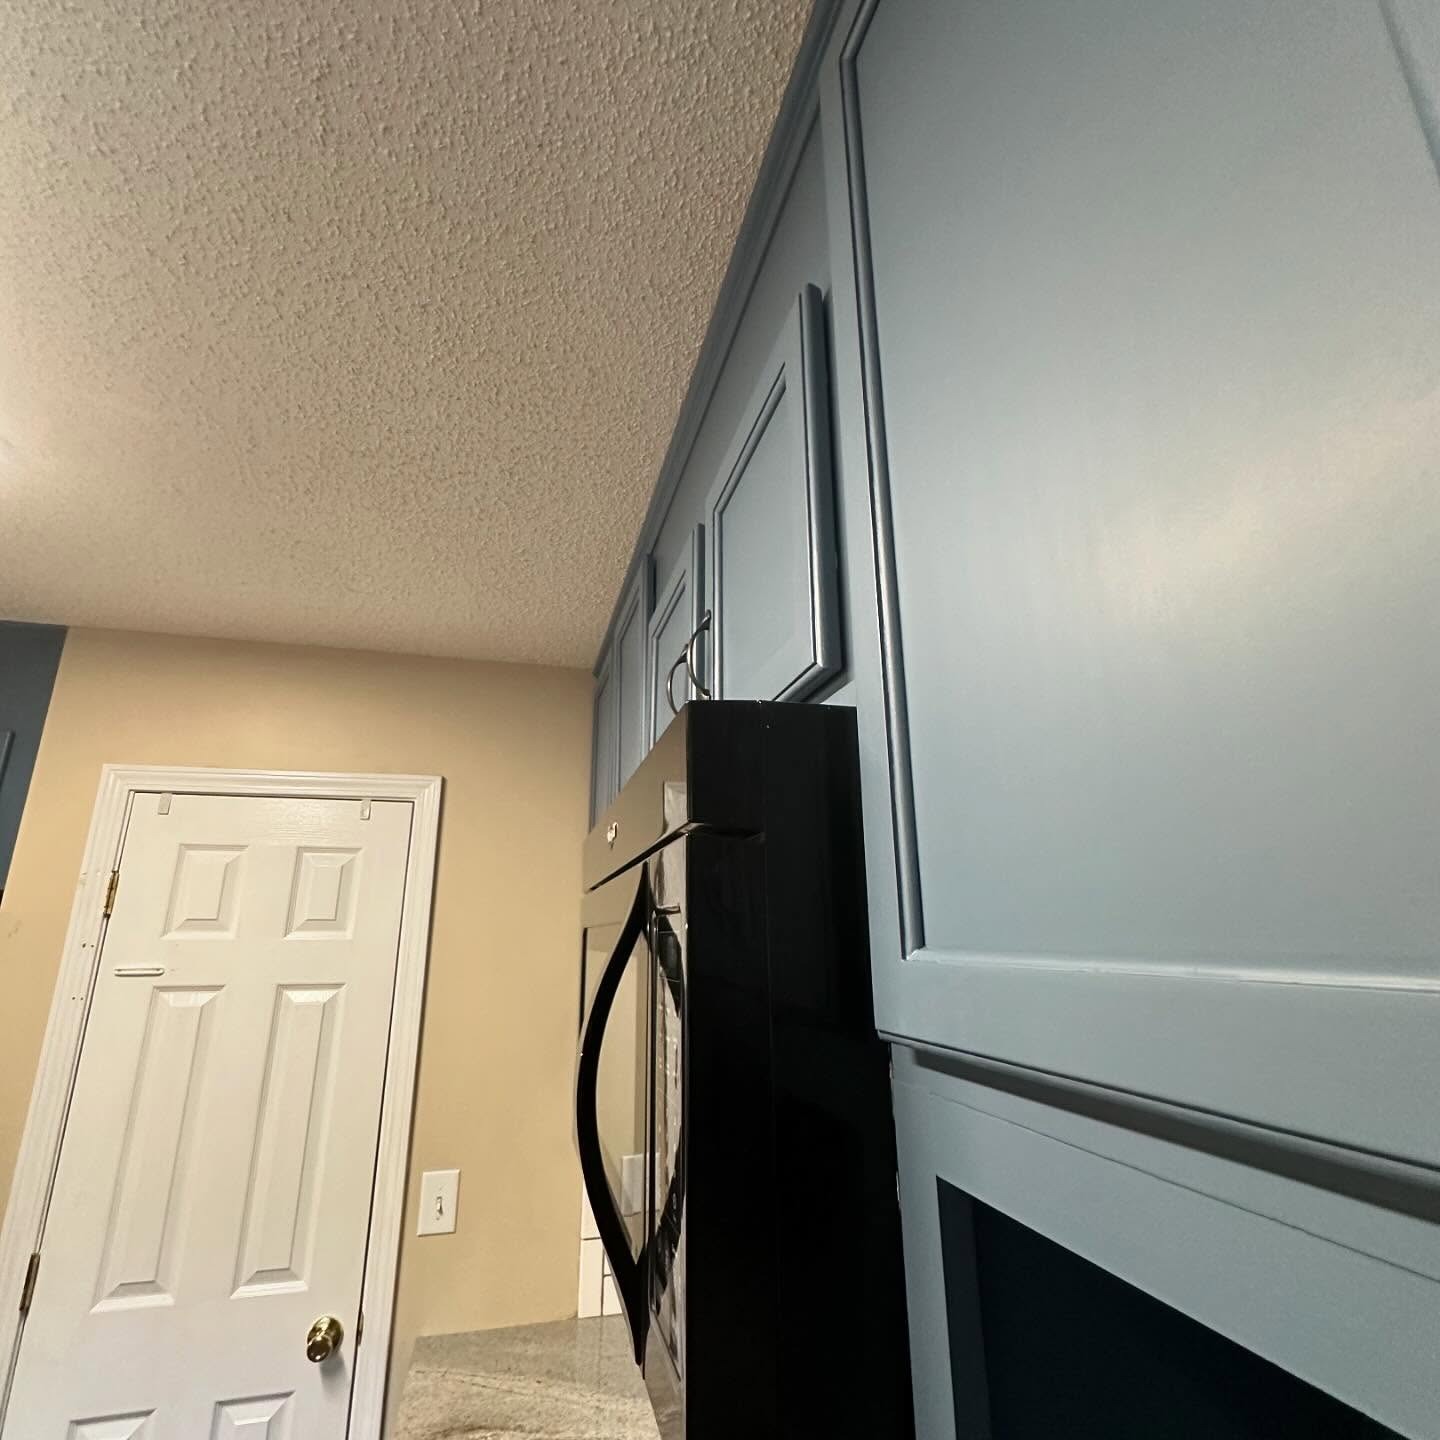
The small stuff was handled too. The gap above the microwave had been patched with fresh wood, waiting for primer.
Why this blue, and not a louder one
The color is Benjamin Moore Philipsburg Blue HC-159, from their Historical Collection. In morning light it reads almost like a soft grey. In warm evening light the blue steps forward. That shift is what makes it safe for people who have never painted a cabinet in their life.
A lot of folks jump straight to Hale Navy or Newburyport Blue for “dark blue kitchen.” Philipsburg Blue sits beside those two, a little dustier and a little more grey, and it doesn’t shout.

The finish most DIY repaints never get right
Painter Duart Painting out of Georgia posted the step list, and it is the reason the final cabinets look factory-sprayed instead of brush-marked.
Sand the old cream paint first to kill the surface texture. Lay down a primer coat on every door and box. Then, before the color goes on, sand again over the dried primer. That second sand is the step almost no weekend project bothers with. It is also the one that turns a good repaint into a smooth repaint.
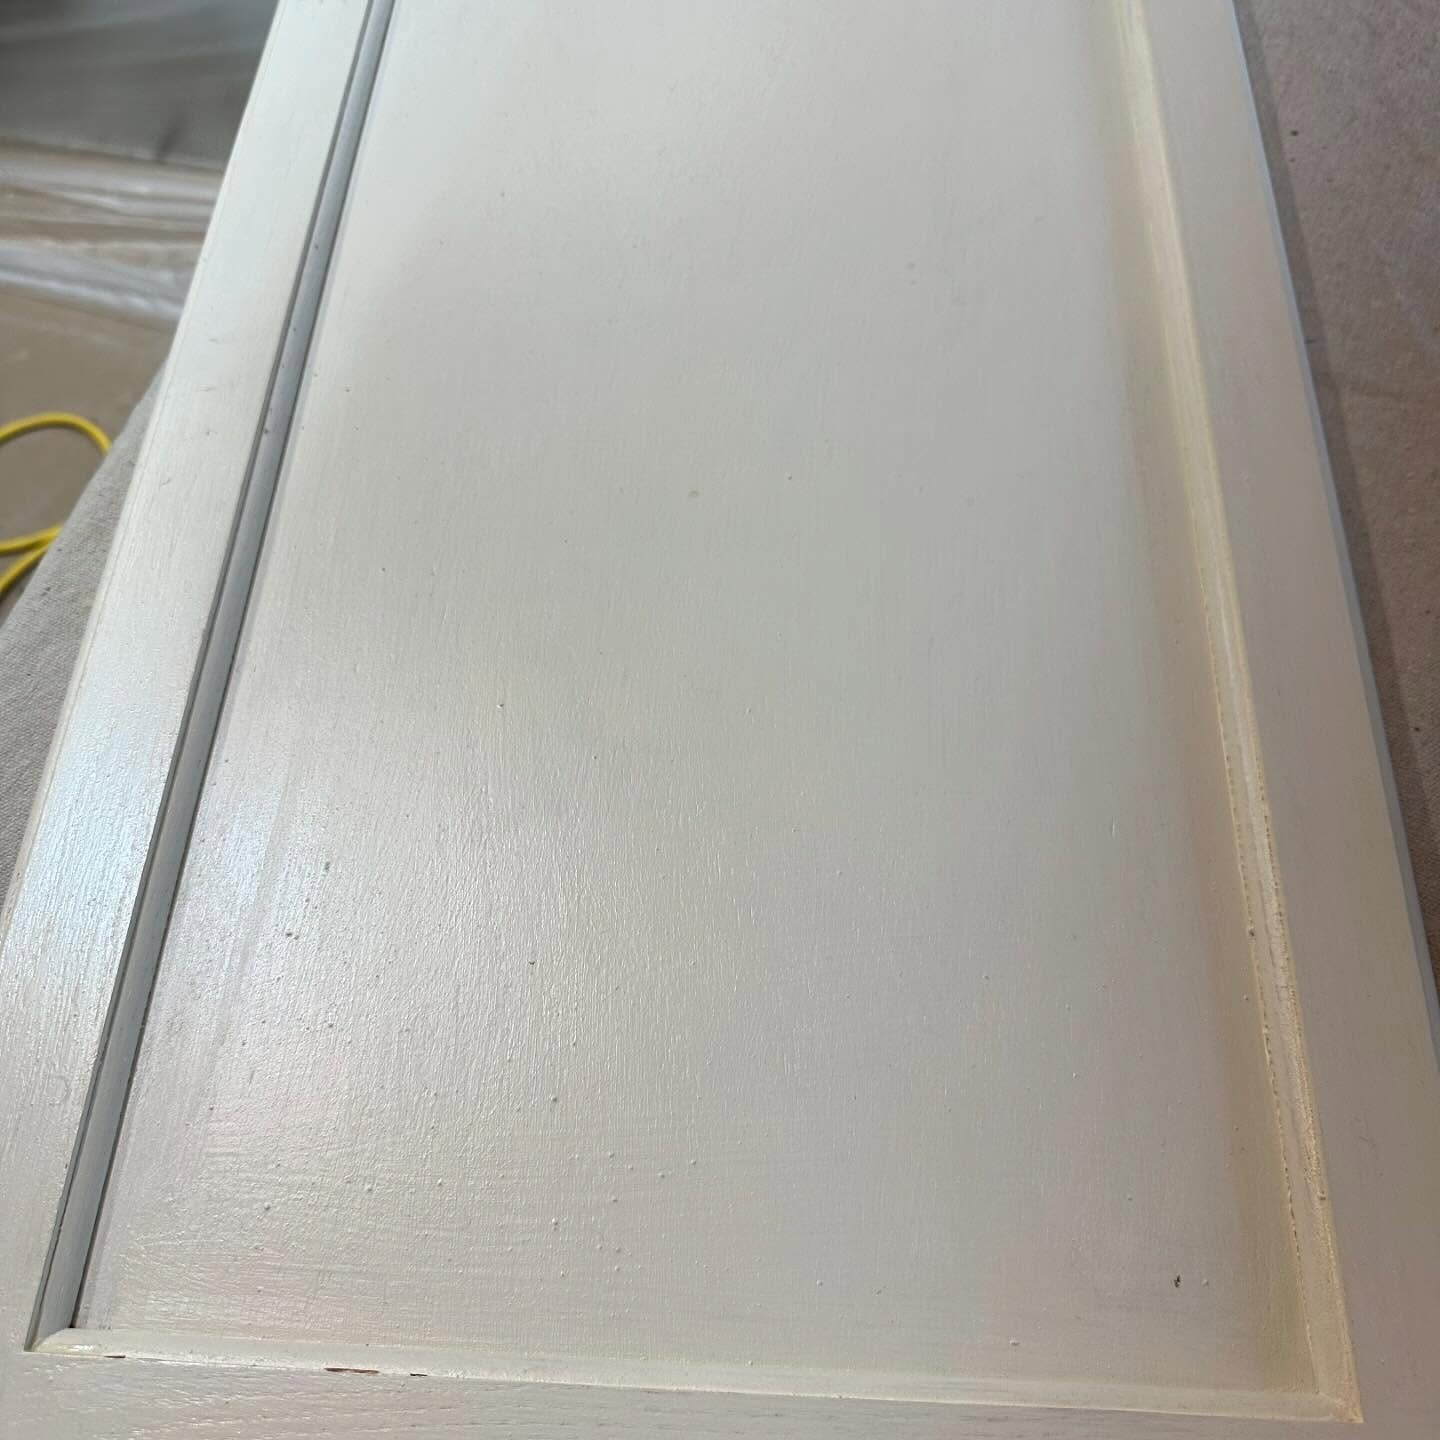
After that comes two coats of color in Benjamin Moore Command, their waterborne cabinet enamel. It levels out as it dries so brush strokes disappear, and it cures hard enough to take daily use without chipping around the handles.
The reveal
Same subway tile. Same granite. Same wood floor. Same farmhouse sconce. Same black pulls. The room only changed its mind about one thing, and the whole kitchen now reads custom.
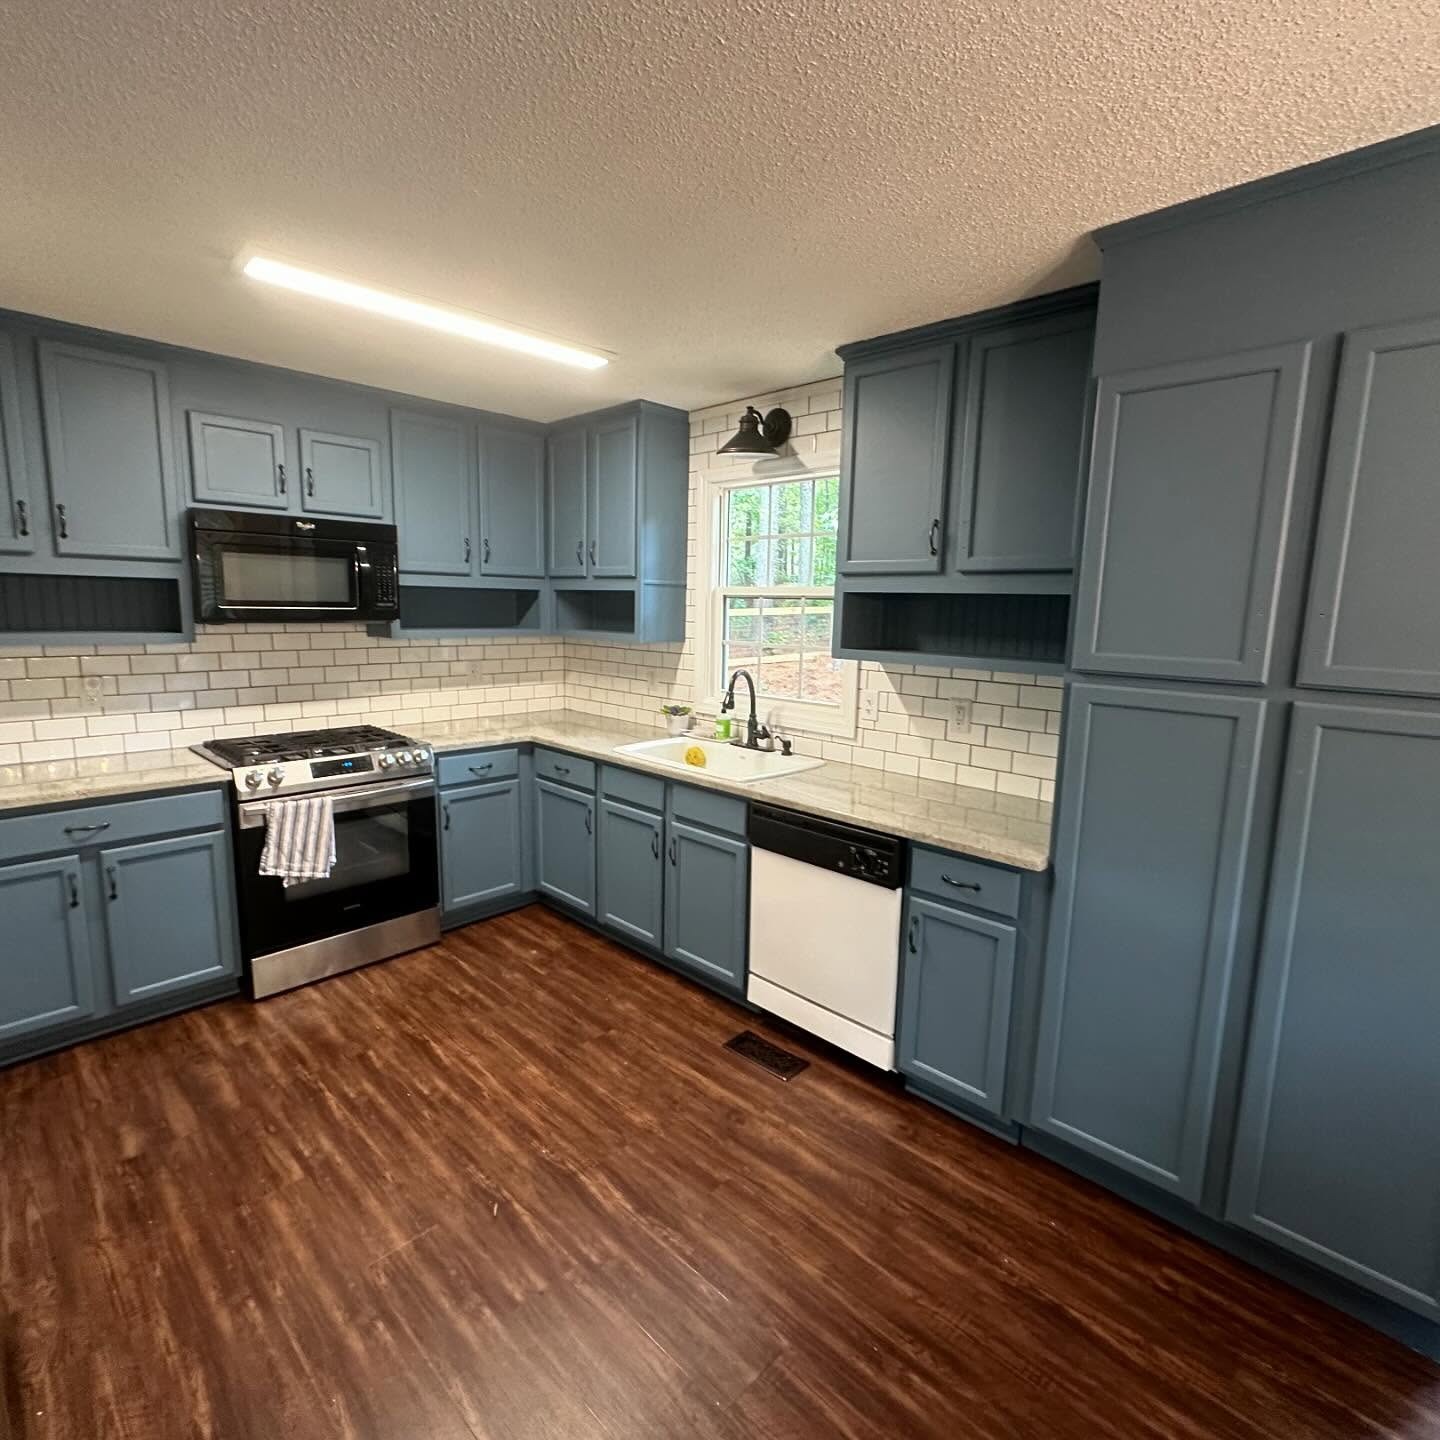
Beside the fridge, the raw-wood pantry got dressed up into a full built-in with a mudroom bench, two hooks, and a cubby. It opens straight into the living room, so now the kitchen and the hangout space share one color story.
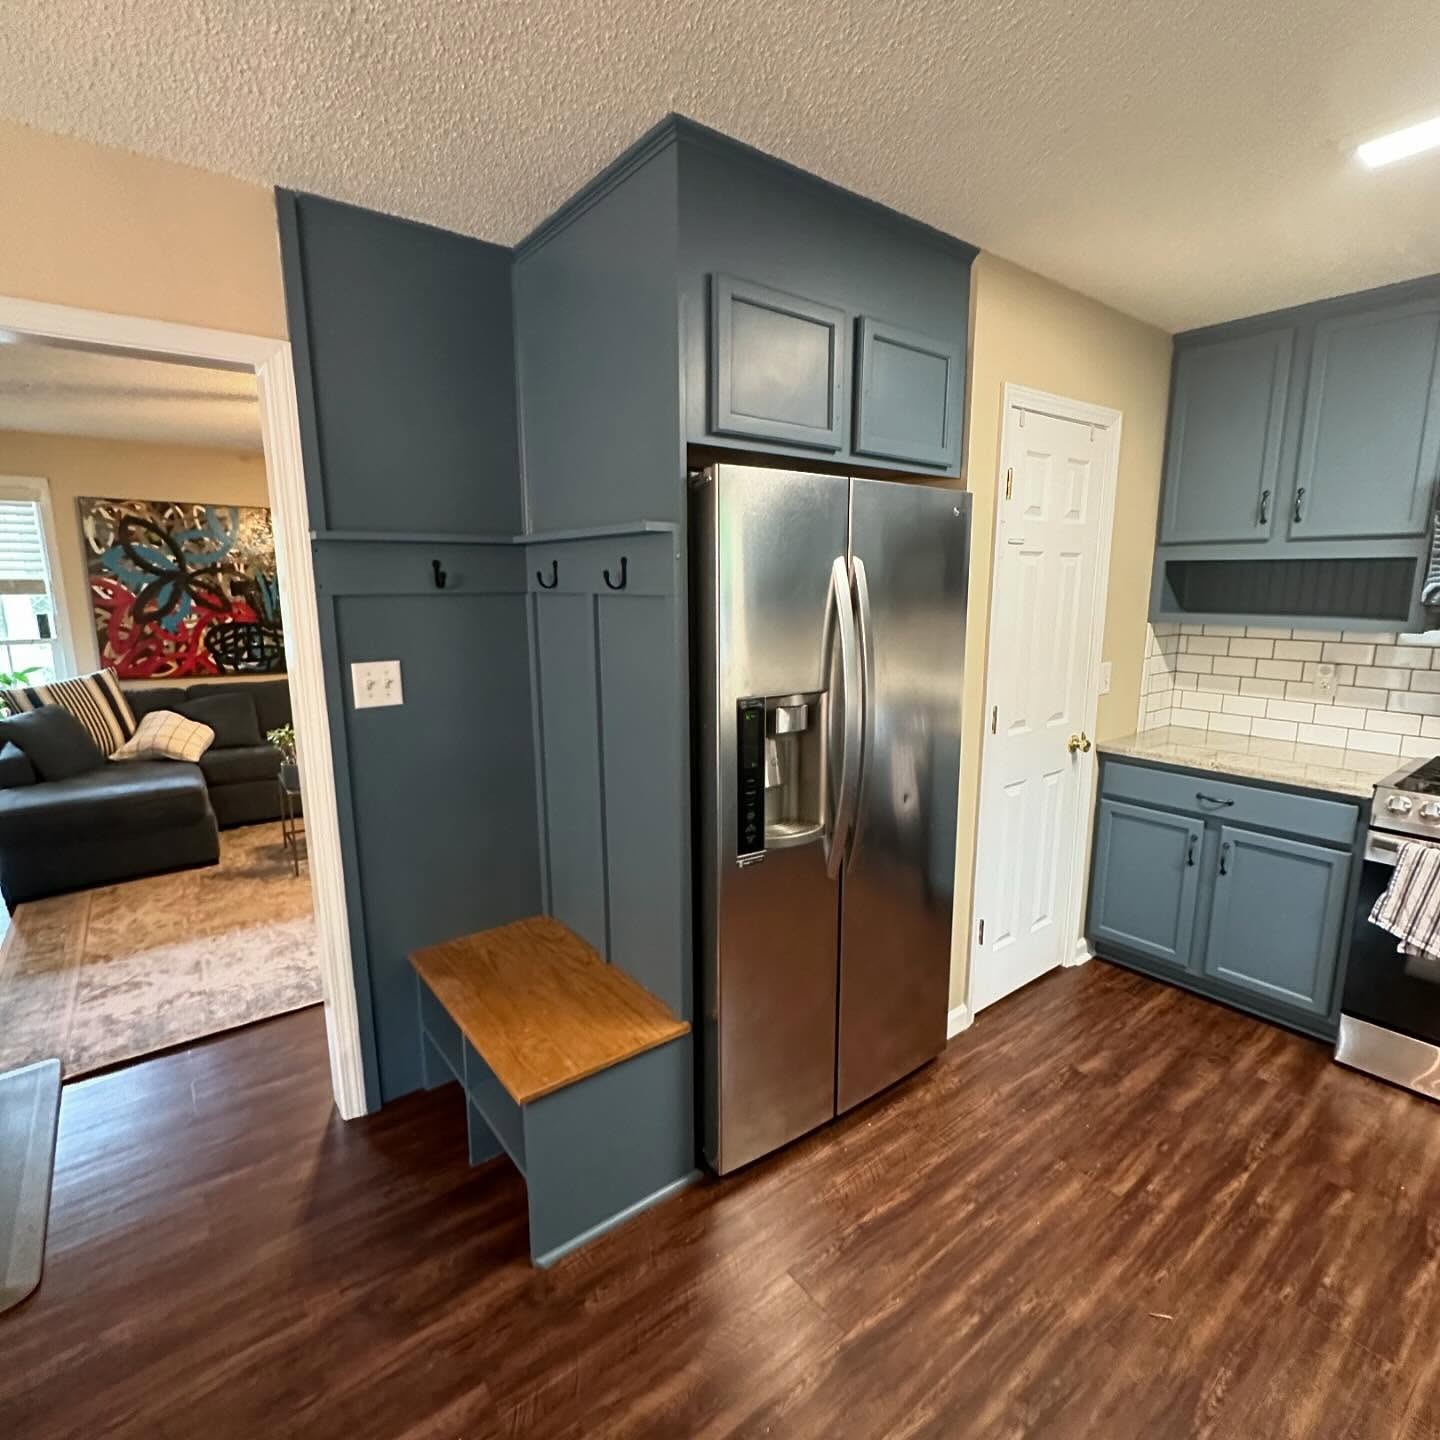
The color travels all the way up to the ceiling. The crown and the little open shelf under the microwave got painted in a deeper shade of the same blue, which is what makes the room feel built instead of painted.
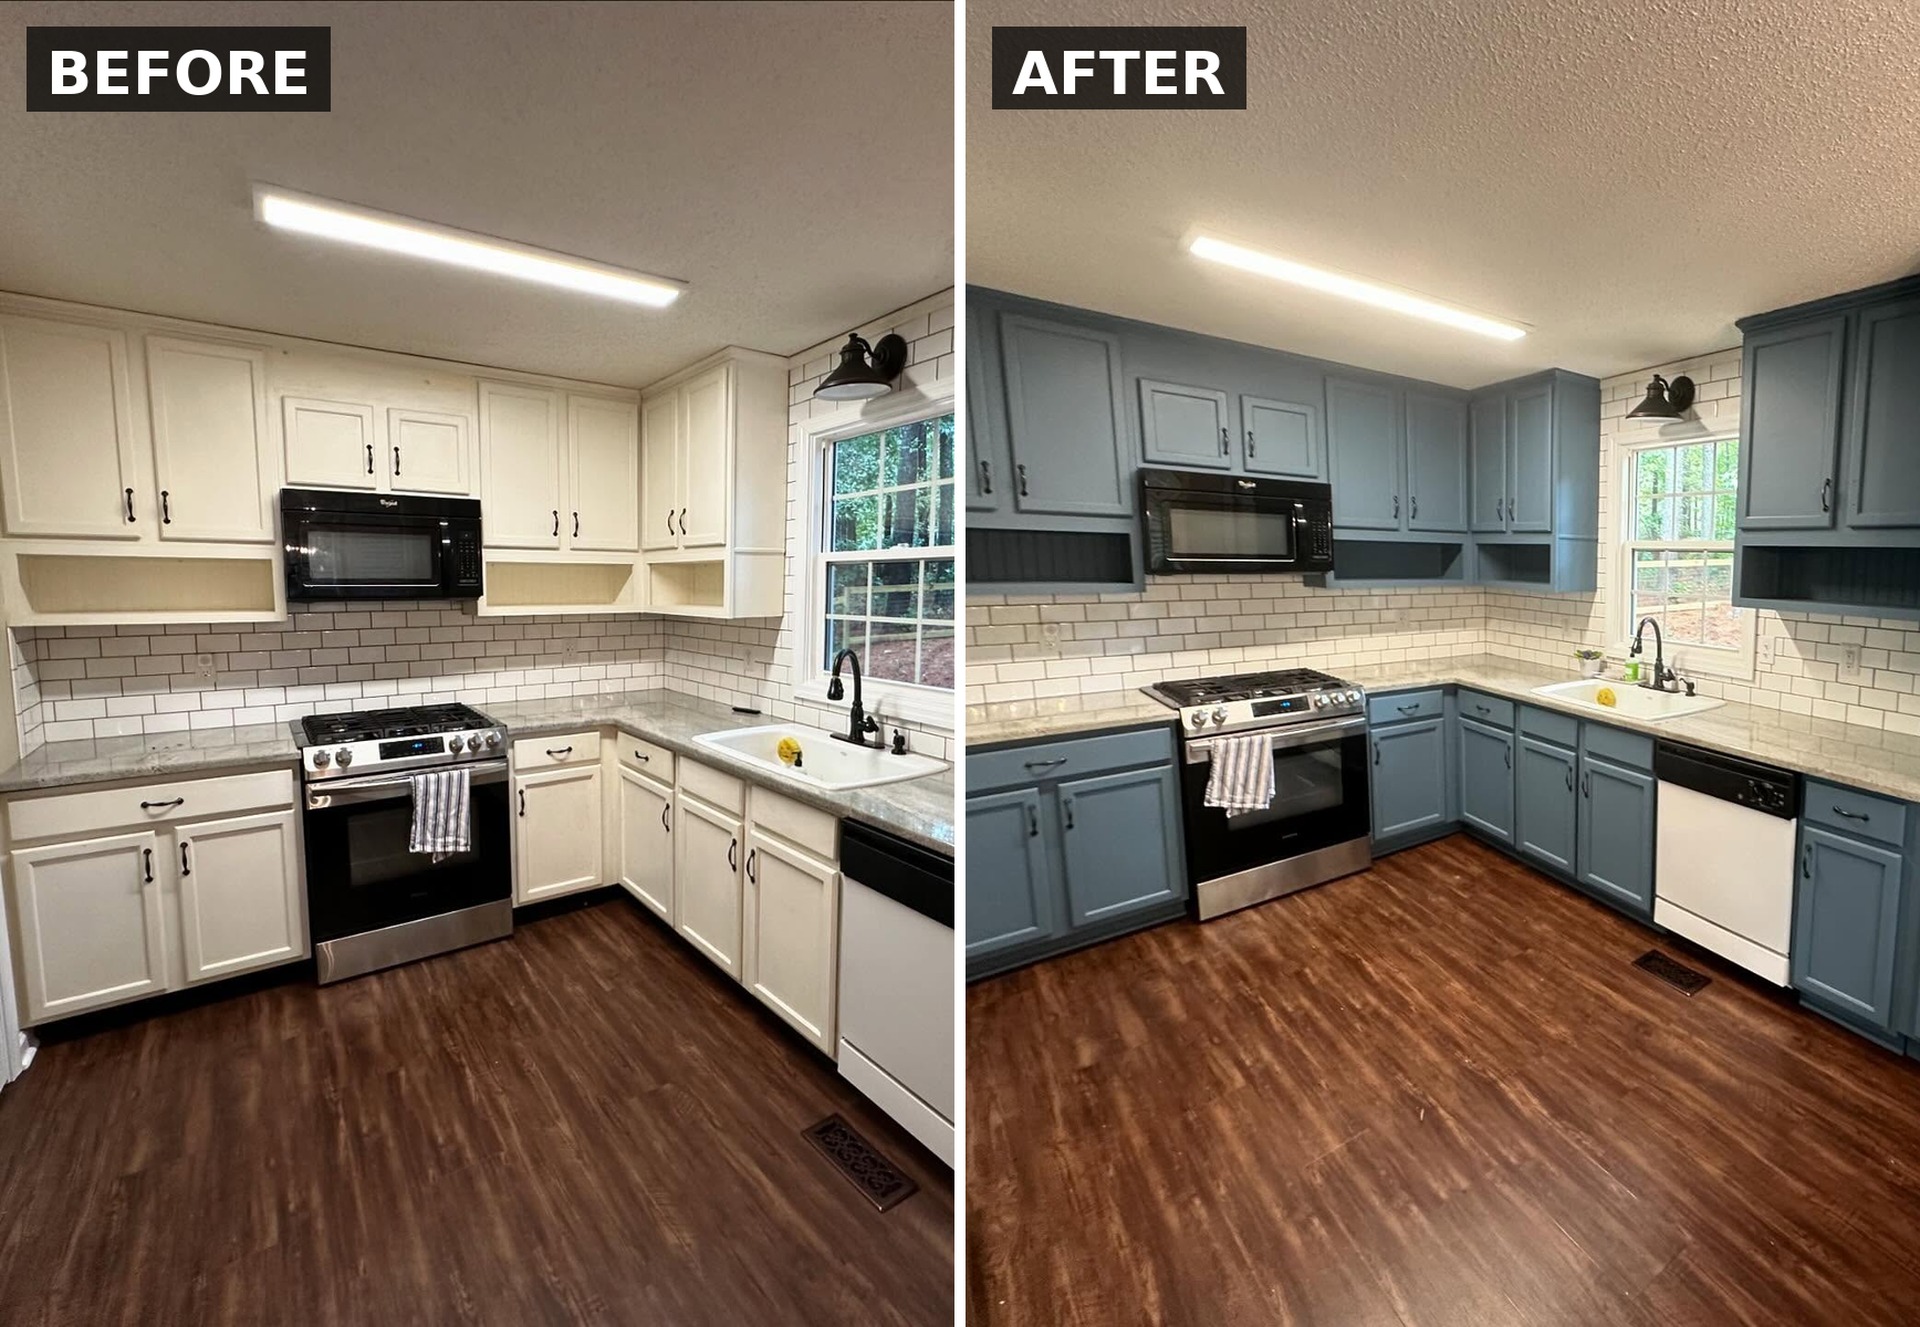
Side by side
Here is the cooking wall, start and finish. Same stove, same microwave, same sink, same tile, same floor, same window, same sconce. Only the cabinet color moved.
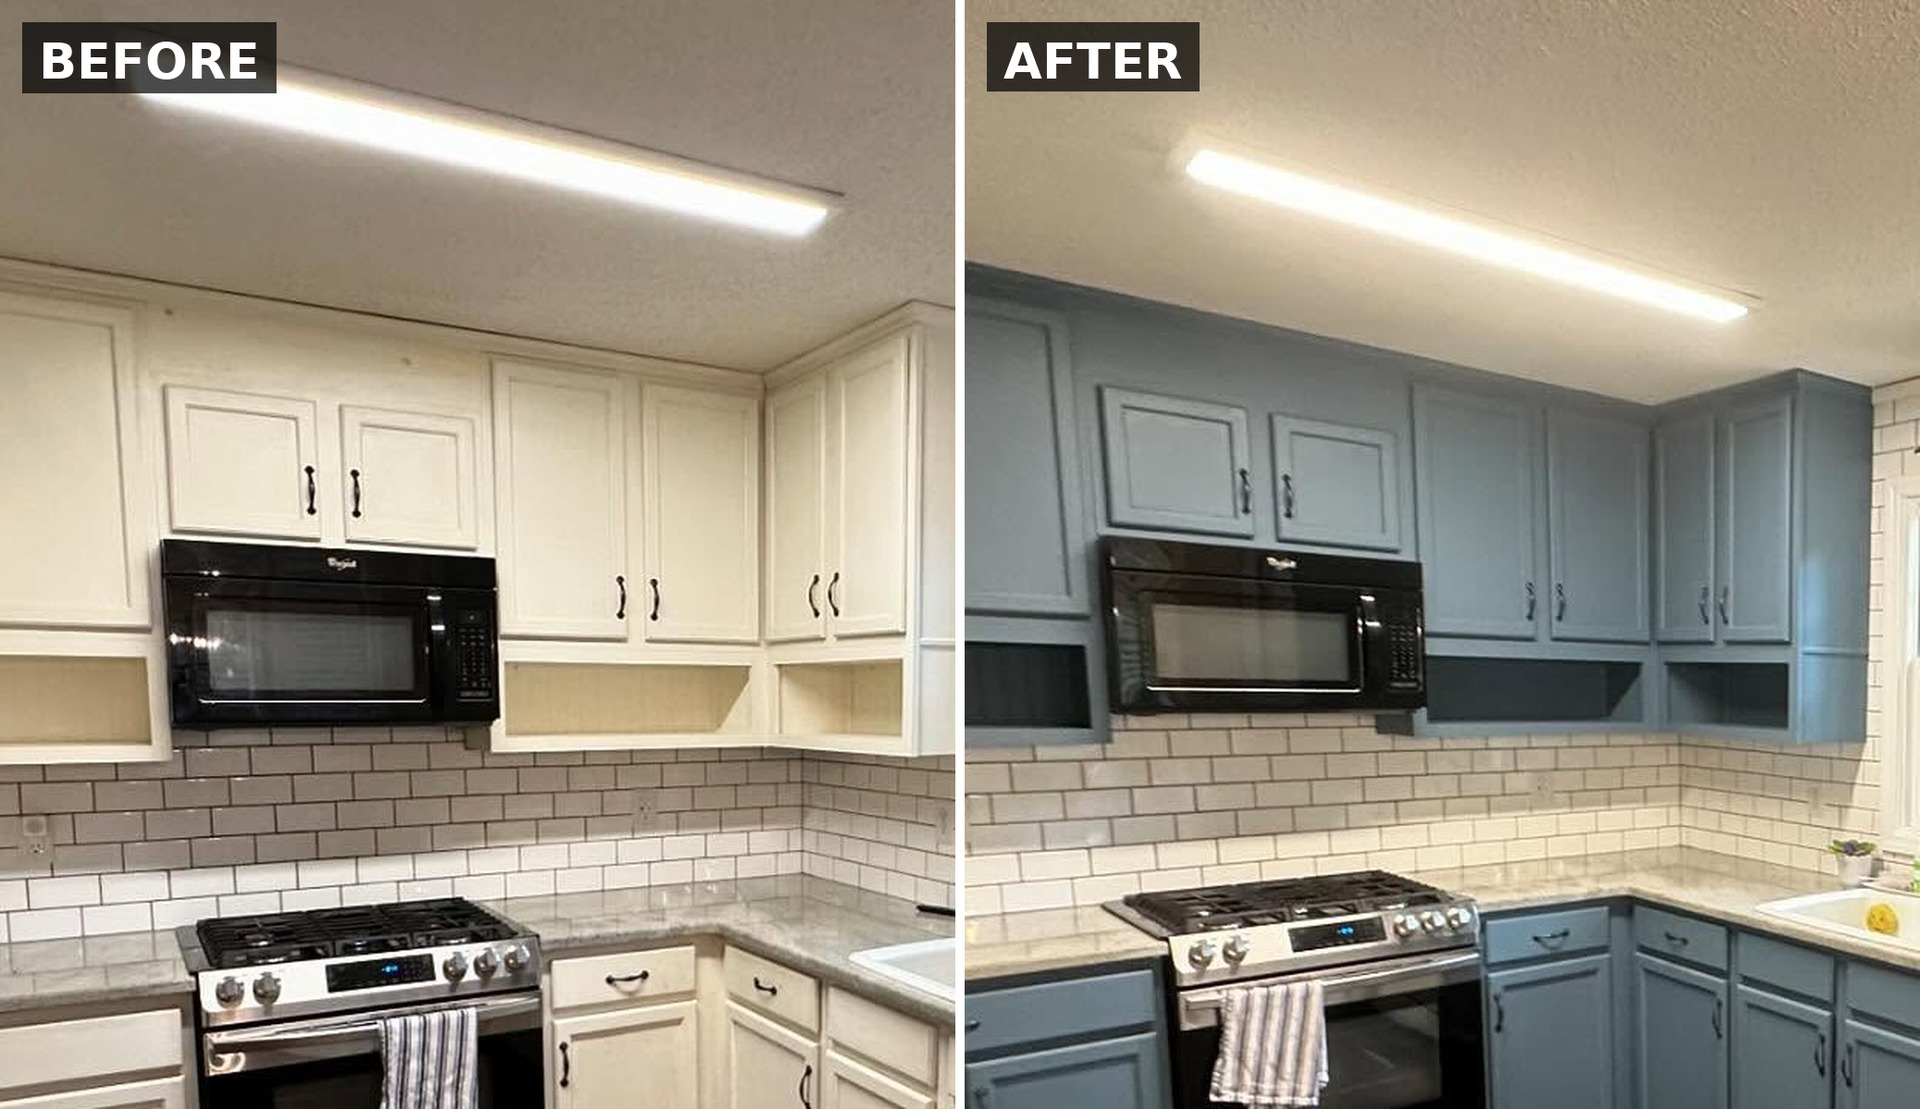
Now zoom in to the microwave wall. Nothing moved, nothing got swapped, nothing new was built. The black microwave, the stove, the subway tile, and the open shelf below the cabinets are all in the same place. The dusty blue is doing all the work, and painting the shelf back in a deeper shade is why it finally reads as one built-in instead of two cabinets with a hole underneath.
And this one is the corner where paint stopped being enough. You can see the raw wood pantry column on the “before” side, waiting to be finished. By the “after,” it is painted, a bench seat with coat hooks has been framed in alongside it, and the whole stretch reads like one custom mudroom instead of a kitchen tapering off into a hallway.
Those three images are the whole case for Philipsburg Blue on a cream kitchen you already like.
Steal this if your white kitchen feels flat
You don’t need to redo your counters, your tile, or your floor. You need to look at the one finish in the room that keeps going “meh” at you, and swap it for something with a little mood.
A few things worth remembering if you are leaning in. Philipsburg Blue deepens in warm light, so test a swatch on the actual door at night, not just by the window in the morning. Paint the trim and the open shelf backs in a slightly darker shade of the same blue; it reads custom for almost no extra effort. And do not skip the second sand after primer. Would you go this dark, or stay a shade lighter?

Beautiful color choices. Went from a box store kitchen look to a professionally designed look. Two suggestions: switch out the front of dishwasher with same stainless finish as the fridge & stove and switch the ceiling light to track lighting.
Great job, the blue looks fantastic and really works well with the living room art. The new built is look to be well thought out. And, finally, great job getting similar before and after pictures, including the dish towel and smiley scrubby