The couple had the quotes. Full rip-and-replace, new cabinets, soft-close hinges. Low end eighteen thousand, high end pushed thirty.
The granite, the gray glass backsplash, and the appliances were fine. Only the cabinets looked tired, and they were laminate, which every weekend painter online said was hopeless to repaint.
So they called a painter instead of a cabinet guy. What he did cost a fraction of the quote and left the kitchen looking like it belonged in a magazine. The reason it worked comes down to one product most DIY tutorials skip.
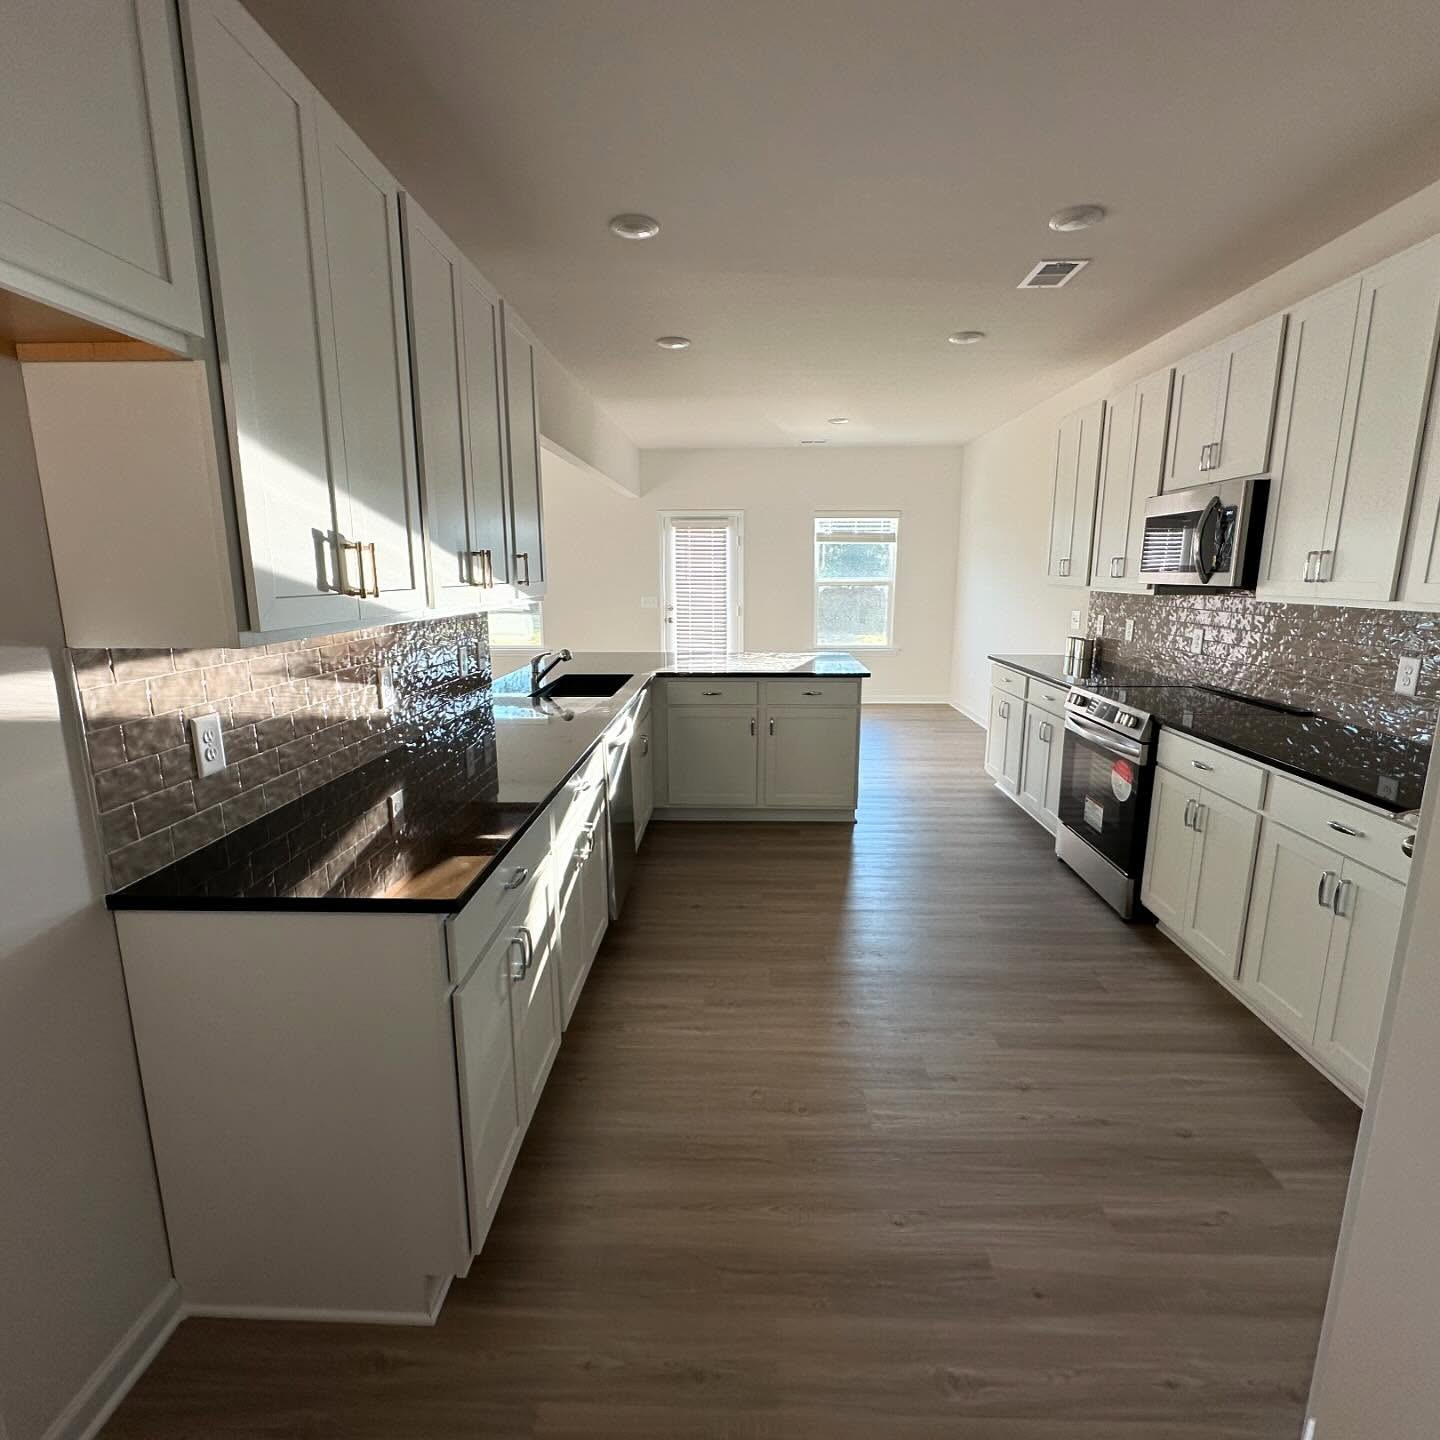
The kitchen that didn’t need replacing
The cabinets were fine shaker boxes, but the white washed into the walls. Everything read builder-grade.
The couple had painted a laminate dresser a year earlier and watched it peel by summer. The painter asked what primer they had used. Water-based bonding primer, the kind every big-box store sells. He told them that was why it failed. The primer never grabbed the plastic.
Why painted laminate peels within a year
Laminate is a plastic skin over particleboard, slick on purpose. It is built to resist stains and water, which means it also resists anything you try to stick to it.
Water-based bonding primers sit on top of that skin. They look like they are working, but the bond is weak. A year of humidity and door slams breaks it, and the paint lifts in sheets from the edges.
Shellac primer is different. The alcohol base softens the surface just enough to let the shellac get a chemical grip instead of a mechanical one. It dries in under an hour and bonds to laminate in a way water-based primers physically cannot.
Zinsser B-I-N is the brand on most pro trucks. It smells strong, it needs ventilation, and cleanup is denatured alcohol. That is why big-box staff do not push it to DIYers. But it is the detail that separates a five-year refinish from a six-month one.
The paint that gave it the factory look
With the shellac down, the painter sprayed everything in Sherwin-Williams Emerald Urethane Trim Enamel. Water-based, but it cures almost as hard as old oil paint. That is why the finish shows no brush marks.
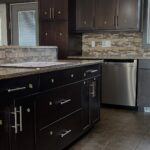
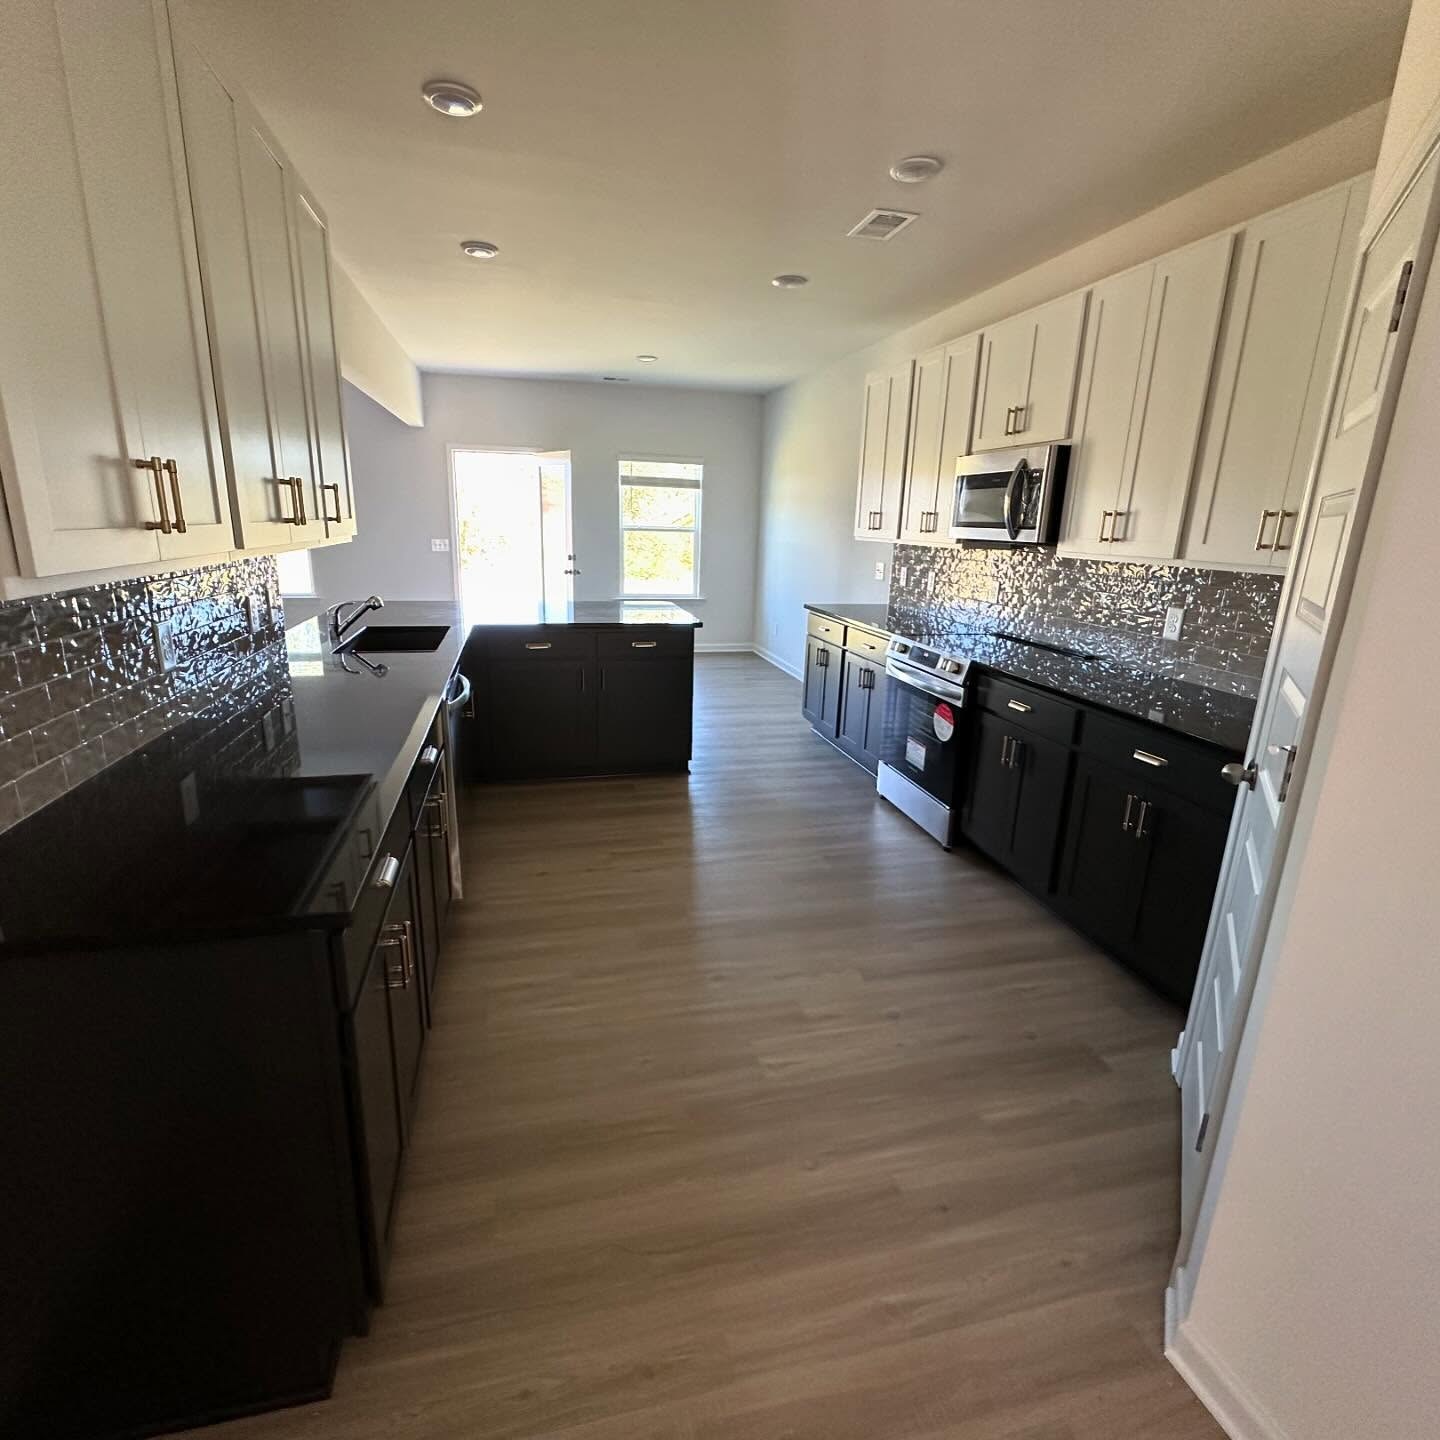
The color on the lowers is Iron Ore, SW 7069. Not quite black, not quite charcoal. Soft and inky in daylight, almost graphite under the recessed lights. One of the most-saved cabinet colors on Pinterest three years running.
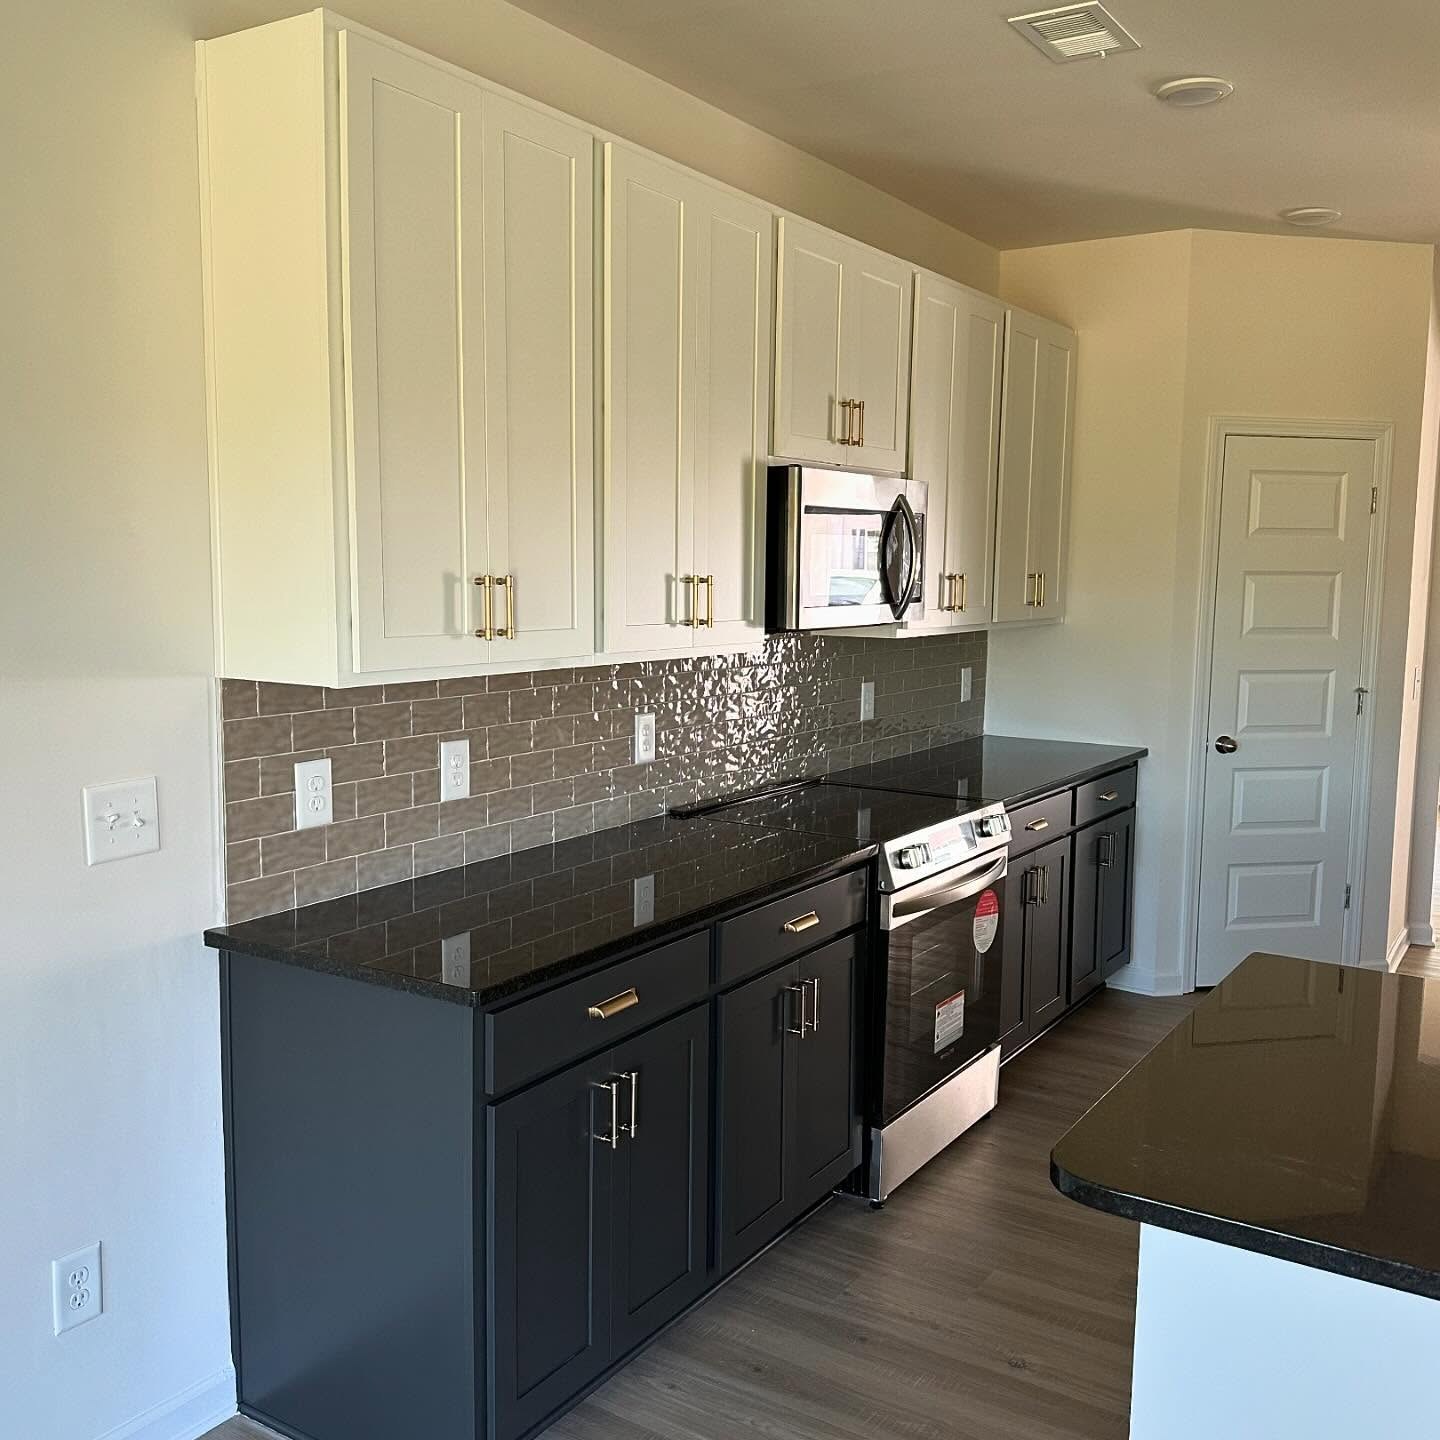
The uppers stayed white. Dark on the bottom anchors the room. White on top lifts the ceiling. The contrast finally lets the gray backsplash read as intentional.
The hardware swap that tied it together
The old pulls were thin silver bars. The painter swapped the drawers for brushed gold cup pulls, kept slim silver bars on the lower doors, and put gold handles on the uppers.
That mix sounds busy on paper. In the room it reads custom. The gold cups catch light at drawer height and warm up the gray tile. The silver bars on the doors keep it from going jewelry-heavy.
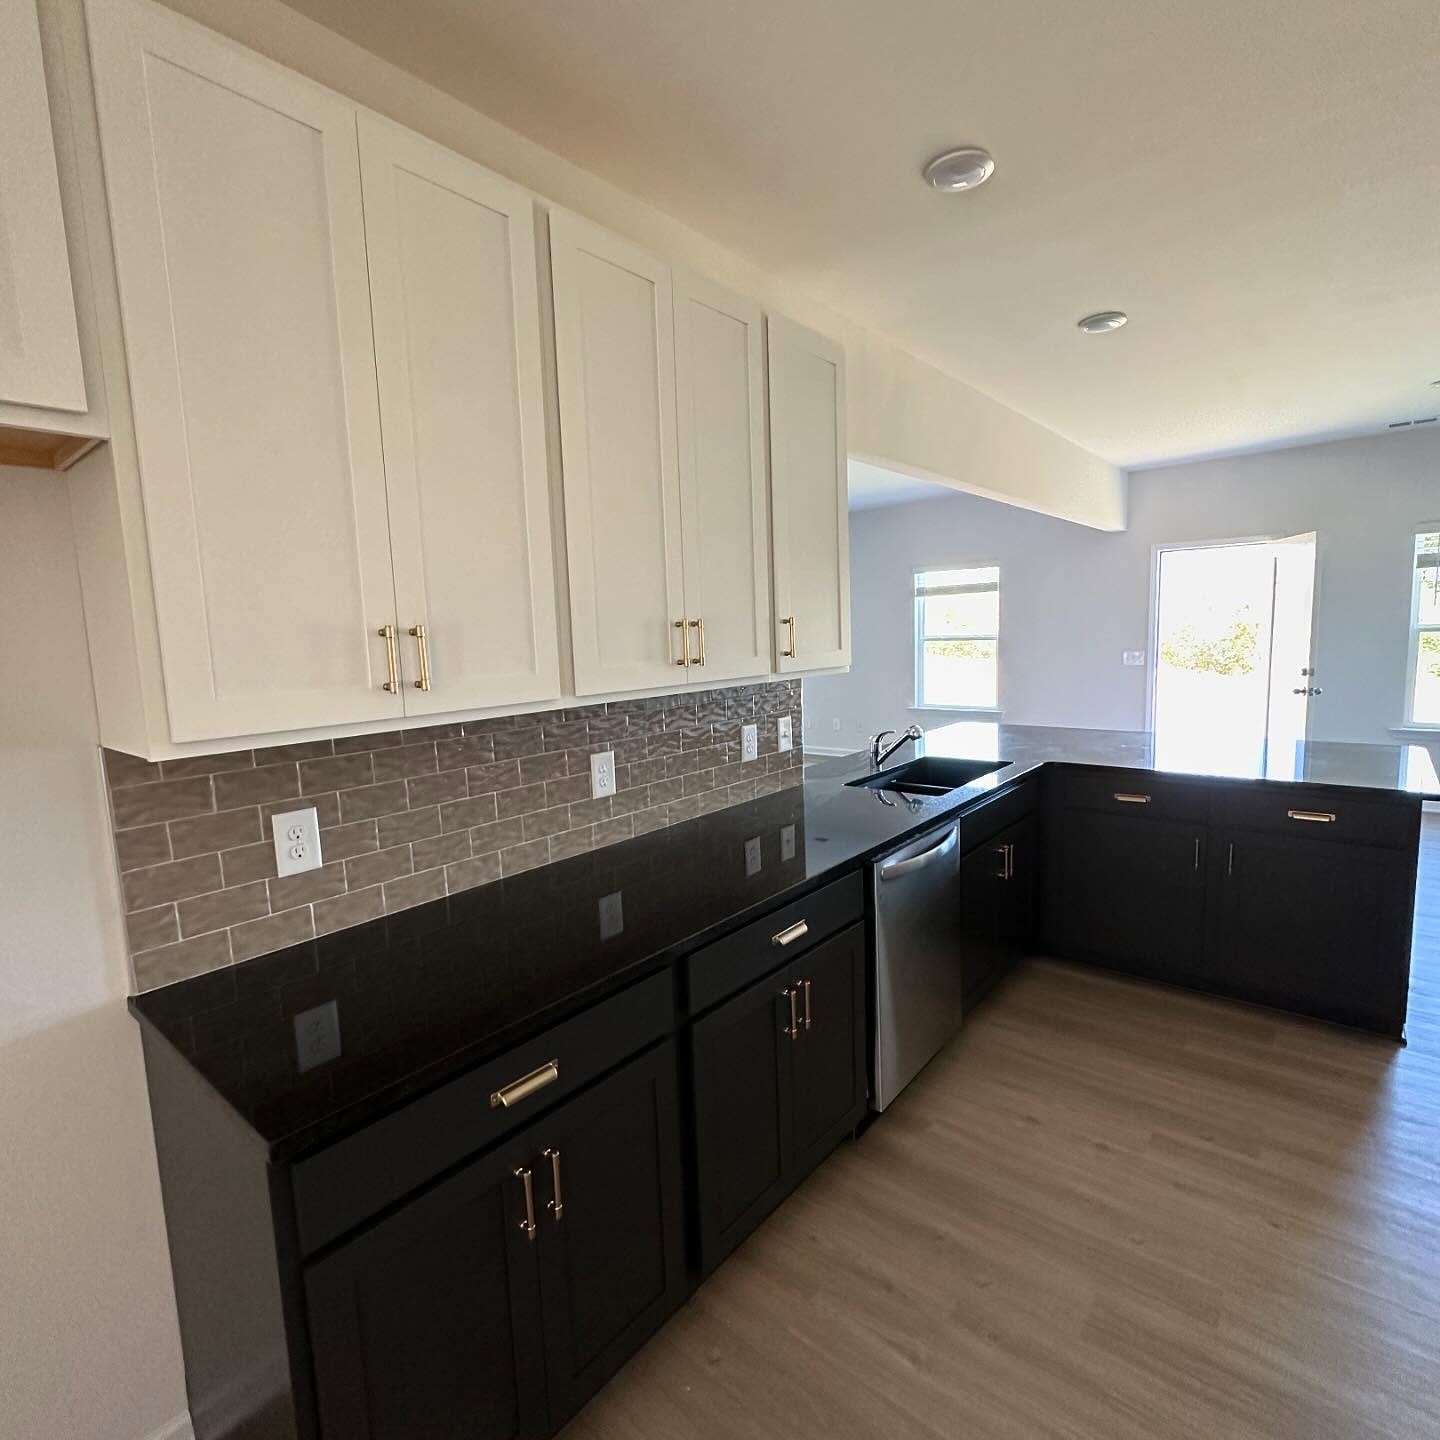
Hardware is the easiest change in any kitchen and the one most people get wrong. When the cabinets go dark, the metal should go warm. Silver on dark cabinets almost always reads cheap.
A look at the job half-finished
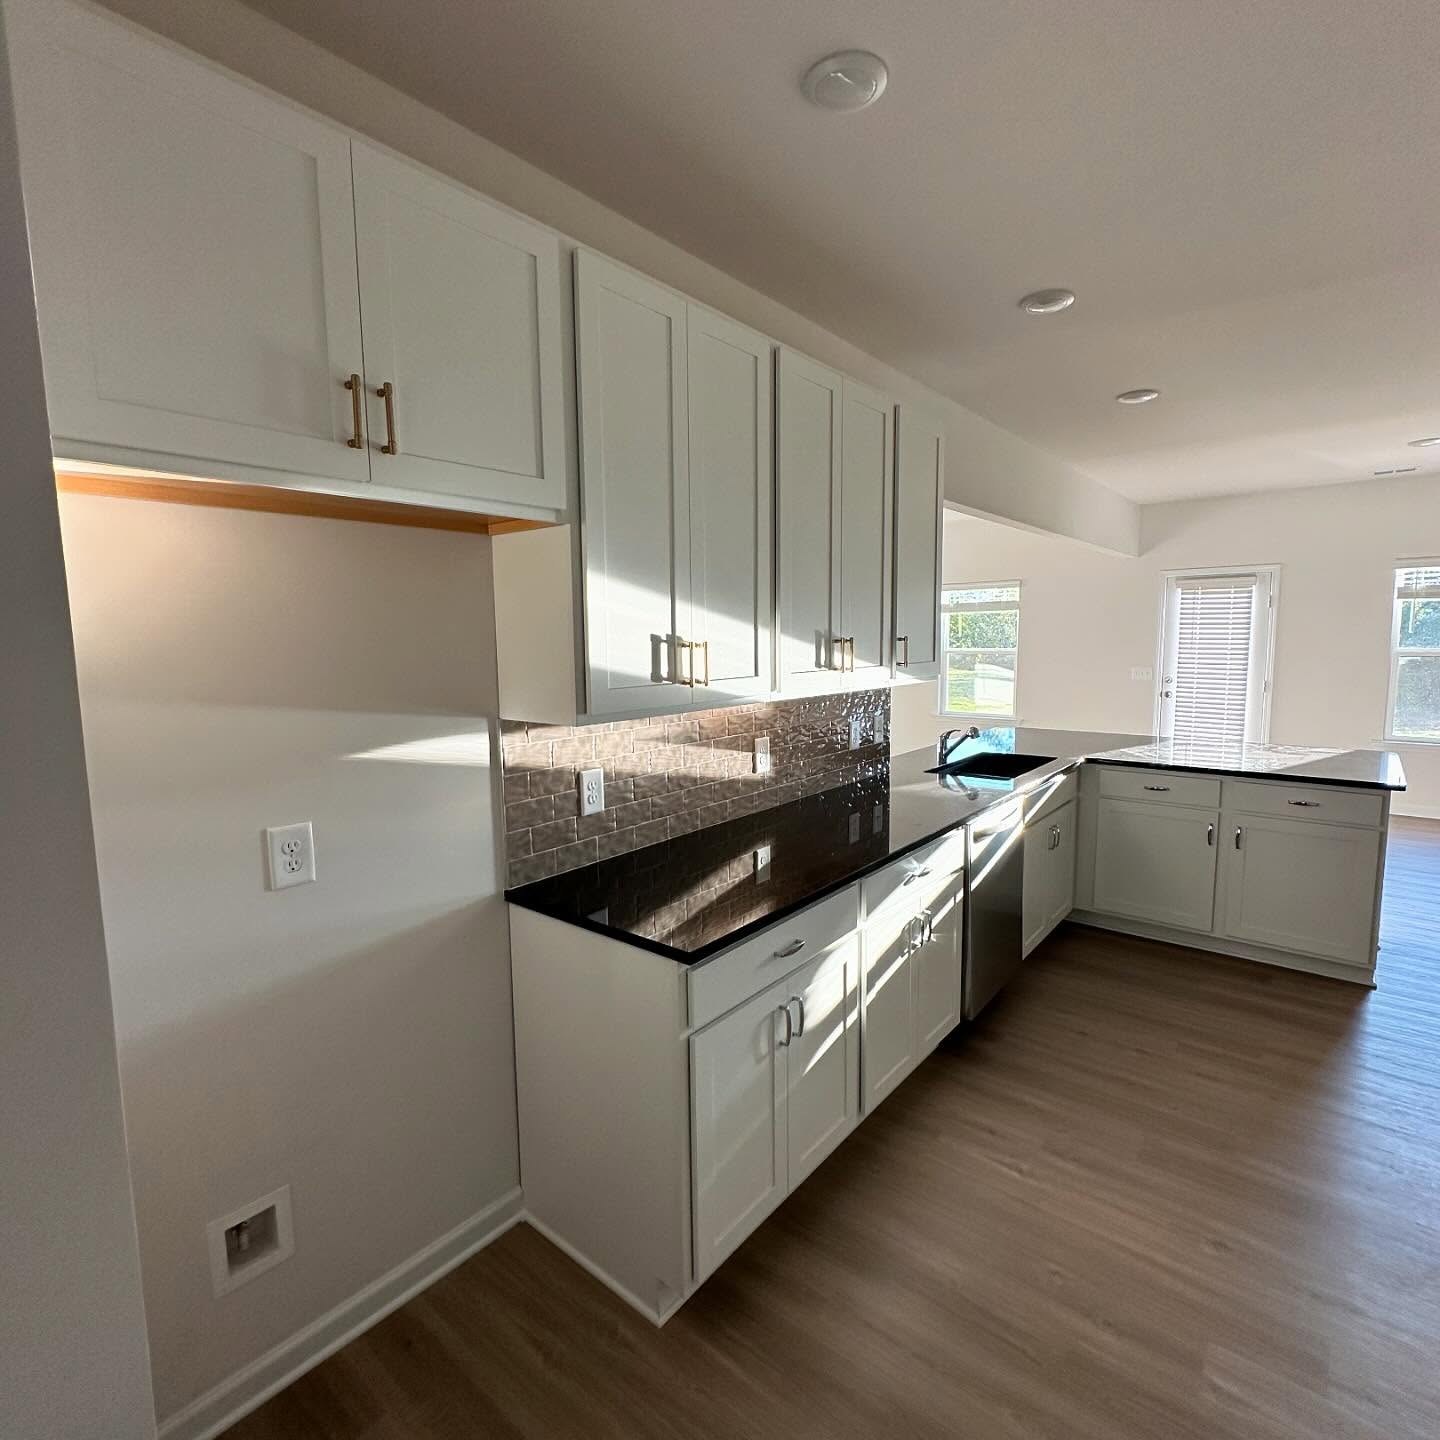
The painter worked top-down. Uppers repainted, gold pulls installed, then the lowers. The photo below is from day two, right before the Iron Ore went on the bottom.
You can already see the trick. The hardware swap wakes the uppers up, but the white lowers still flatten the room. It takes the Iron Ore to give the space weight.
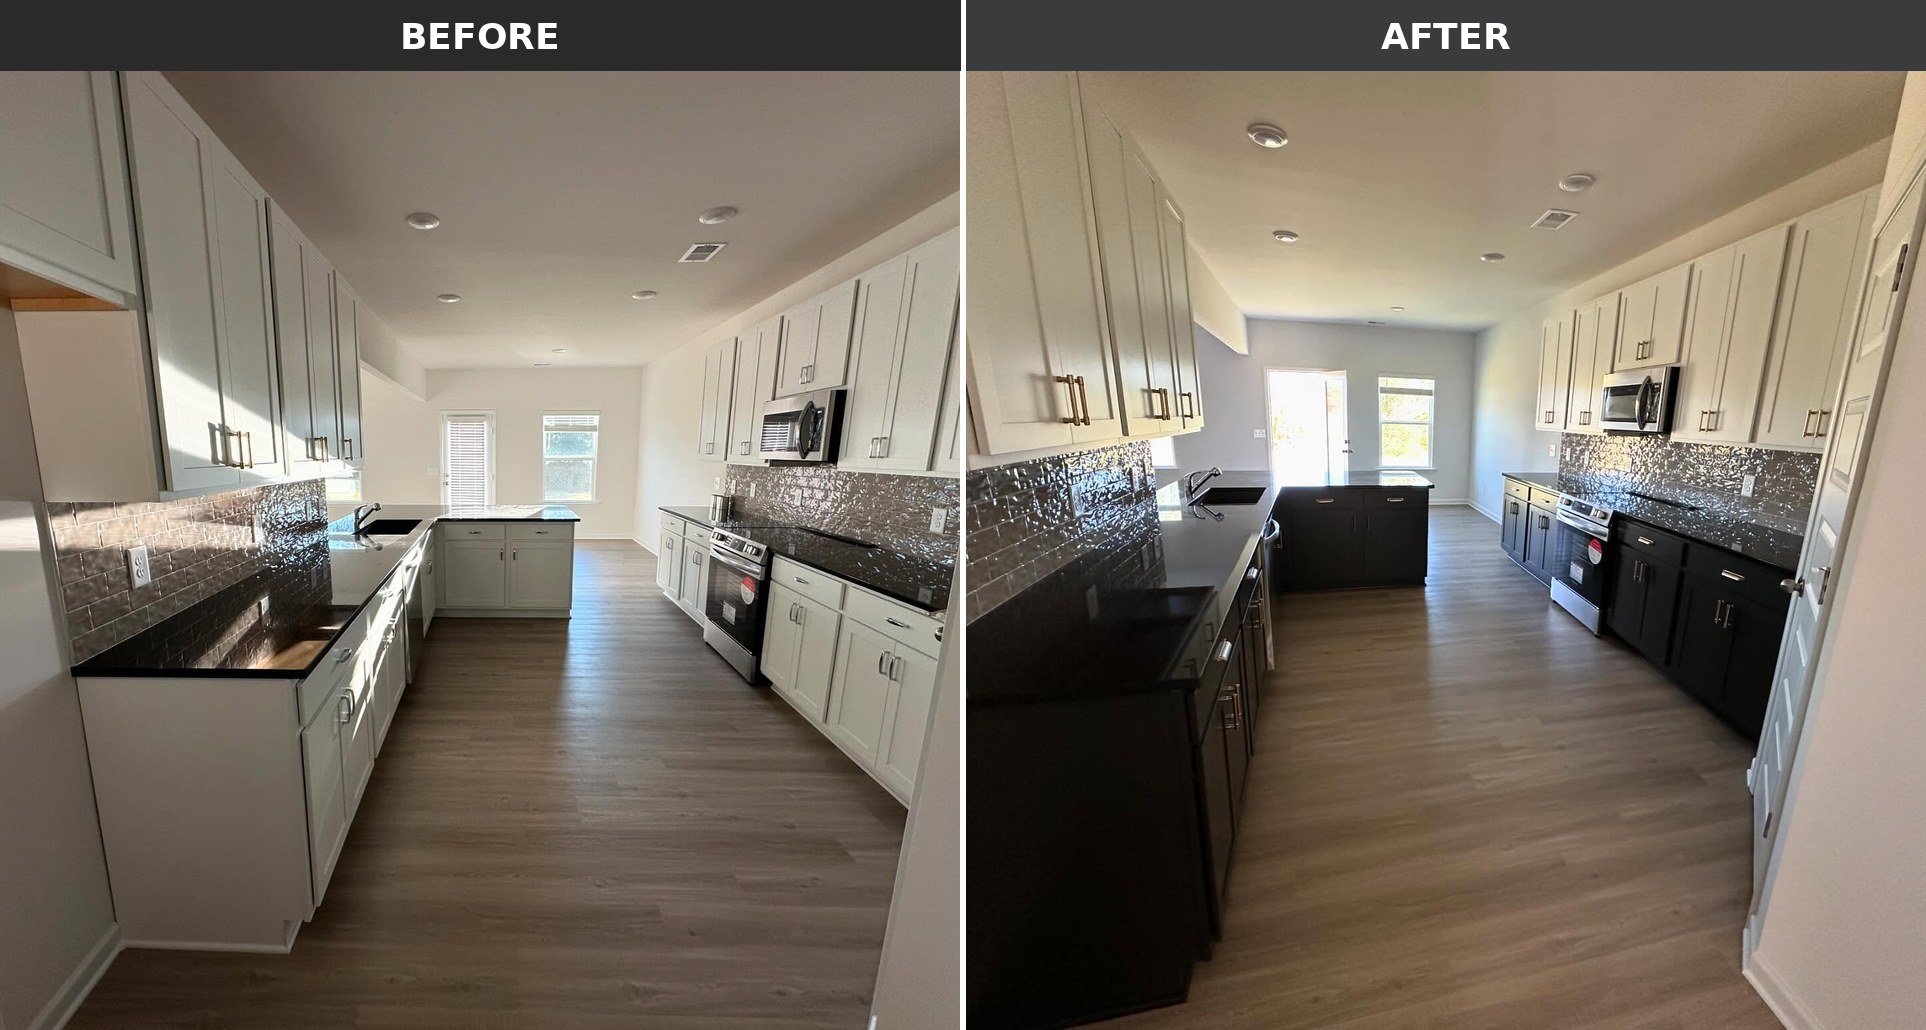
Side by side from the same angle
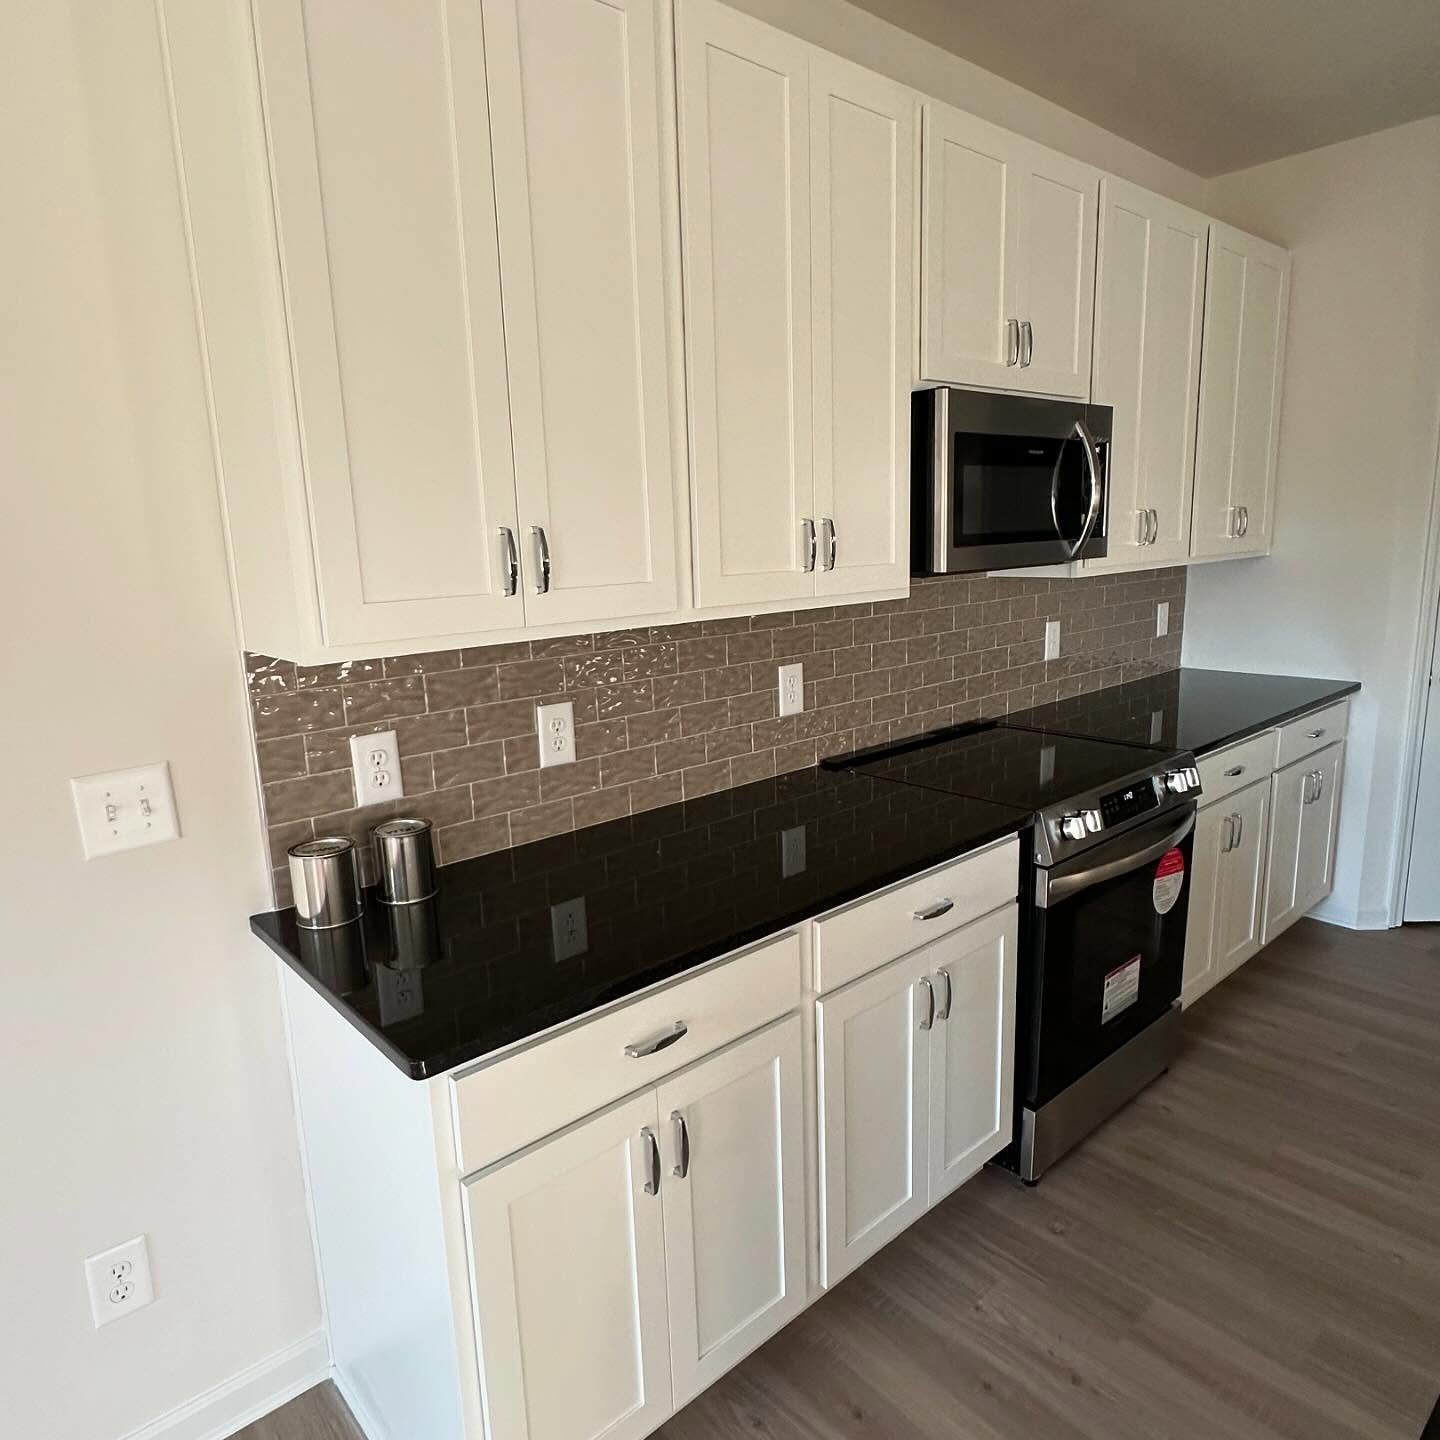
Line up the same view before and after. Layout, counters, backsplash, floor, appliances all stayed. The color on the lower doors and the hardware are the only things that changed.
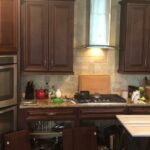
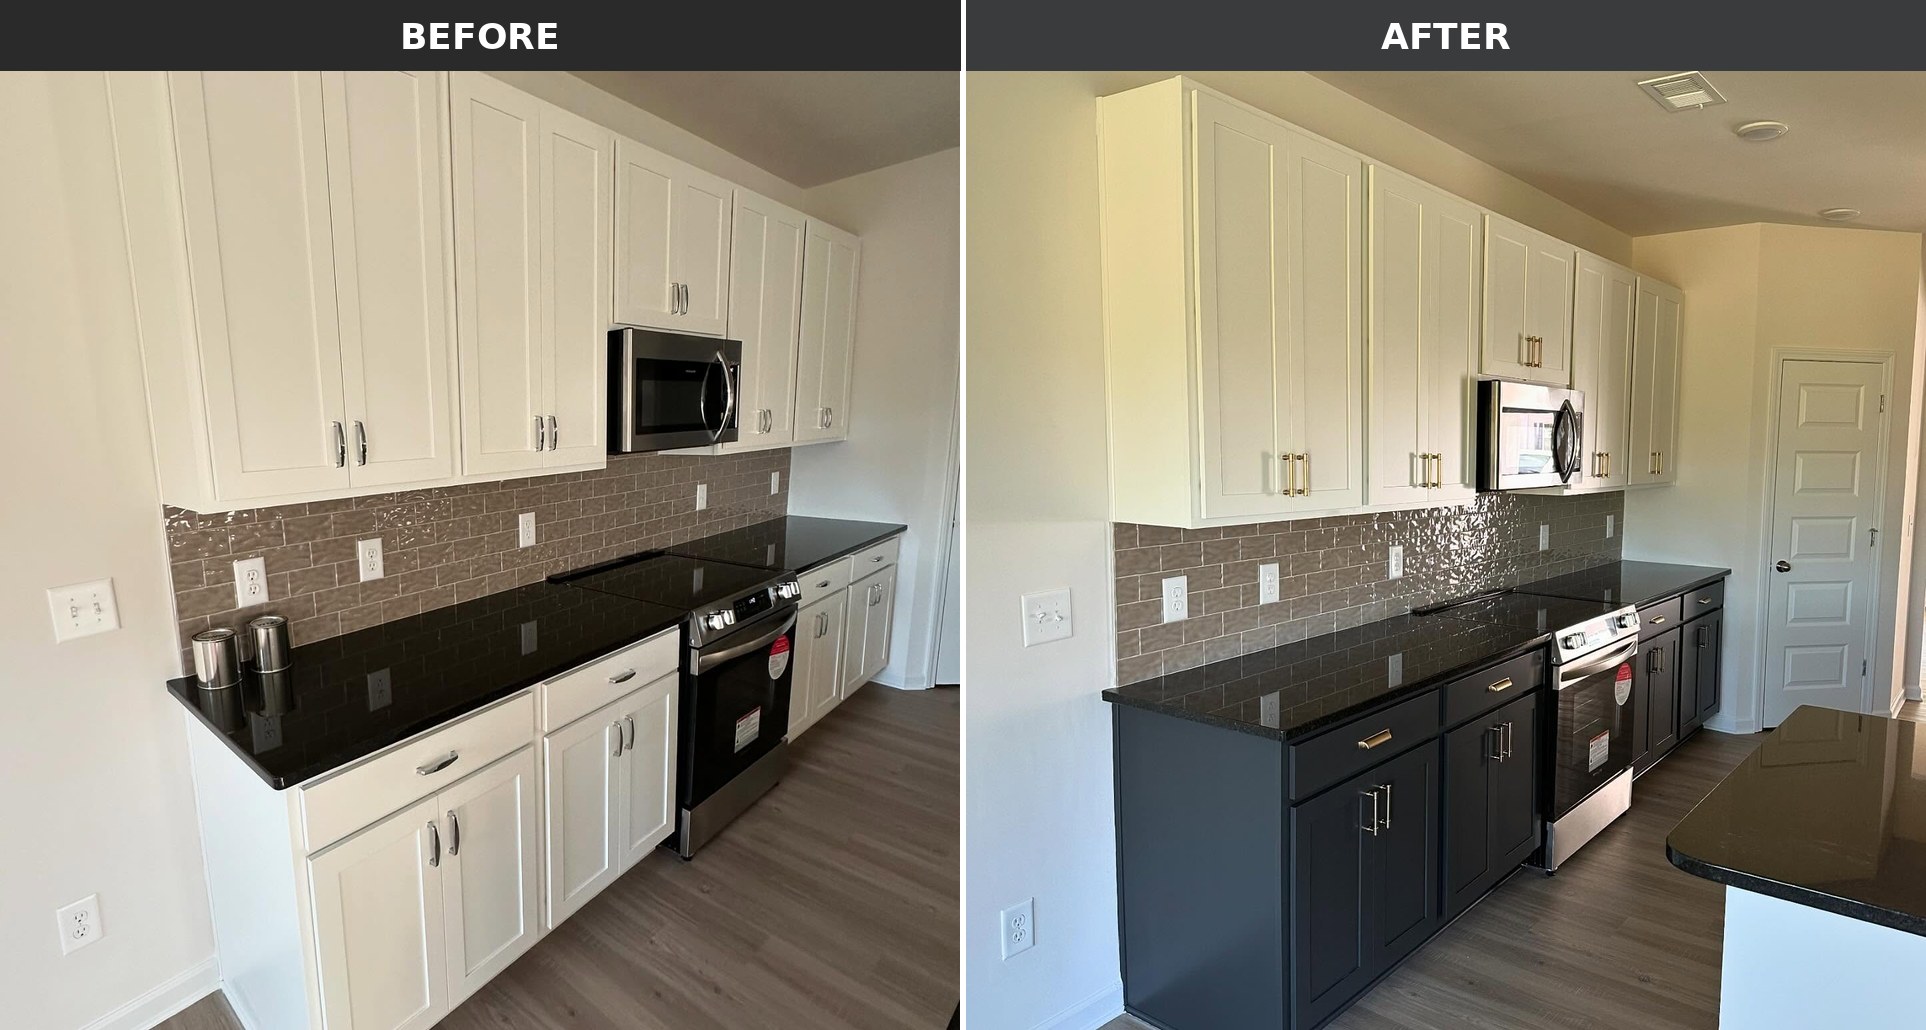
Same thing tight on the range wall. The before reads like a builder show-home. The after has the depth you pay a designer to figure out.
What to know if you try this yourself
Three things.
Primer matters more than paint. Buy Zinsser B-I-N shellac primer. Open windows, run a fan, wear a respirator. The alcohol smell is sharp for an hour then gone.
Take every door and drawer off. Label the backs with painter’s tape. Lay them flat on sawhorses. Rolling doors vertical is where most DIY jobs die. Gravity pulls the paint and you get sags you cannot sand out.
Degrease before you sand. Even clean-looking cabinets have a film of cooking oil near the stove. Wipe with TSP, let it dry, then scuff with 220 grit. Sand first and you push grease into the surface where the primer cannot grab.
What it cost
Materials ran under four hundred dollars. Two gallons of B-I-N, a gallon of Iron Ore, a quart of white, the gold pulls, sandpaper, tape. Labor doubles or triples that, but the total still lands in the low four figures.
The couple kept more than ninety percent of the replacement budget and walked out with a kitchen that reads like a much more expensive remodel. The rest is color theory you can copy. Dark on the bottom. White on top. Warm metal to tie it.