
Bow ties have been around since the 17th century and with that, so has the question of how to tie a bow tie?
View in gallery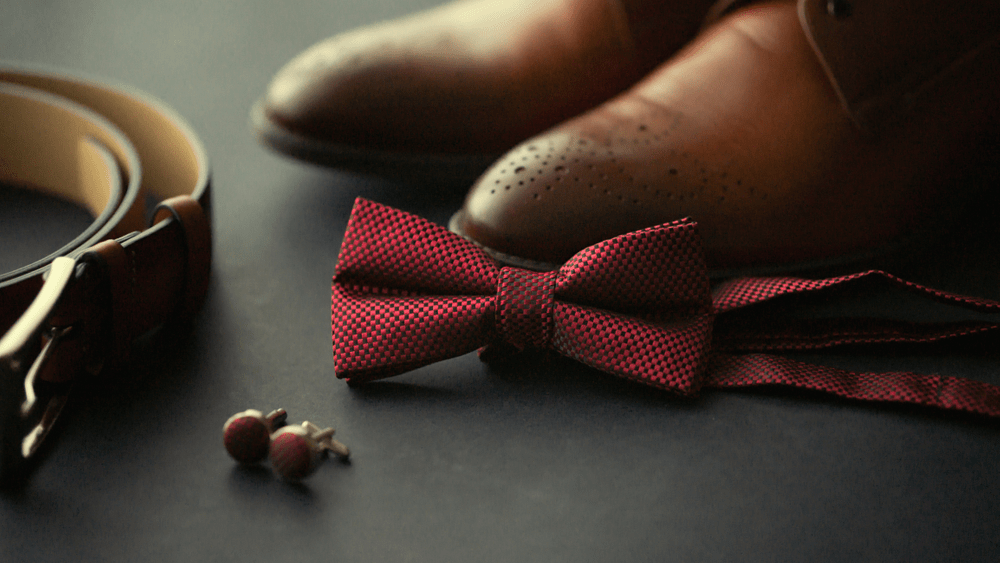
It’s fair to say it isn’t the most straightforward procedure, but it soon becomes second nature once you get the hang of it.
The Subtle Art of Tying a Bow Tie
Getting a perfectly balanced bow tie can make all the difference when you want to stand out in the crowd. Having your bow tie too loose, too big, or lopsided will ruin your entire outfit. Clip-on or pre-tied bow ties are also available on the market, but there is nothing quite like tying the bow yourself.
No matter your age, it is essential to learn how to tie a bow tie because, let’s face it, you’ll never know when it’ll come in handy.
8 Steps to Mastering How to Tie a Bow Tie
Wearing a bow tie may make you a snazzy dresser, but don’t go choosing one of those clip-on types.
View in gallery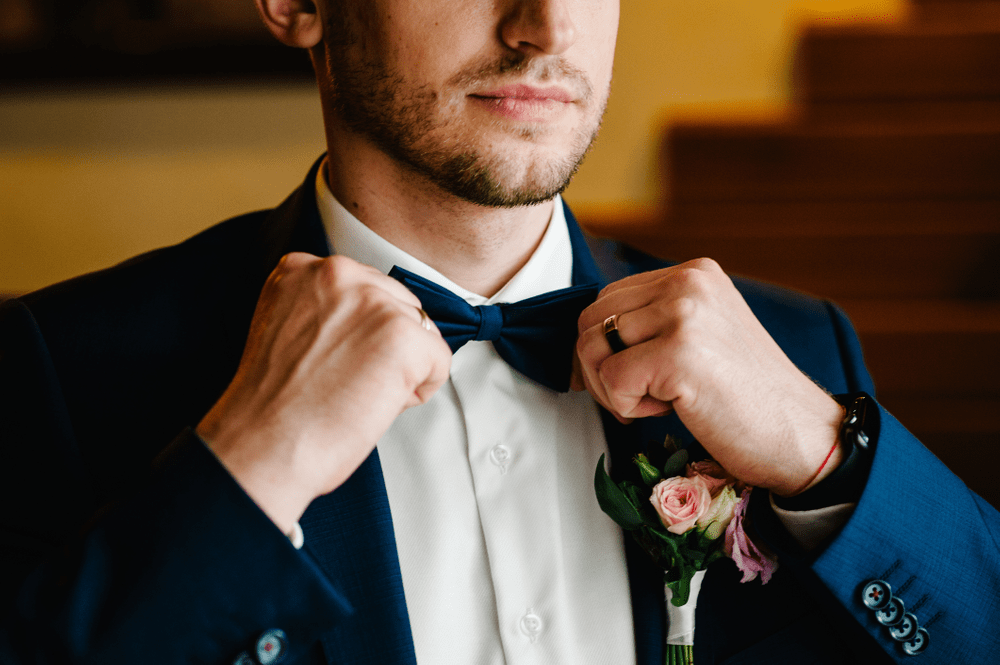
If you want to wear a bow tie, you need to know how to tie a bow tie. If you follow our handy guide below, you will be a tie knot tying master in no time flat.
Feel free to practice a bit before you need to wear your tie.
Step 1
The first step of tying a bow tie is to place the tie around your neck, making sure that one end of the tie is longer than the other. Let’s call the right side, side A, and the left end, side B.
Side A should be roughly an inch and a half greater in length than side B.
Step 2
Take the longer side (side A) and cross it over the top of the shorter end (side B.)
Step 3
Take side A and bring it up behind side B. This movement will form a loose knot close to your neck.
Step 4
While you’ve folded up the end of side A behind side B, take the end of the bow on side B and fold it horizontally. Essentially, you’ll pull it to the left and fold it back on itself to the right. This will give it the desired bow shape.
View in gallery
Step 5
While holding onto side B, drape side A over the front of the bow shape you created with side B.
Step 6
Repeat the folding process that you did with the end of side B on the end of side A.
Step 7
This is where it gets a bit tricky. Take side A and pass it through the loop behind the bow of side B.
Step 8
Pull side A through the loop, but make sure you don’t pull it all the way through. Side A is going to form the back part of the bow.
Step 9
Finally, pull both sides of the tie simultaneously to tighten the knot and ultimately make a bow. Pulling the back right and front left part of the tie will tighten it while pulling the back left, and the front right part of the tie will loosen it.
A Brief History on the Bow Tie
Now that we know how to fashion our ties let’s take a moment to look back at how this fancy neck got its beginning.
Did you know the bow tie came about over 300 years ago!
View in gallery
Historians believe that Croatians created the first bow tie during the Prussian war. Croatian mercenaries once held their shirts together with a scarf wrapped around their necks.
France soon created their own version of the bow tie, mainly worn by the French Upper Class before becoming increasingly popular in the 18th and 19th centuries.
Different Types of Bow Tie
Like standard neckties, there are many different types of bow tie to be aware of. Here are some of the most notable:
- Batwing – Also known as the slim or straight bow tie, is less common than the other styles and doesn’t have any flares at its ends.
- Thistle – The most common type of bow tie, which has a universal shape, and tie makers regularly use this shape for pre-tied or clip-on bows.
- Single-ended – As the name suggests, this tie has the bow on only one end.
6 Top Tips on How to Tie a Bow Tie
So, now you know the principles behind how you tie a bow tie, it is time for us to look at the tips and tricks that go into the perfect knot.
We’re talking about the real advice that goes beyond taking the left end and passing it behind the bow. Let’s face it, everybody needs a little help from time to time. But, if you don’t want somebody putting their hands around your neck to tie the knot for you, these tips make things a lot easier.
View in gallery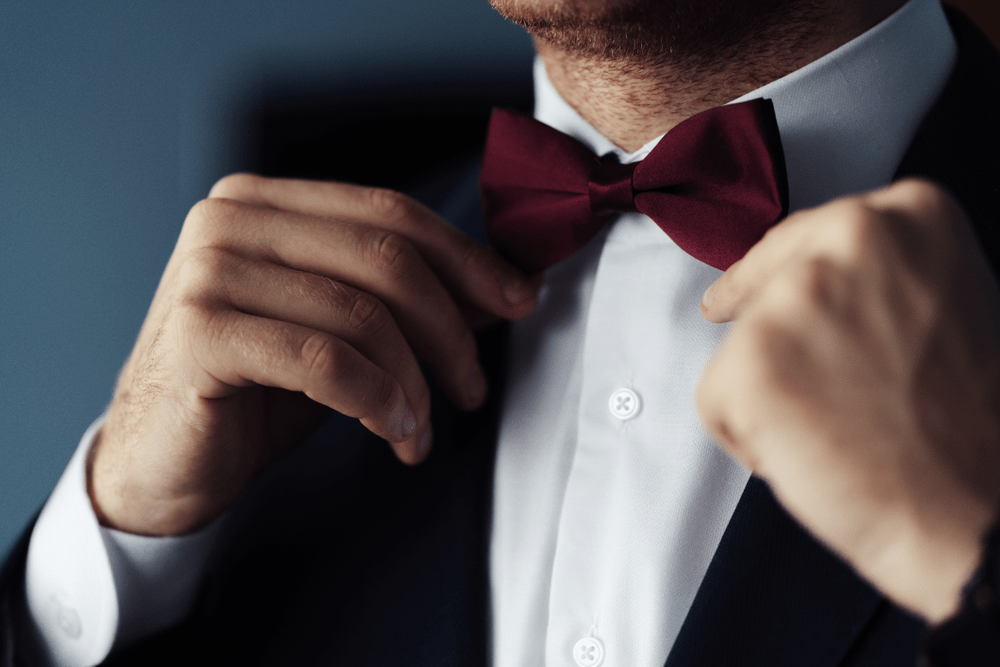
- Always tie your own bow tie. Yes, pre-tied bow ties and clip-on bow ties are much easier, but if you’re attending a formal occasion, there is nothing smarter than a self-tied bow.
- When wearing the most formal dress shirt, a wing collared shirt, it’s recommended to wear a batwing bow tie, especially if you want to give off Sean Connery’s signature James Bond look.
- Add a touch of color. Your bow tie is a fun way to add a pop of color to a usually plain black and white outfit. You’ll definitely catch the eyes of more people wearing a colored or patterned bow.
- Don’t stress; your bow won’t always be perfect. Unlike a regular necktie, which has hundreds of ways that you can tie it, the bow tie, does not. It’s okay for your bow to be slightly asymmetrical. The less it looks like a clip-on tie, the better.
- Don’t wear a bow tie to a funeral. It’s always a much safer option to stick to a standard necktie.
- Make sure the knot in your tie is tight. If the knot isn’t tight, it will cause the tie to slack, looking sloppy and informal.
Final Thoughts on How to Tie a Bow Tie
Bow ties are an excellent choice for formal occasions or scenarios where you want to stand out. From plain black ties to vibrant colors and distinctive patterns, there really is a bow tie out there for every occasion.
As you now should be an expert on tying your bow, let us know in the comments below if you’re team plain black bow tie, or team vibrant and whacky. It would also interest us to know, do you prefer wearing a standard necktie or a bow tie? Leave us a comment!