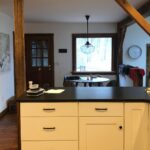
A couple called around for prices on a new kitchen. Lowest quote: twelve thousand pounds, before any fun stuff. Just doors, carcasses and labour, plus three weeks of takeout.
So they did something almost nobody considers when the kitchen looks tired. They kept it. Every cabinet, every hinge, every handle, even the dated wood hood over the stove. And they called a specialist who sprays kitchens in people’s homes over a weekend.
The before shot is a kitchen you have probably stood in a hundred times without really looking at.
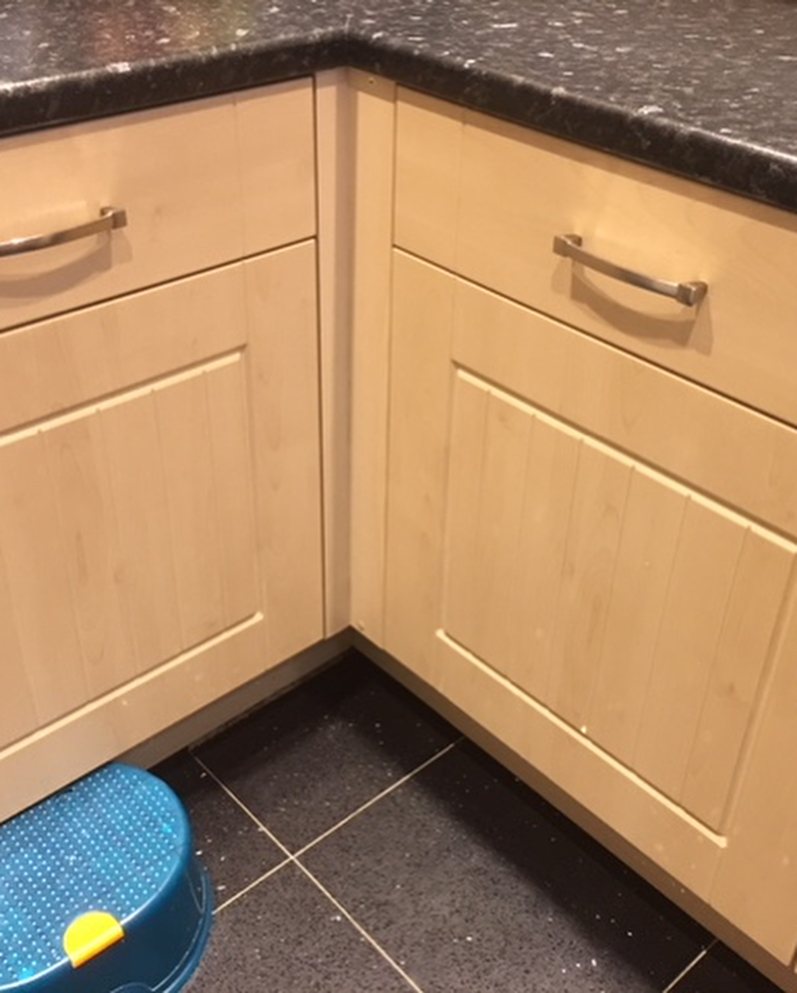
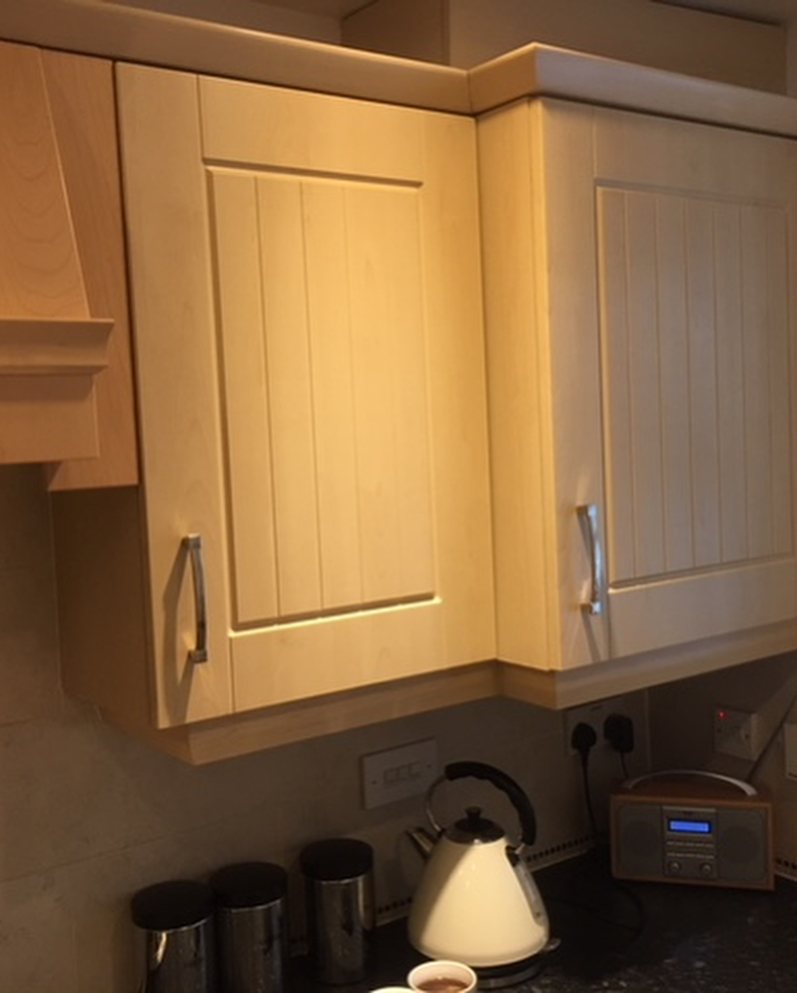
Honey maple doors with a vertical tongue-and-groove panel. Chunky chrome bar handles. A big wooden hood eating half the back wall. This was the default kitchen in almost every refit between 2002 and 2015. It was never ugly, just tired, and because you walk through it twice a day, you have stopped actually seeing it.
Here it is up close so you can match it against your own.
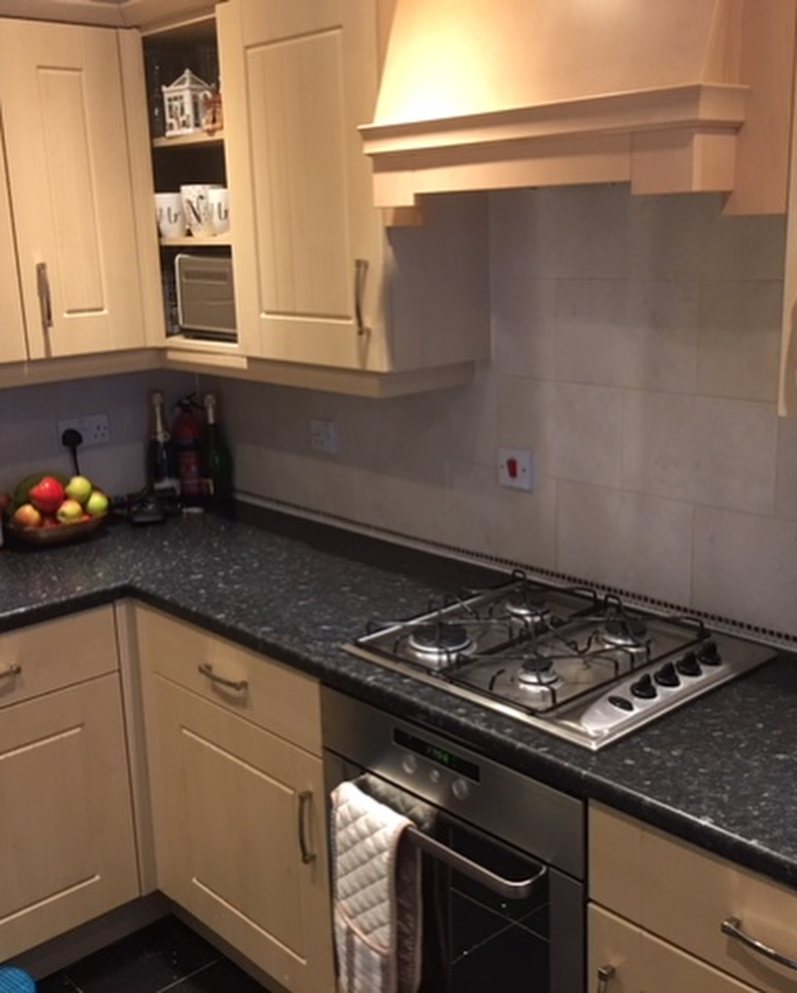
And the lower corner, same door profile, same wood, same chrome pull.
If you own one of these, you also own the conversation you have had about it a dozen times. One of you wants to live with it. The other wants to rip the whole thing out. There is a quieter third option.
The prep is where the magic hides
This is the part people get wrong when they try it themselves on a Saturday morning. They skip the prep, paint straight onto greasy doors, and three weeks later the whole thing looks like a school art project.
A professional sprayer treats prep as the actual job. Every door, every handle, every hinge comes off and gets bagged. Then the room disappears behind plastic sheeting. Ceiling, walls, worktops, splashback, sockets, floor, everything.
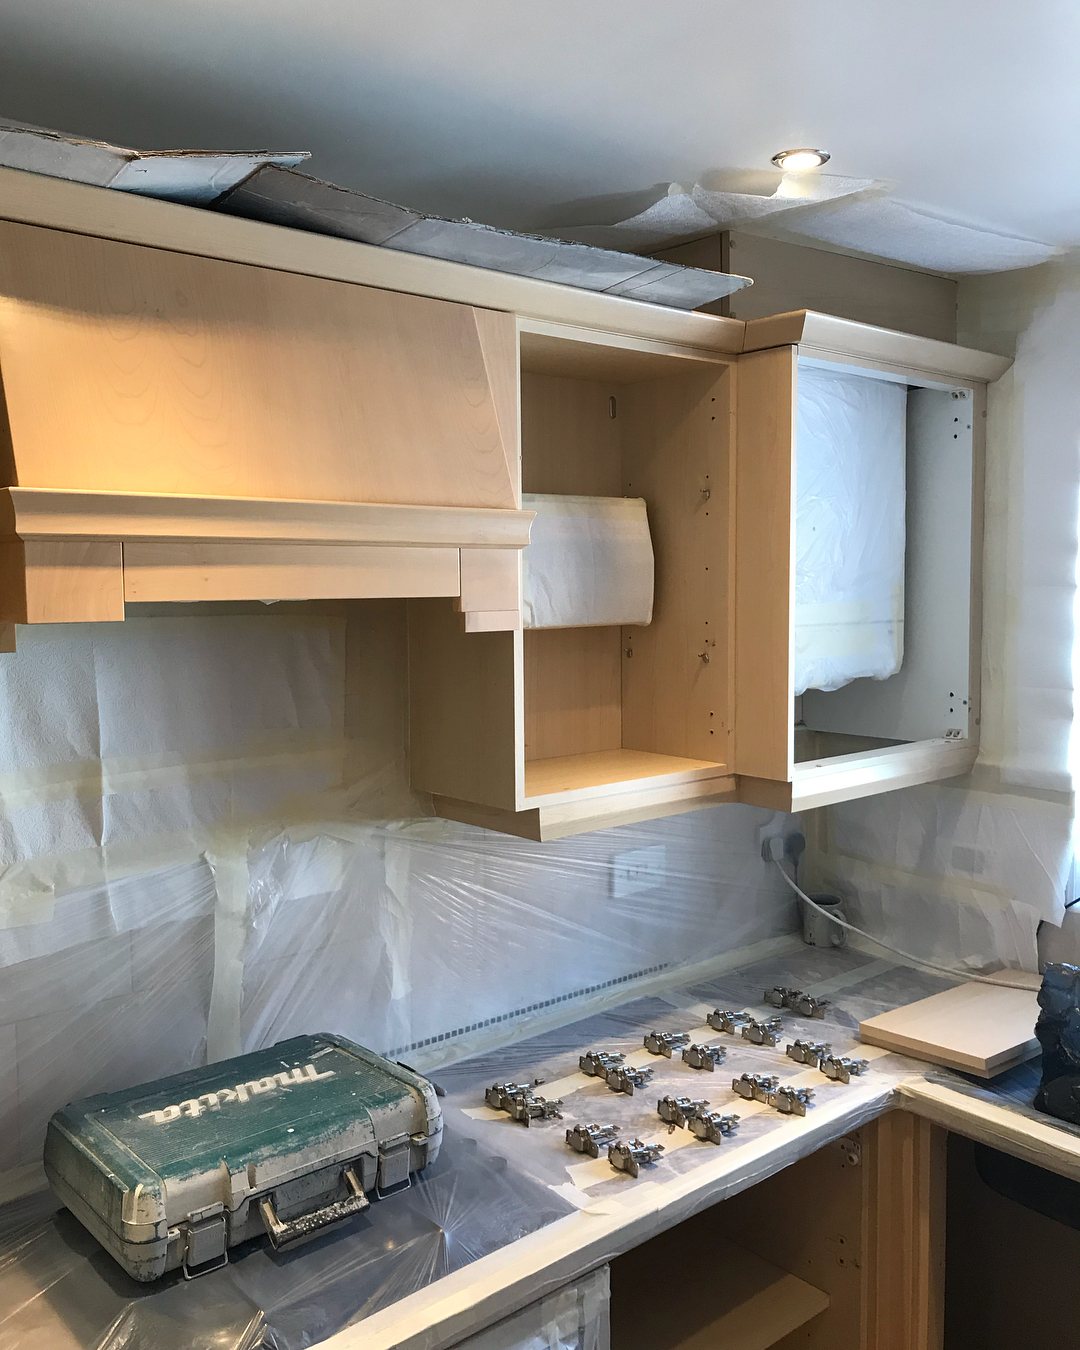
That is why the finish looks like it rolled off a factory line. No dust landing in wet paint, no stray hair, no cat. If you have ever hand-painted a cabinet, you know what you get back: brush marks, drips in the inside corners, a finish that feels like a dry sponge. A spray gun gives you the opposite.
The doors come off and get sprayed lying flat on trestles so the paint can settle without running down the stiles.
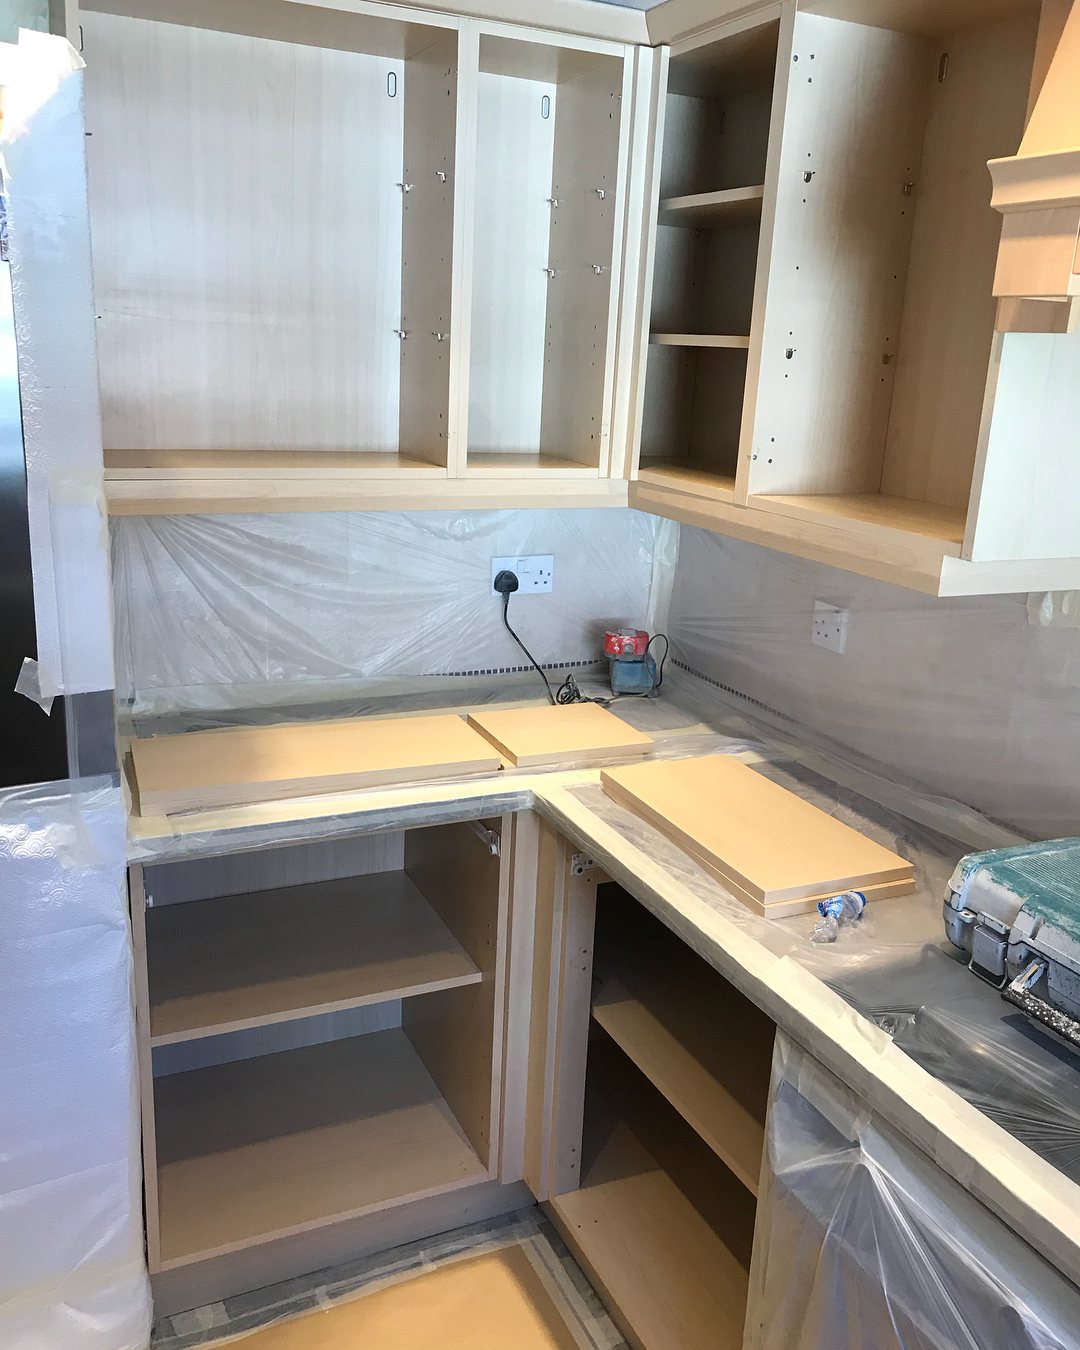
If you are standing there while this is happening, you panic. It looks worse than before. Hold your nerve. This stage is the whole point.
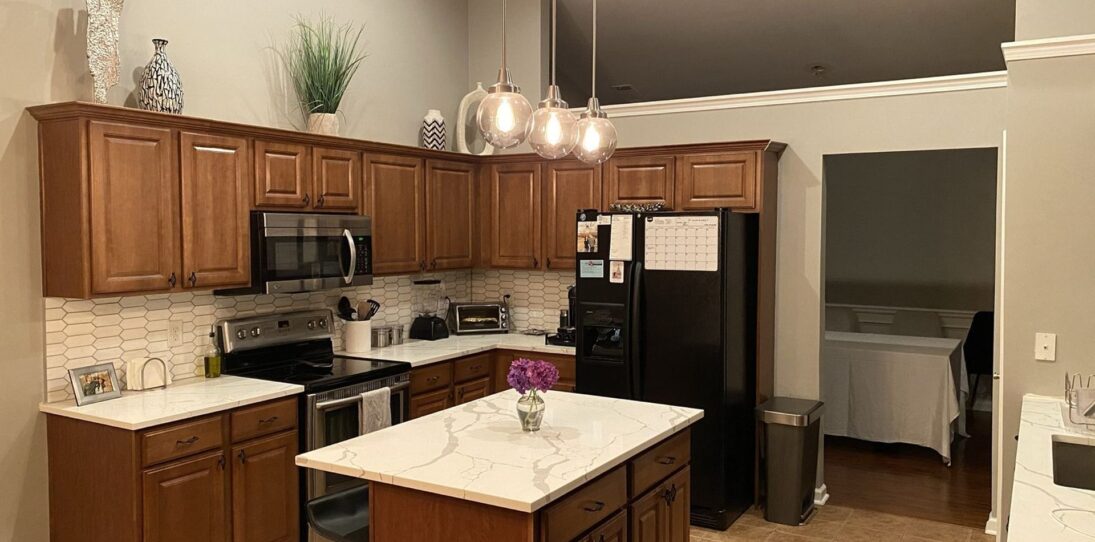

The reveal
The sheeting comes down, the handles go back on, and this is what the homeowners walk into.
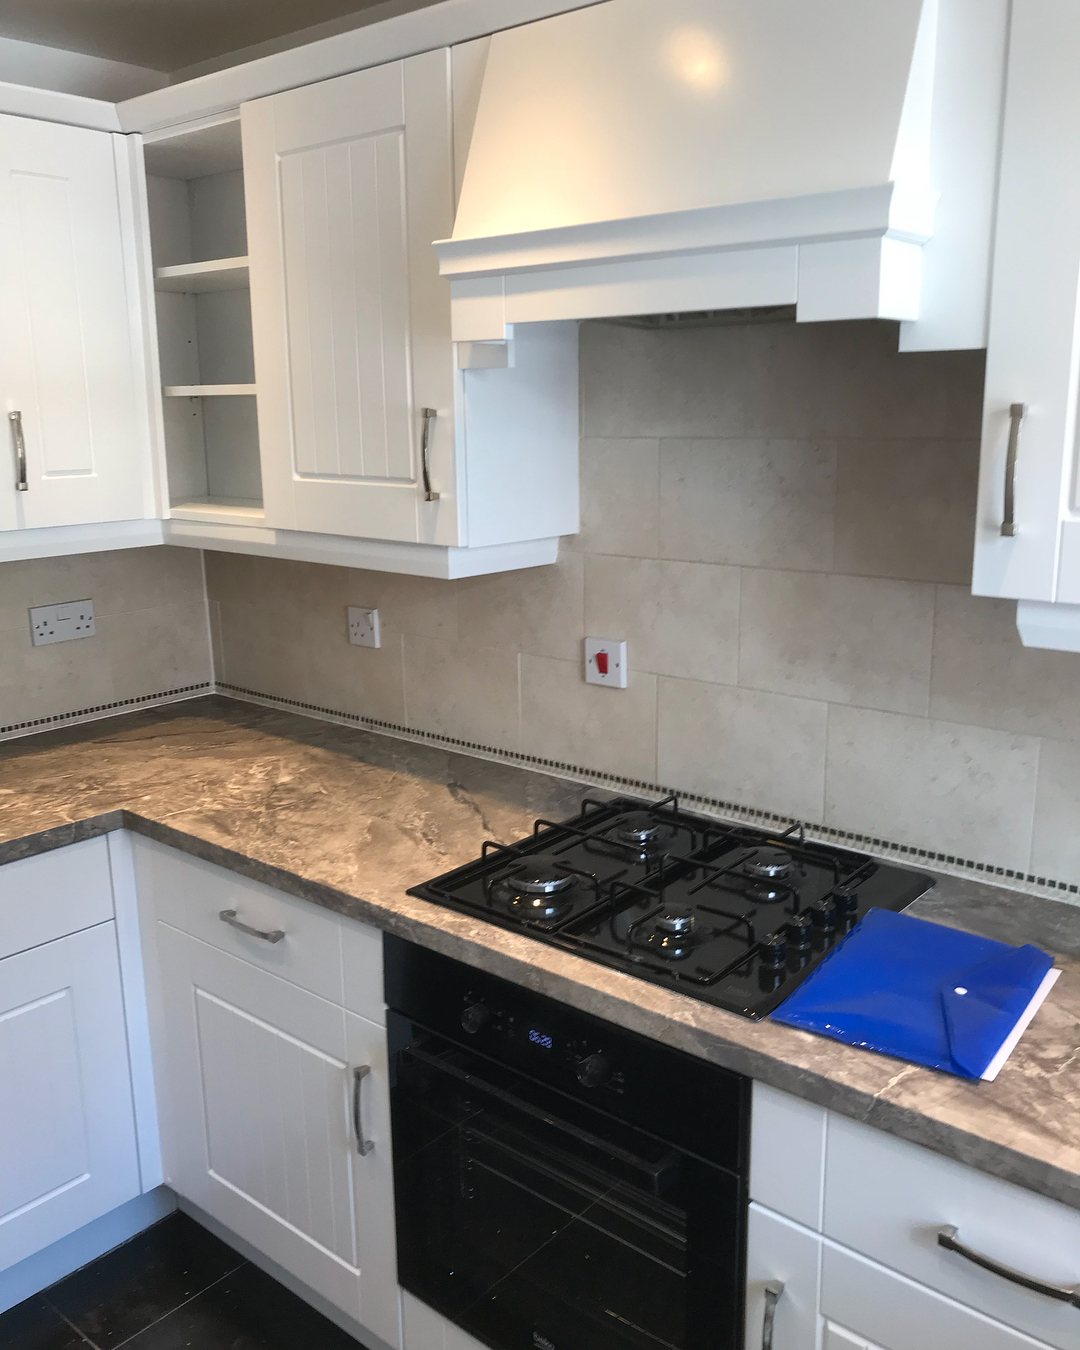
Same layout. Same handles. Same hood, same shape, same corbels under the mantel. Only the colour changed, and every surface in the room reads differently because of it.
The hood tells you the most.
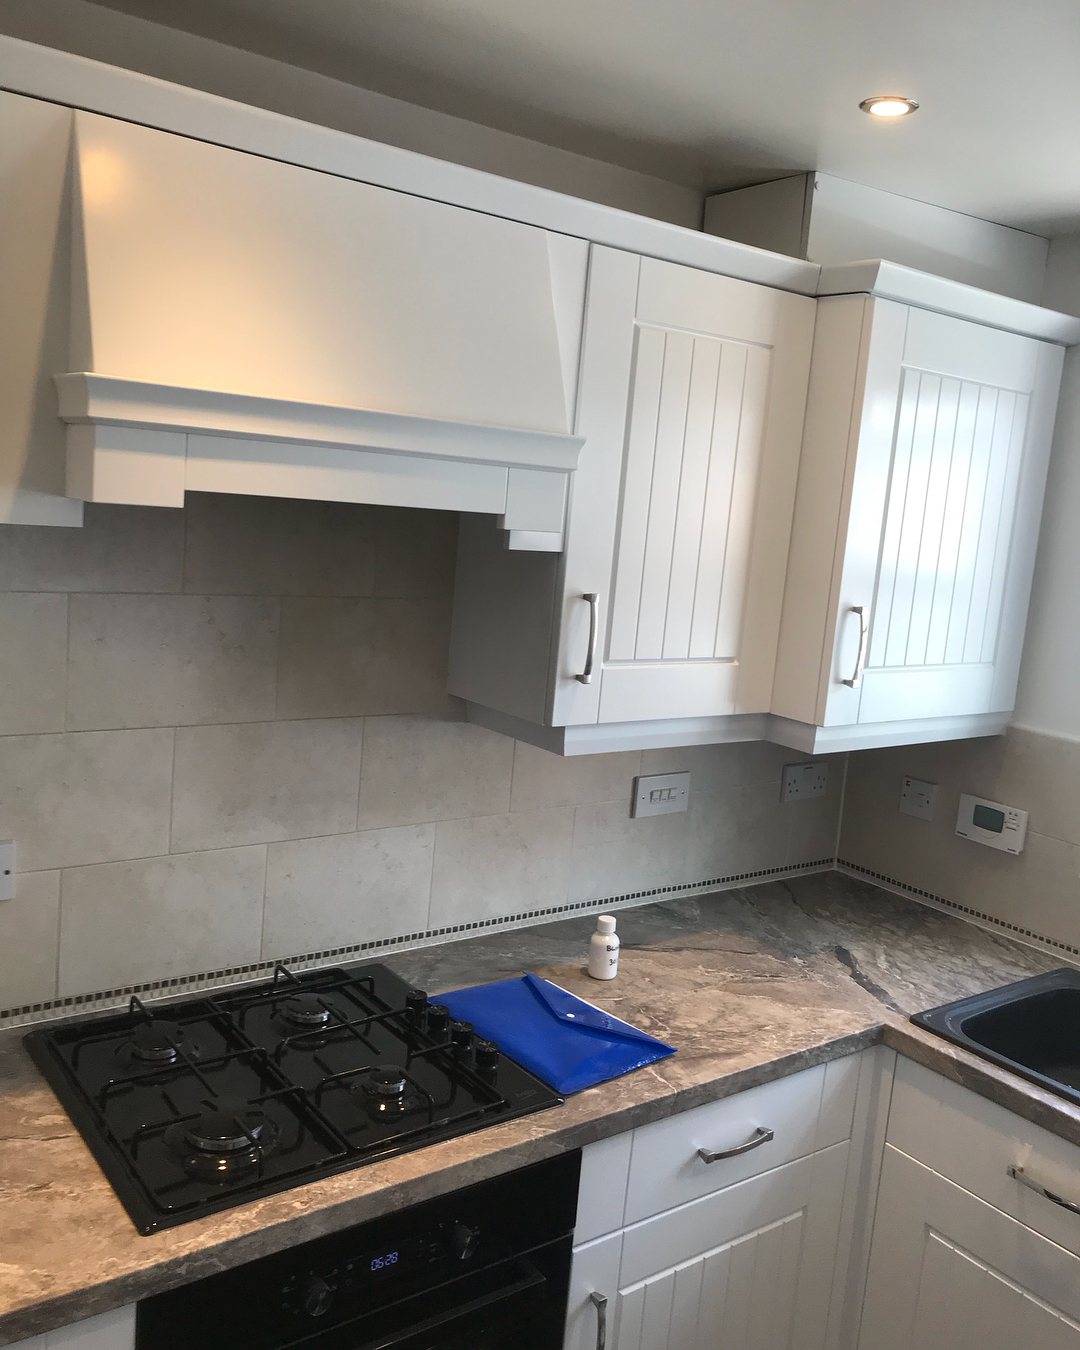
In honey wood, that hood used to be the first thing your eye hit when you walked in, like a piece of pub furniture had wandered in. In satin white, the same shape reads as a calm architectural feature.
The corner by the fridge pulls the same trick.
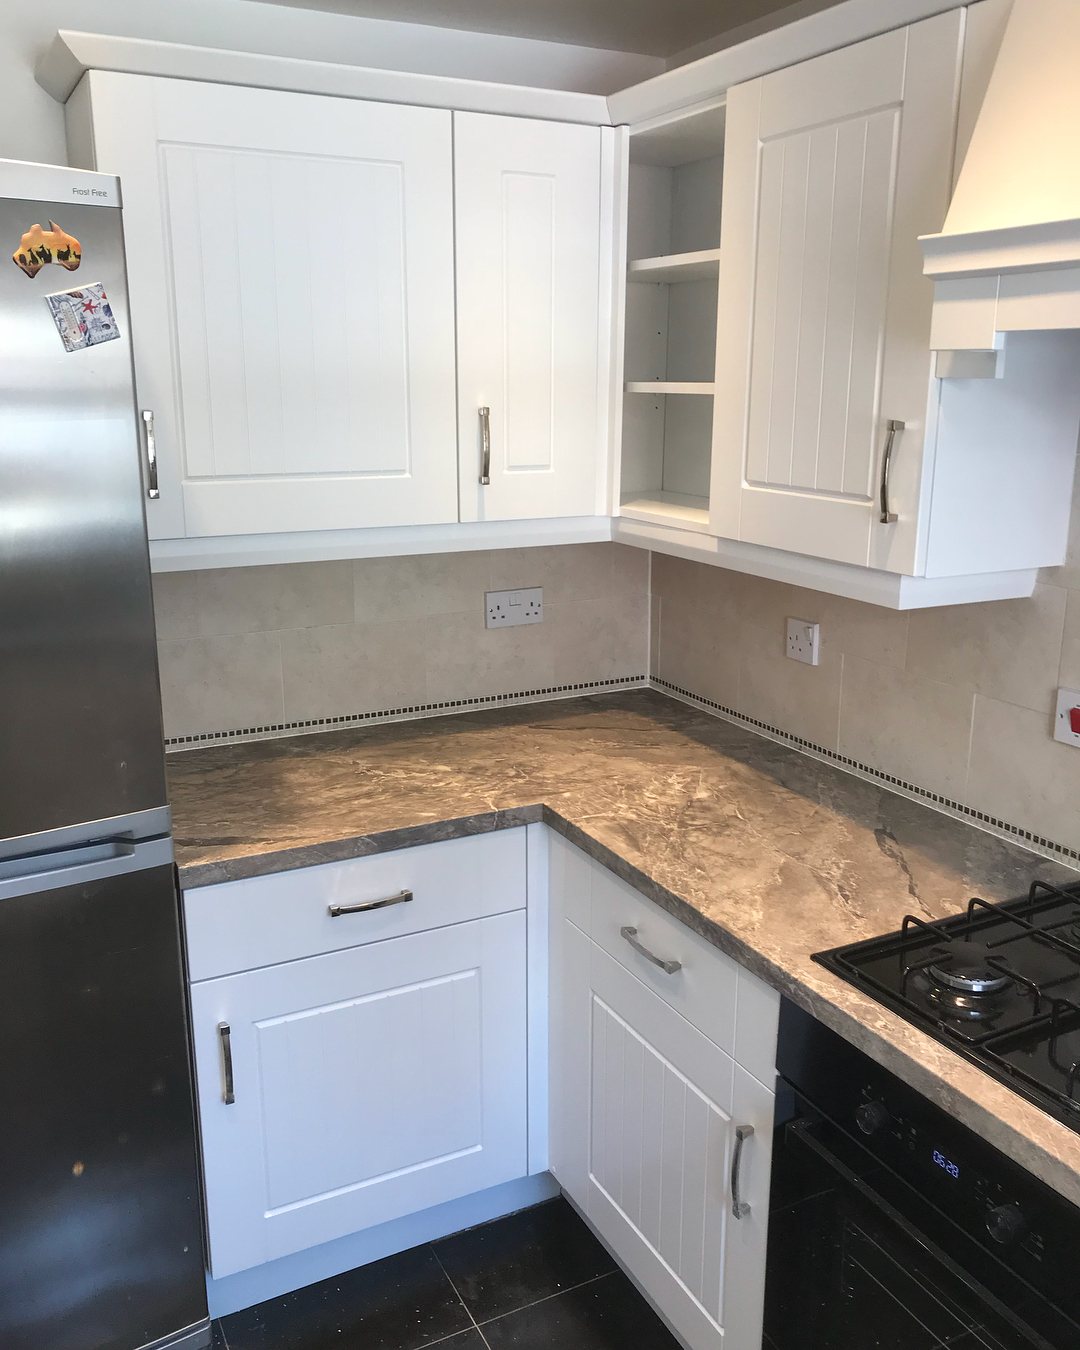
The open display shelving used to be a dead spot of pale wood. Now it looks like an intentional design choice.
Why this works so well on shaker doors
If your doors are old-school raised-panel with deep moulding, this works, but less dramatically. The grooves catch shadow and the eye still reads them as fussy. A shaker door is the opposite. Flat centre panel, a simple raised frame, nothing for paint to pool in. Spray it in satin white and the architecture becomes crisper than it was in wood, because the eye can finally read the shape without being distracted by grain.
What stays, and what you are really buying
The carcasses stay. The doors stay. The hinges, handles, plinths, worktop, flooring, sink, hob, oven. The sprayer only touches the one thing actually making the room look old: the colour on the fronts.
A full rip-and-replace this size usually lands between eight and twenty thousand pounds. A professional spray on the same cabinets comes in between a tenth and a fifth of that. The gap is a summer holiday, or a new sofa. And you keep your weekend.
What not to do yourself
Three things make a respray look factory-made rather than homemade: proper degreasing of every door, the right bonding primer for a lacquered finish, and spray application rather than brush or roller. Miss any one and you can see it from the doorway. If you are not set up to spray, a specialist will mask the room, spray everything in place, and be gone in two or three days.
The honest question before you spend twenty thousand pounds
Stand in your kitchen tonight and ask one thing. Is the real problem the layout, or just the colour?
If the cupboards are in the wrong places and the sink is nowhere useful, yes, you need a new kitchen. Spend the money.
But if the layout works and the doors still open and close fine, what is making the room feel dated is almost certainly just the colour on the fronts. That you can solve for a tenth of the cost, in a weekend, without moving out.