
Learning how to crochet is a fantastic skill and hobby that’ll keep you occupied while also making wearable and decorative items.
View in gallery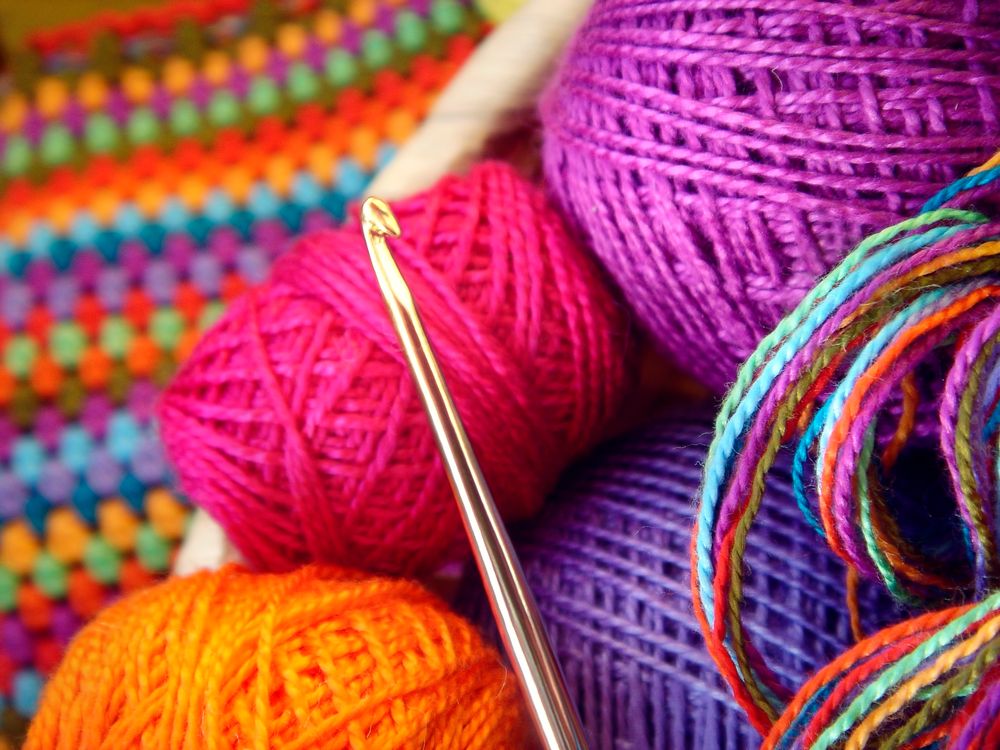
People have been crocheting for hundreds of years, and learning the process is easier than you may think. To help you along with your crochet journey, we’ve put together the ultimate beginners’ guide on how to crochet.
As with learning any new hobby, practice makes perfect, and it may take you a few attempts to truly get the hang of the stitches. But, don’t be discouraged; you have to start somewhere, so be patient; you’ll get it, eventually!
What is Crochet?
Crocheting is one of the most popular yarn crafts which gained major traction in the 70s. It also came back on trend during the pandemic, when everyone was stuck at home.
View in gallery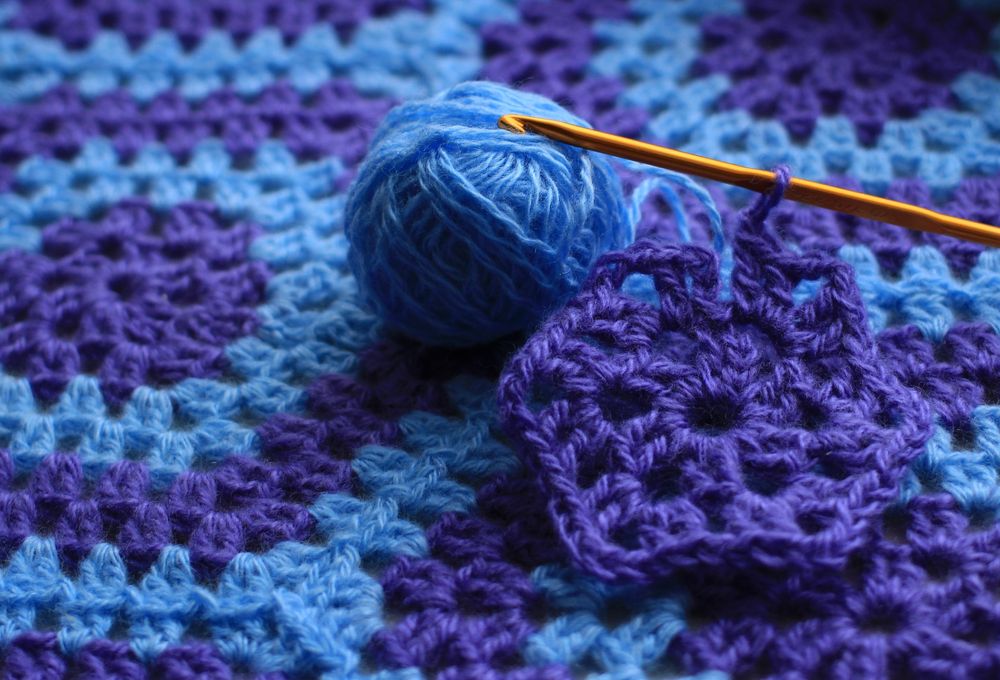
As people had nothing else to do with their time, many picked up the hobby and created handmade items with just a hook and yarn.
So, what is crocheting? Well, in simple terms, crocheting is creating a looped piece of fabric with a special tool called a crochet hook.
It’s best to start with the basic stitches to set your crocheting foundation. And once those stitches are mastered, you can progress to more technical stitches and create more detailed items.
What do I Need to Start Crocheting?
One of the best things about crocheting is the fact you only need a crochet hook and yarn to get started. Yarns and hooks come in different weights and sizes, and as you’re just starting off, it’s best to choose a yarn and hook that is easy to work with.
Yarn
Yarn is a spun thread that comes in different weights. The pattern you’re following will require different yarns, as some will need super-fine yarns and others bulky yarns.
View in gallery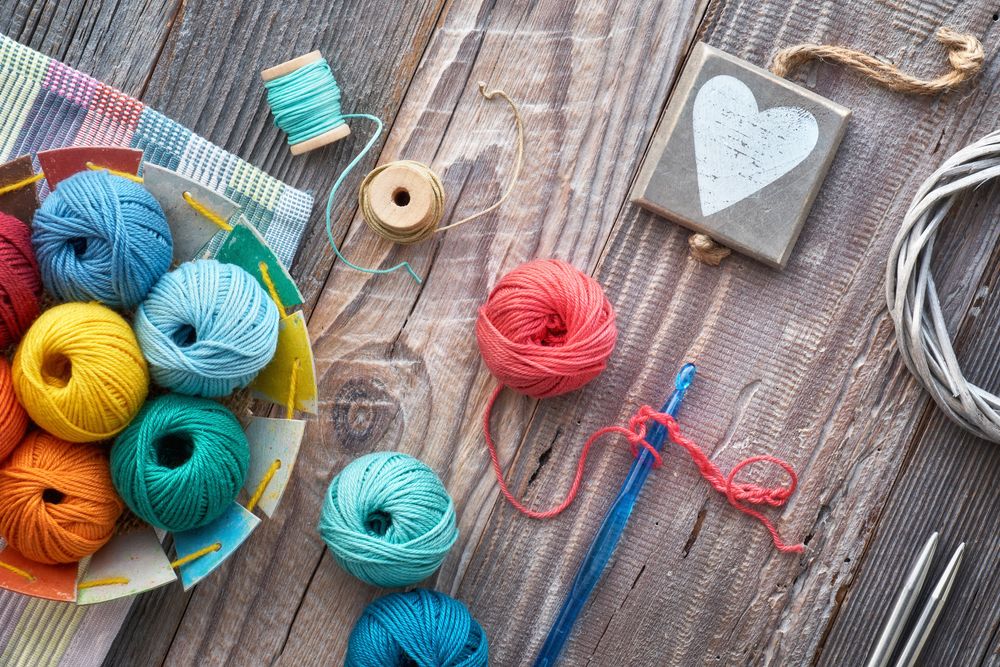
To start with, we recommended opting for a ball of medium-weight wool, acrylic, or cotton yarn. for reference, medium-weights fit into the number four category when you’re out yarn shopping.
Along with it being medium weight, try to find a yarn that is smooth in texture and light in color. Smooth, light-colored yarns make it easier to see your stitches during the crocheting process.
You can purchase your yarn online or head to your local craft store and ask a member of staff to assist you.
Yarn Weight
When it comes to yarn weight, the higher the number on the yarn, the thicker it will be.
- Number 1 – Super fine
- Number 2 – Fine
- Number 3 – Light
- Number 4 – Medium
- Number 5 – Bulky
- Number 6 – Super bulky
- Number 7 – Jumbo
Crochet Hook
The next piece of kit you’ll need is a crochet hook. Crochet hooks also come in a range of shapes, sizes, and materials. And the size of your hook will depend on the weight of your yarn.
View in gallery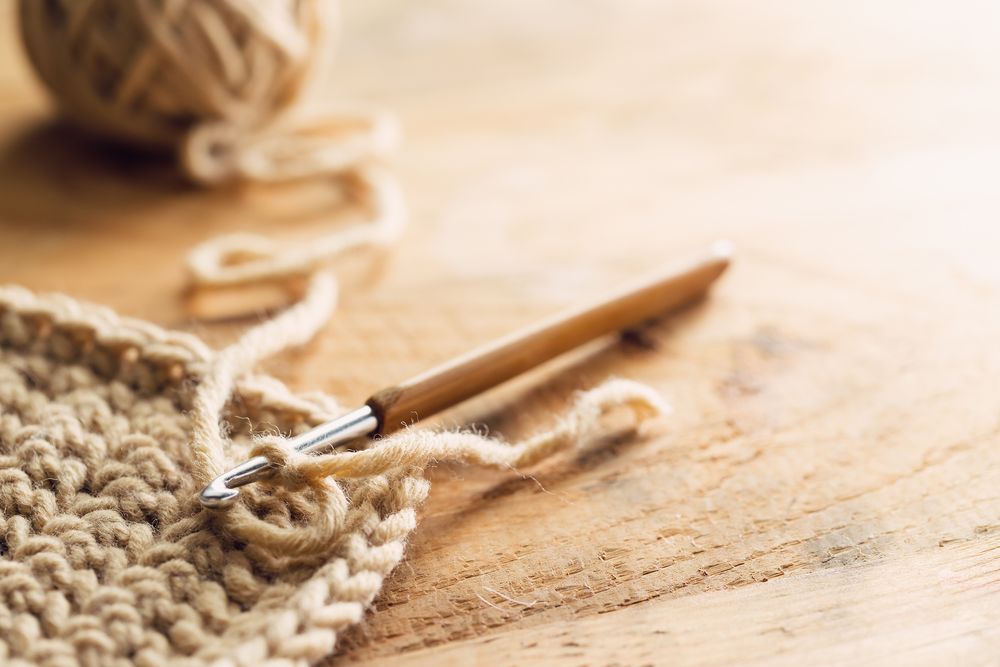
Thick yarn will require a large crochet hook, and vice versa for thinner yarns. Because you’re a beginner using a medium-weight yarn, then an ergonomic hook in either a G6 or H8 size will work best. The backs of a yarn label are a good indicator as to what hook suits that specific yarn, and again, you can purchase these online or head into a store.
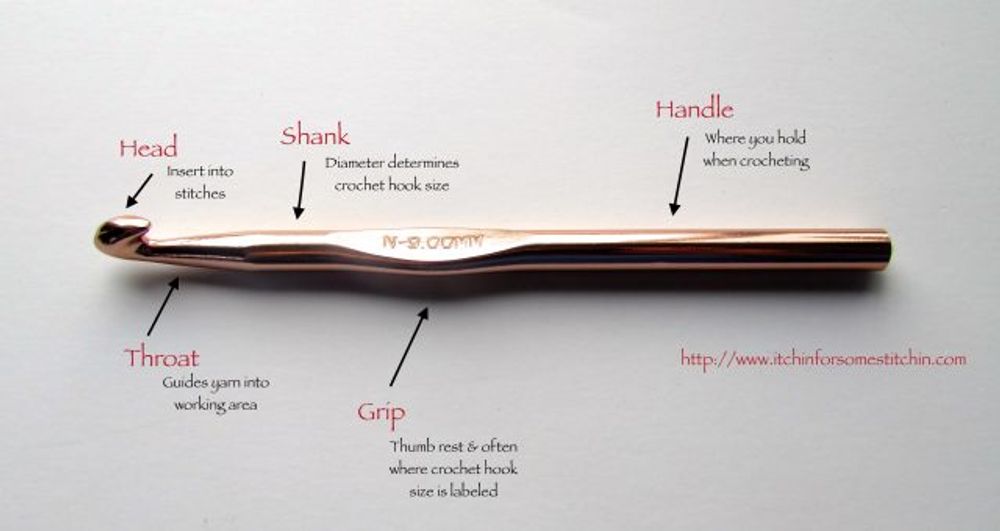
What is a Crochet Hook?
A crochet hook is a small handheld tool designed specifically for crocheting. There are five parts to a crochet hook: the point, throat, grip, shaft, and handle.
Hook Sizes
As mentioned before, hooks come in at a range of different sizes, and they’re identified by a metric or US name. Here are the crochet hook sizes:
- B- 1 or 2.25 mm
- C- 2 or 2.75 mm
- E- 4 or 3.5 mm
- D- 3 or 3.25 mm
- F- 5 or 3.75 mm
- G- 6 or 4 mm
- 7 or 4.5 mm
- H-8 or 5 mm
- I-9 or 5.5 mm
- J- 10 6 mm
- K- 10.5 or 6.5 mm
- 7 mm
- L- 11 or 8 mm
- M/N- 13 or 9 mm
- N/P- 15 or 10 mm
- P/Q or 15 mm
- Q or 16 mm
- 40 mm
Other Items
These items aren’t necessary, but they could make your life a little bit easier.
View in gallery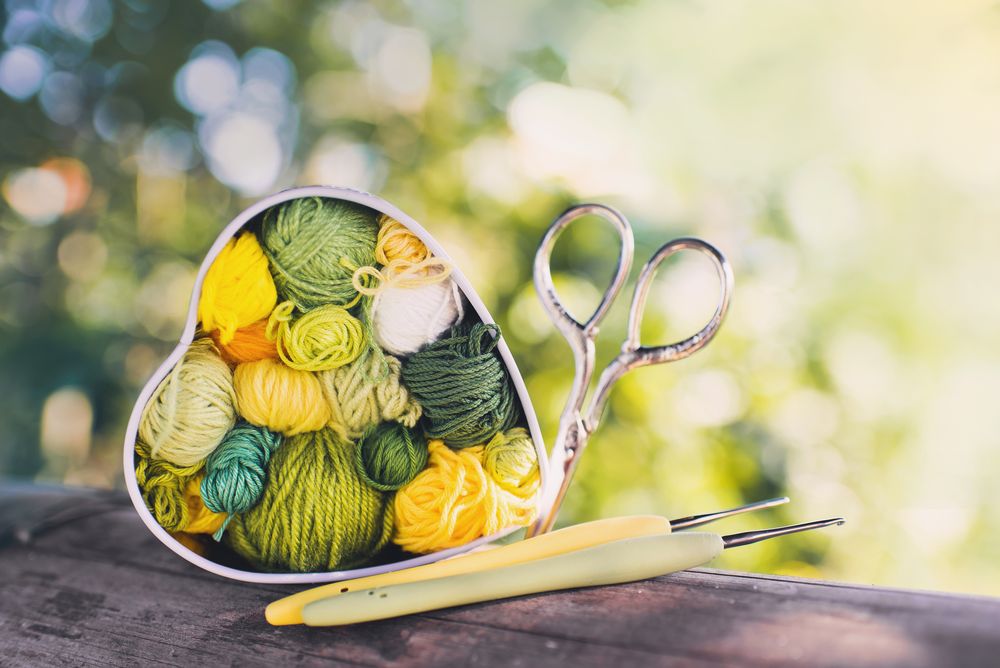
They include:
- Stich markers – These are a tool used in knitting and crocheting to help you identify important locations during your crocheting process.
- Small, sharp scissors – Any scissors you have lying around at home will do, but small, sharp scissors make the process a lot easier, especially if you’re working with thin yarn.
- Yarn needles or blunt-tipped needles – Yarn needles help to weave in the ends of your crochet piece.
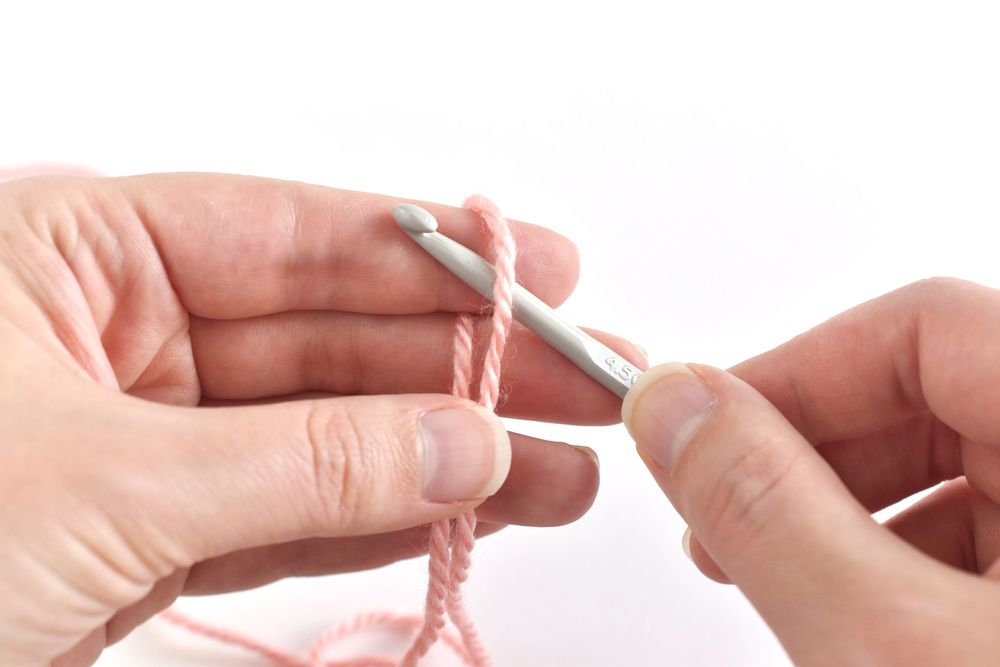
How to Hold a Crochet Hook
There are two common ways to hold a crochet hook, and they are the pencil grip and the knife hold. And guess what, their names imply exactly how to hold them. The knife hold would be as if you were cutting with a knife, and the pencil hold is like you would hold a pencil.
View in gallery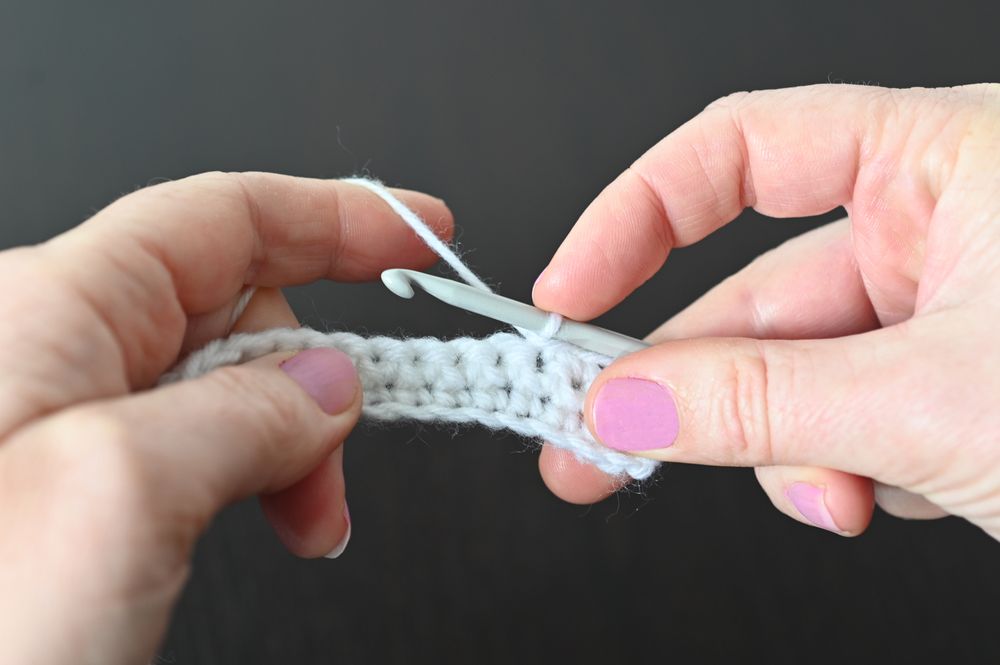
When crocheting, you need to hold your hook in your dominant hand and the yarn in your non-dominant hand.
So, now you’ve come to terms with the supplies, let’s get into the beginner crochet tutorials for a range of different stitches.
How to Crochet: Step by Step
Before we begin, it’s important to mention that this guide will be using right-handed instructions with U.S. terms for crochet stitches. Here is a handy article to help you convert them to British terms if needs be.
Step 1: Hold the Yarn Correctly
View in gallery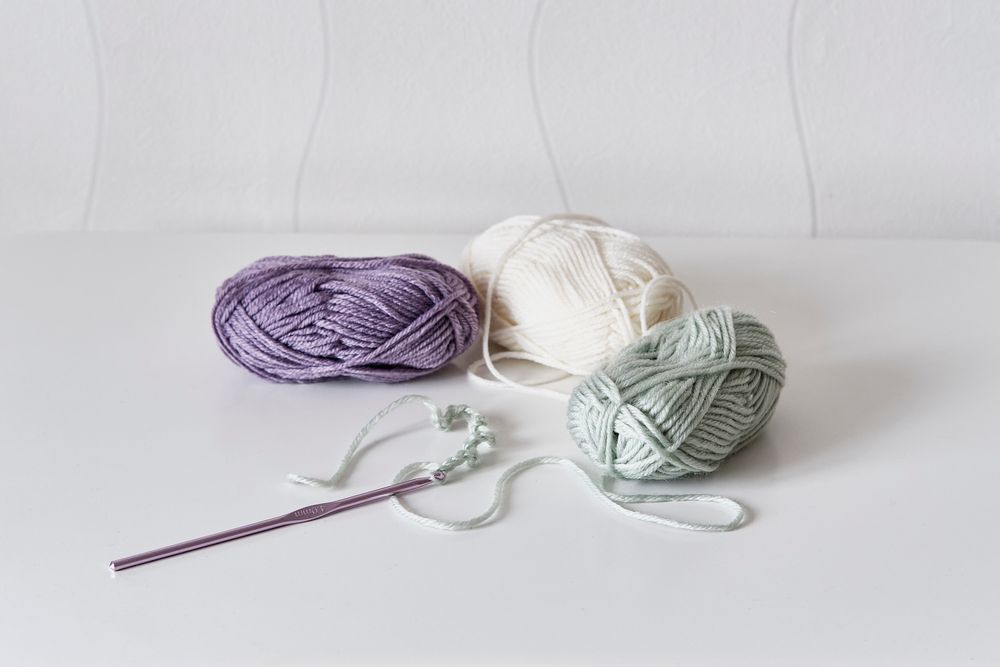
We previously mentioned before about holding the yarn in your non-dominant hand.
To hold the yarn, you need to loop it through your fingers. To do this, loop the yarn once around your pinkie finger. And from here, take it under your third and middle fingers and pull it up over your index finger.
You can also just pass the yarn over your pinkie finger, but looping it provides more tension in the yarn.
Step 2: Tie a Slip Knot to the Crochet Hook
The next step is a simple one, and that is tying a slip knot to the crochet hook.
How to Tie a Slip Knot:
- Pull your yarn from the ball and create a loop roughly 6 inches from the end. This tail remainder will be weaved into your crochet piece later.
- Slide the crochet hook into the loop, catching the ball end yarn under the hook. If you’re unsure which part is the hook, refer to the labeled hook diagram we included previously.
- Once the yarn is under the hook, pull both ends of the yarn to tighten the loop.
Step 3: Yarn Over
Yarn over, abbreviated to YO, is a technique you’ll use to make numerous basic crochet stitches, so it’s important to master this technique before moving on.
How to Yarn over:
- With your slip knot tail and working yarn (the ball end of the yarn) on the left side of your upwards-facing crochet hook, loop the working yarn under and over the crochet hook. You can do this by twisting your hook under and over the yarn.
Step 4: Mastering the Chain Stitch
Now that you’ve learned to yarn over, it’s time to master the chain stitch. Chain stitches are an important part of crocheting, and after making a slip knot, the next step in most crocheting projects is to make a series of chain stitches.
These stitches are not only a foundation chain, but they also pop up throughout patterns to combine other stitches.
How to Chain Stitch:
- Thanks to the yarn over step, your working yarn should be sitting under the hook section. From here, you need to pull the crochet hook down, which in turn pulls the working yarn through your slip knot loop. You have now made your first chain stitch.
- To continue making chain stitches, you need to repeat the process of yarning over the hook and drawing the hook through the loop.
- To better control the tension in your stitches, it’s best to move your index fingers and thumb up the formed chain stitches. Stay a stitch or two away from the hook to ensure the stitches are not too tight or loose.
Chain Stitch Tips:
- The chain stitch you made by pulling your working yarn through your slip knot doesn’t usually count towards the number of stitches in your chain. When counting your stitches, start from the chain stitch after your slip knot starter. This rule also applies to the loop on your hook. This doesn’t count, so the previous chain stitch you made would actually be the last one you count.
- Tension is really important in crochet, and you should always maintain an even tension throughout your entire piece. This takes practice, and over time, you’ll find the perfect tension to make smooth and even stitches.
Step 5: Working Other Stitches Into the Chain
View in gallery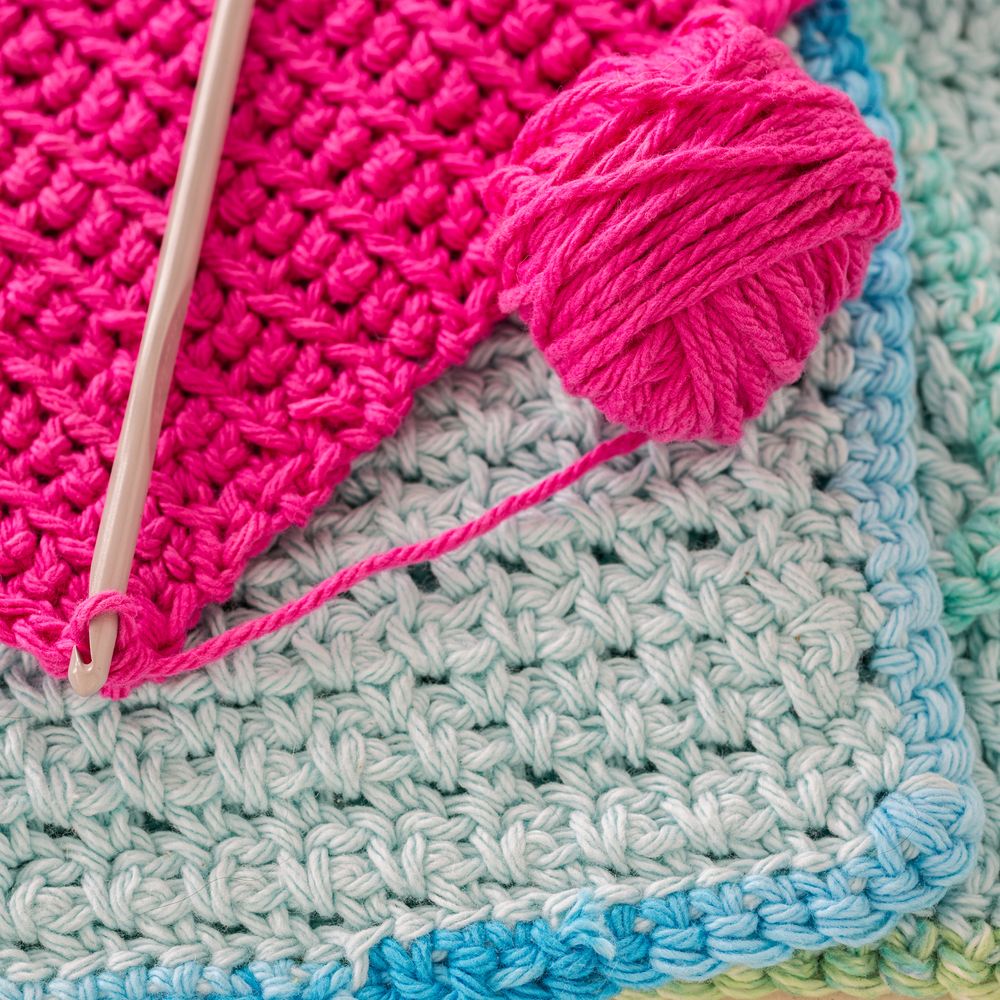
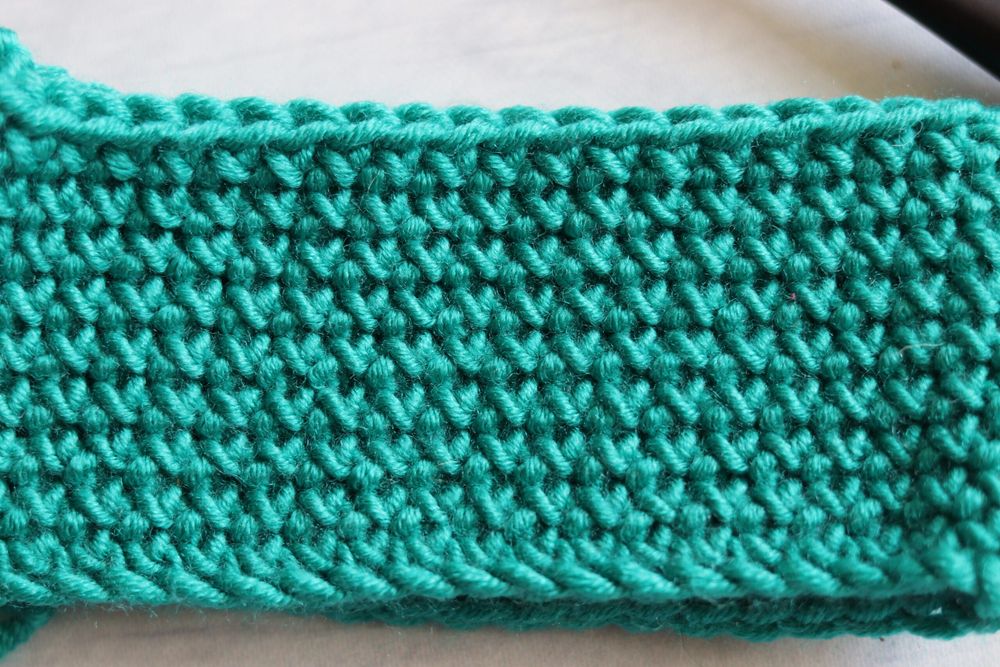
Now that you’ve completed your chain stitches, look at the front and back sides of the chain. The front section should look like a row of interlocking V’s, whereas the back should have a yarn bump.
To work the next row of stitches into your foundation chain, you first need to consult your crochet pattern. Crochet patterns will tell you where on the chain you need to make your first stitch.
For example, if the pattern says you need to work your first stitch into the second stitch of the chain, you will need to pass the tip of your hook through the second V. From here, you can complete your next stitch.
Step 6: How to do a Single Crochet Stitch
Single crochet stitches are one of the basic stitches that make up the foundations of crocheting. They’re one of the more basic and common stitches, which are abbreviated to SC in crochet patterns.
Once you’ve perfected the single crochet stitch, there are numerous ways that you can use it in your crochet project. You can work it into rows, spirals, rounds, or even complete the project’s edges.
How to Single Crochet Stitch:
- We recommend starting with a chain of 11 chain stitches and inserting your hook through the second chain. Read step five again if you get confused.
- With the hook through the center of the second chain stitch, you now need to yarn over, always remembering to place your hook underneath the yarn and back over again.
- Once you have yarned over, you need to pull the yarn through the first strand of the chain stitch. You should now have two loops on your hook.
- To finish the single crochet stitch, yarn over again and pull the hook, this time through both strands.
- To produce more single crochet stitches, work your way down each of the chain stitches.
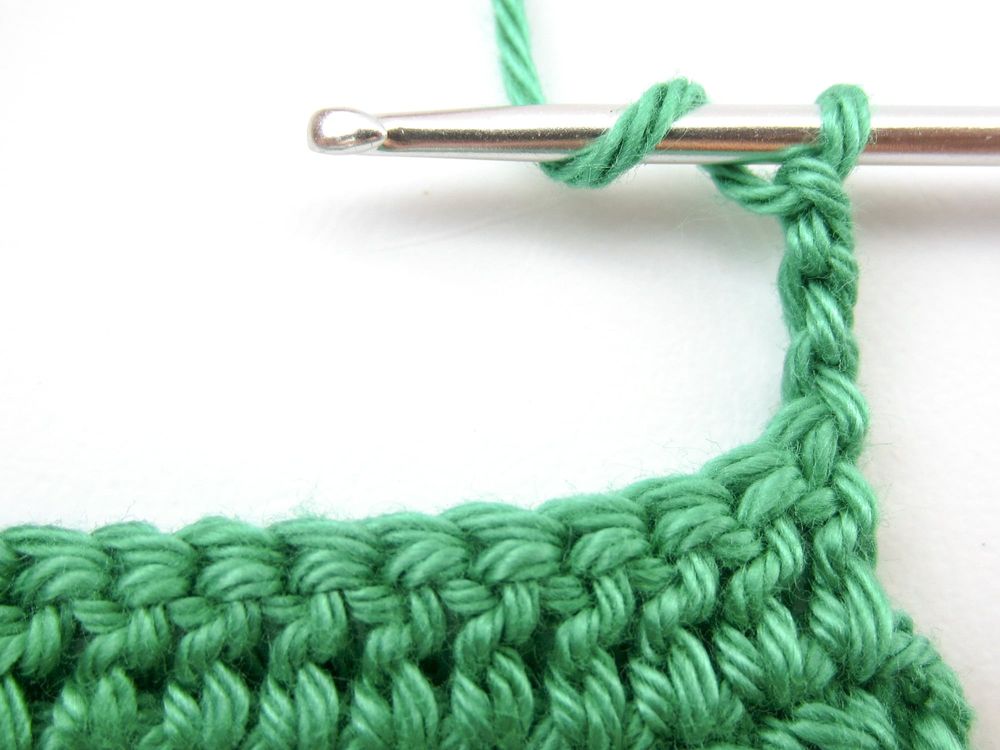
Step 7: Making a Turning Chain
When you reach the end of a row, you’ll need to make a turning chain stitch. A turning chain brings the yarn up so you can work on the next row of stitches.
The number of turning chain stitches you need to do depends on which stitch you’re crocheting next.
- Single crochet stitch = one turning chain stitch
- Half double crochet stitch = two turning chain stitches
- Double crochet stitch = three turning chain stitches
- Treble crochet stitch = four turning chain stitches
How to Make a Turning Chain:
- Once you’ve reached the end of your row, yarn over and pull your hook through the loop.
- Turn your work over and push your hook through the second stitch of the row. Remember, you’re pushing it through the second stitch because you always need to skip the starter stitch, which in this case is the turning chain stitch.
- From here, you can continue with whatever stitch you need for the next row.
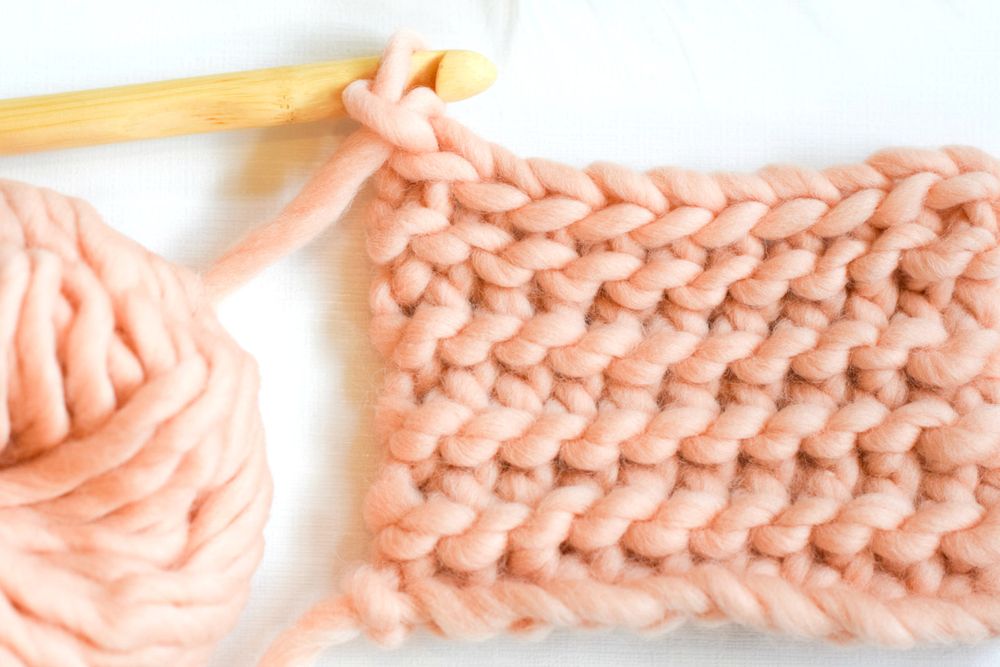
Step 8: Working in Your Second Row
Now that you’ve created your chain, the first row of single stitches, and completed your turning chain, it’s time to work on the second row of stitches.
How to Add a Second Row:
- Follow step 6 and work from right to left, counting your stitches.
- Once you reach the end, turn your work and complete another turning chain.
- Keep repeating the process until you’ve completed your desired amount of rows.
Step 9: Fastening Your Work Off
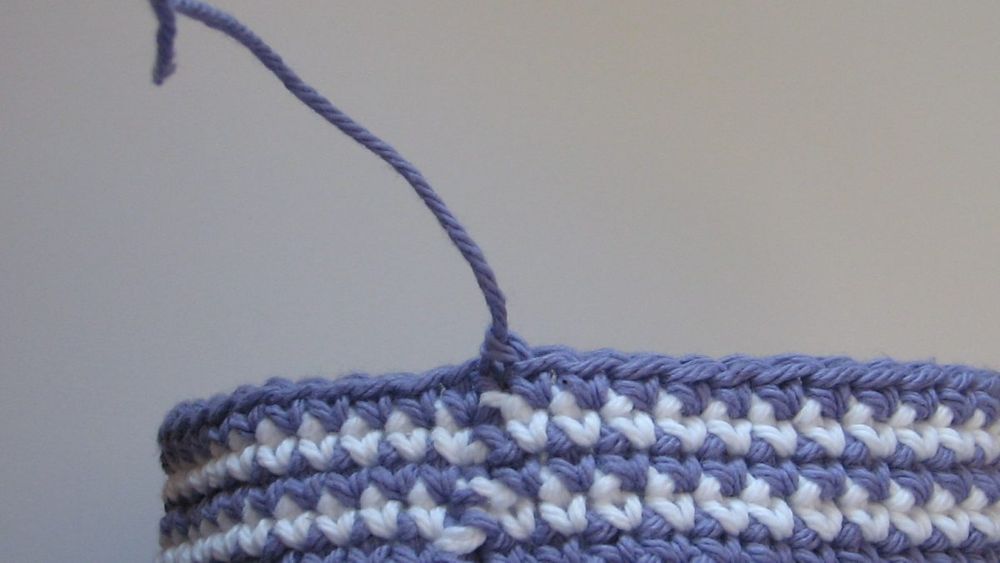
Finally, you’ve finished your piece, and you need to fasten off the yarn. Fastening the yarn correctly will stop the stitches from unraveling
How to Fasten Off a Crochet Piece:
- Cut your yarn and leave a 6-inch tail.
- Take your hook and draw the tail through the loop that you currently have on your hook.
- Remove your crochet hook and pull the yarn tail.
- For the best finish, weave in your ends with your blunt yarn needle.
Other Crochet Stitches
Great job! You’ve covered the basic stitches, and now you can move on to slightly more complex stitches to make your next crochet project look amazing.
Half Double Crochet Stitch

Half double crochet stitches are abbreviated to HDC in crochet patterns, and you can use them to produce baby blankets, scarves, or sweaters.
The good news is that the half-double stitch isn’t too different from your single crochet stitch, so you should have no trouble picking it up.
How to Half-Double Stitch:
- For new projects, create your foundation chain and begin your half-double stitch from the third chain away from your hook.
- Yarn over and insert the hook into the next stitch of the chain.
- Put the tip of your hook under the top two loops of the stitch.
- Yarn over and pull your yarn through the top two loops.
- Yarn over again, but this time pull the yarn through all three loops on the hook.
- Once you pulled the yarn through, you should now only have one loop on your hook.
And there you have it! A half-double stitch.
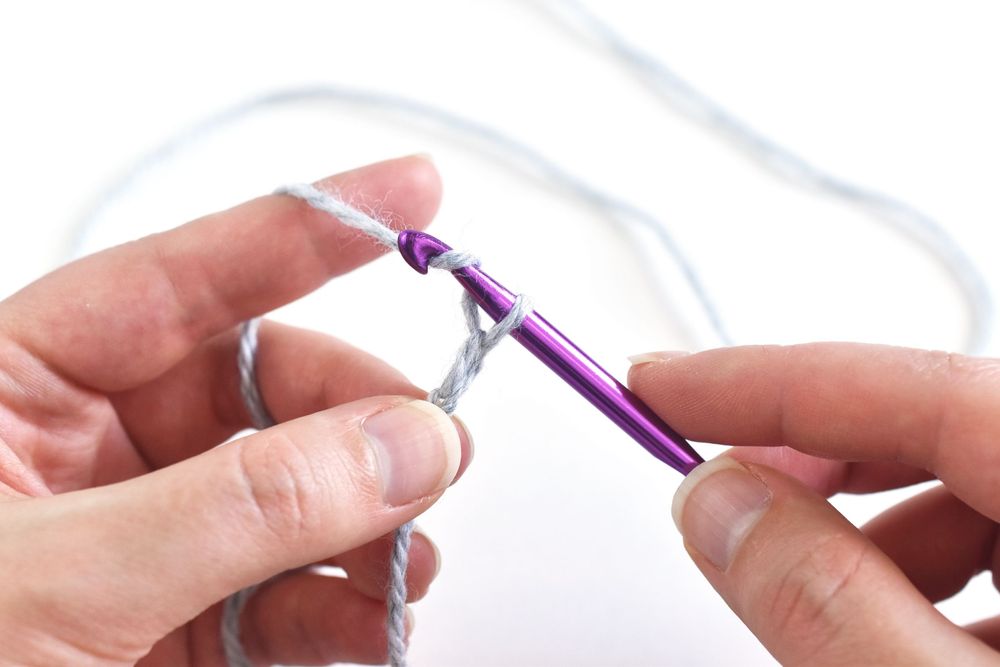
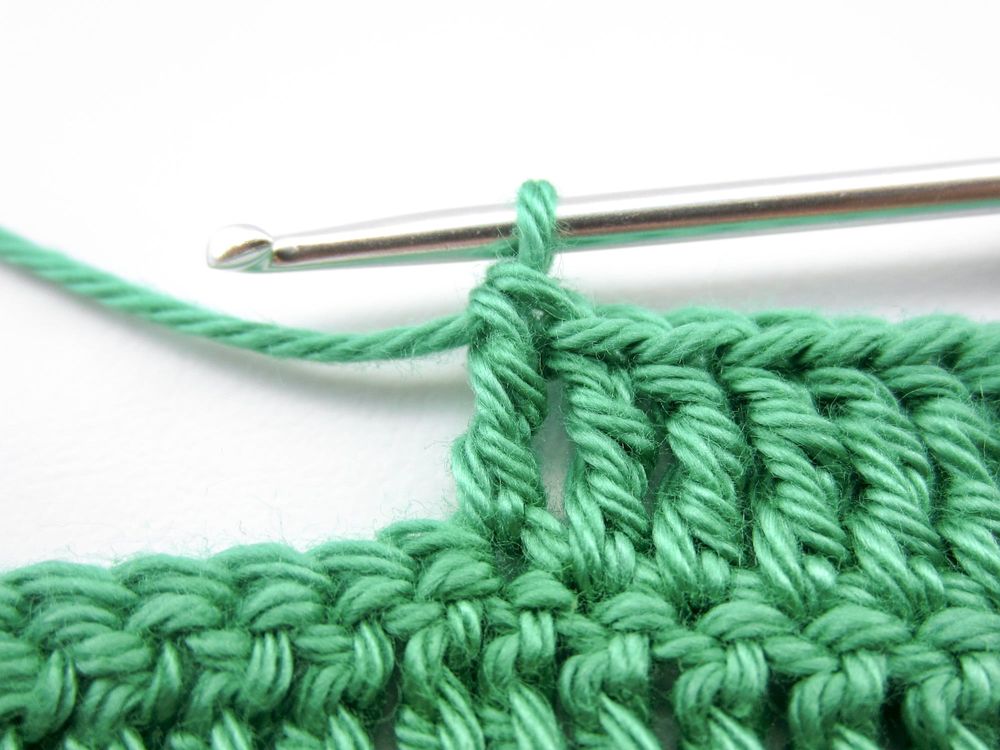
Double Crochet Stitch
View in gallery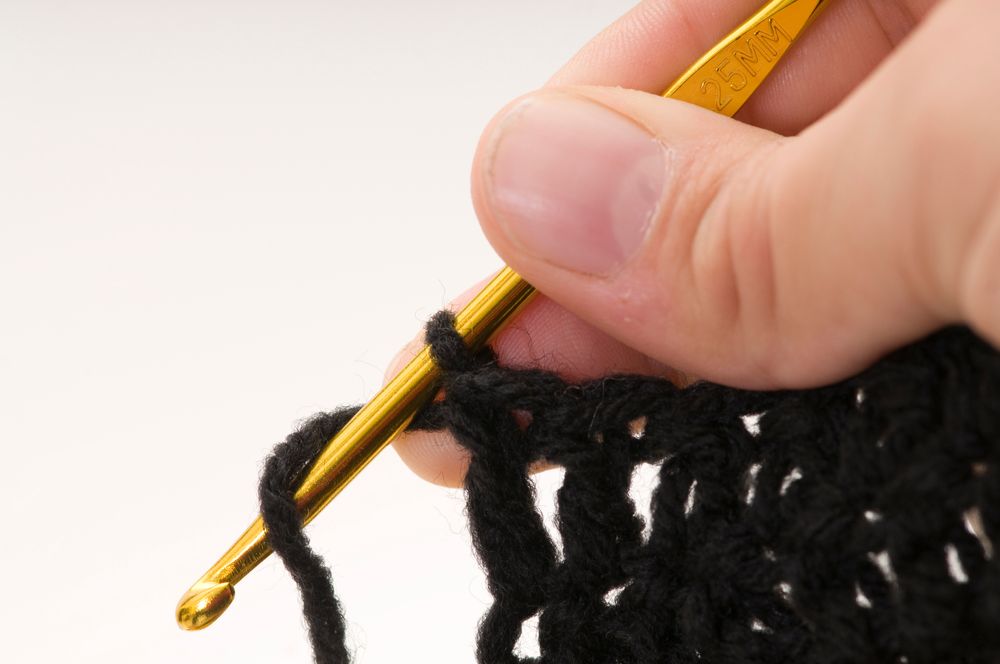
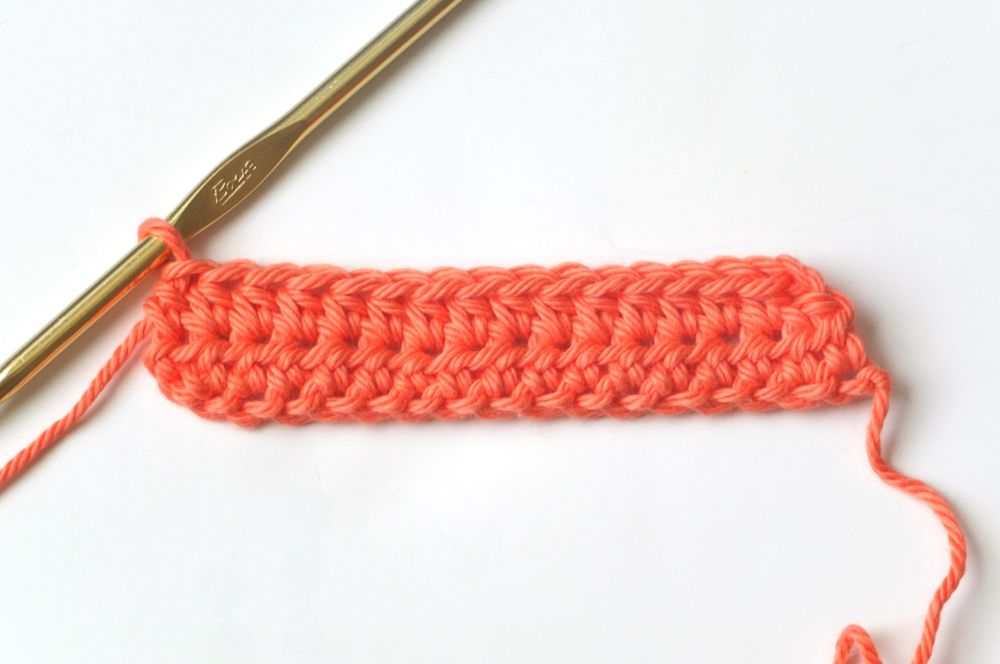
Double crochet stitches are another of the beginner crochet stitches, and, like the half-double, it doesn’t differ tremendously from your basic single stitch. Double stitches are abbreviated to DC in crochet patterns, and you can work them into rows, spiral rounds, or joined rounds.
How to Double Stitch:
- For new projects, create your foundation chain and begin using double crochet stitches from the fourth chain away from your hook. Remember to yarn over before putting the hook through the fourth chain.
- Yarn over again and pull the hook through the first loop of the stitch. You should now have three loops on your hook.
- Yarn over for a third time and pull it through the first two loops of the stitch. Now, you should have two loops on your hook.
- Yarn over again and pull the yarn through the last two remaining loops on your hook.
- Repeat the process as many times as needed.
Treble Crochet Stitch
Treble crochet stitches or a triple crochet stitch are abbreviated in crochet patterns as TR. Treble stitches are taller than a double stitch and are used to make looser stitches for airier items.
How to Treble Stitch:
- For new projects, create your foundation chain and begin your treble stitch from the fifth chain away from your hook. Remember to yarn over twice before putting the hook through the fifth chain.
- Yarn over again and pull the hook through the first loop of the stitch. You should now have four loops on your hook.
- Yarn over for a third time and pull it through the first two loops of the stitch. Now, you should have three loops on your hook.
- Yarn over again and pull the yarn through the first two loops on your hook. This step will leave two loops on your hook.
- Yarn over for the final time and pull through the last two loops on the hook.
- Repeat the process as many times as needed.
Slip Stitch
Another important stitch to know is the slip stitch, which on crochet patterns is abbreviated to SL ST. Slip stitches are versatile and are more considered a technique instead of a stitch because you can use them for different things. One use is to move yarn across stitches without adding any height like you would with a double or triple stitch.
You can also use a slip stitch to join a round of crochet by connecting the last stitch to the first stitch of that round.
How to Slip Stitch:
- When you come to the end of a row, chain one loop by yarning over and pulling the yarn through.
- Turn your work over and insert your hook into the first stitch.
- Yarn over your hook and pull it through the first stitch, so you have two loops on your hook.
- With the two loops on your hook, pull the first loop through the second, and you’ve completed a slip stitch.
How to Make a Circle Using a Slip Stitch:
- Using the chain stitch in step 4, chain five stitches.
- Once you’ve changed five stitches, insert your hook into the chain further from the hook.
- Yarn over your hook and pull through both the chain and the loop on your hook.
Practice Your Crocheting with a Granny Square
View in gallery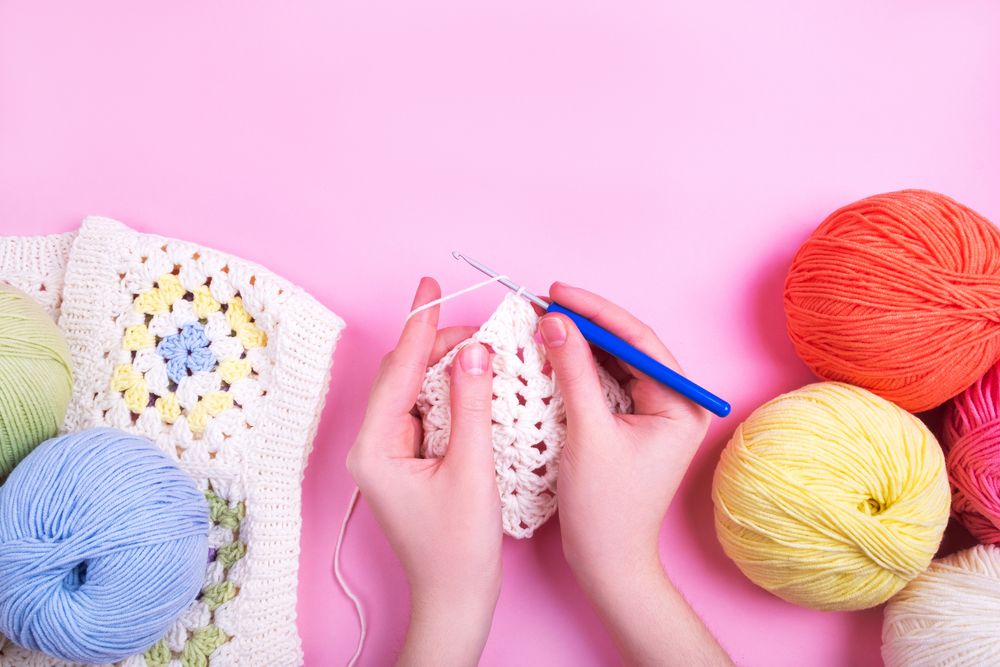
Granny squares are great practice when starting with crochet and all the crochet techniques.
A granny square or granny cluster are three double stitches that you work into the same space. The clusters are separated by chain spaces and have one chain space along the sides and three chain spaces in the four corners.
Granny squares come in many variations, so you can really put your skills to the test and see if you have what it takes to be a professional crocheter.
How to Crochet: Our Final Thoughts
Crocheting is an amazing activity that you can quite literally do anywhere. As long as you take your yarn and crochet hook, that is. If you’re just starting to learn how to crochet, there are many free crochet patterns on the internet that you can download and attempt at home.
So, now that you’ve covered all the crochet for beginners basics, your crocheting possibilities are endless, and we hope you have an incredible time practicing your newfound skill.
As we close on our step-by-step guide to crochet for beginners, we’d love to know if you’ve ever attempted crochet? If so, what’s the coolest thing you’ve managed to crochet, and how difficult was it?
Let us know in the comment section down below!